Renovating a Room
09 Aug 2020It’s been coming up on 5 years since I moved into my little Victorian terraced house, and since then I’ve been slowly trying to work on it’s renovation, as a sort of slow burn background project, taking aim at whatever job the combination of time, budget, and situation brought to my attention as the most pressing.
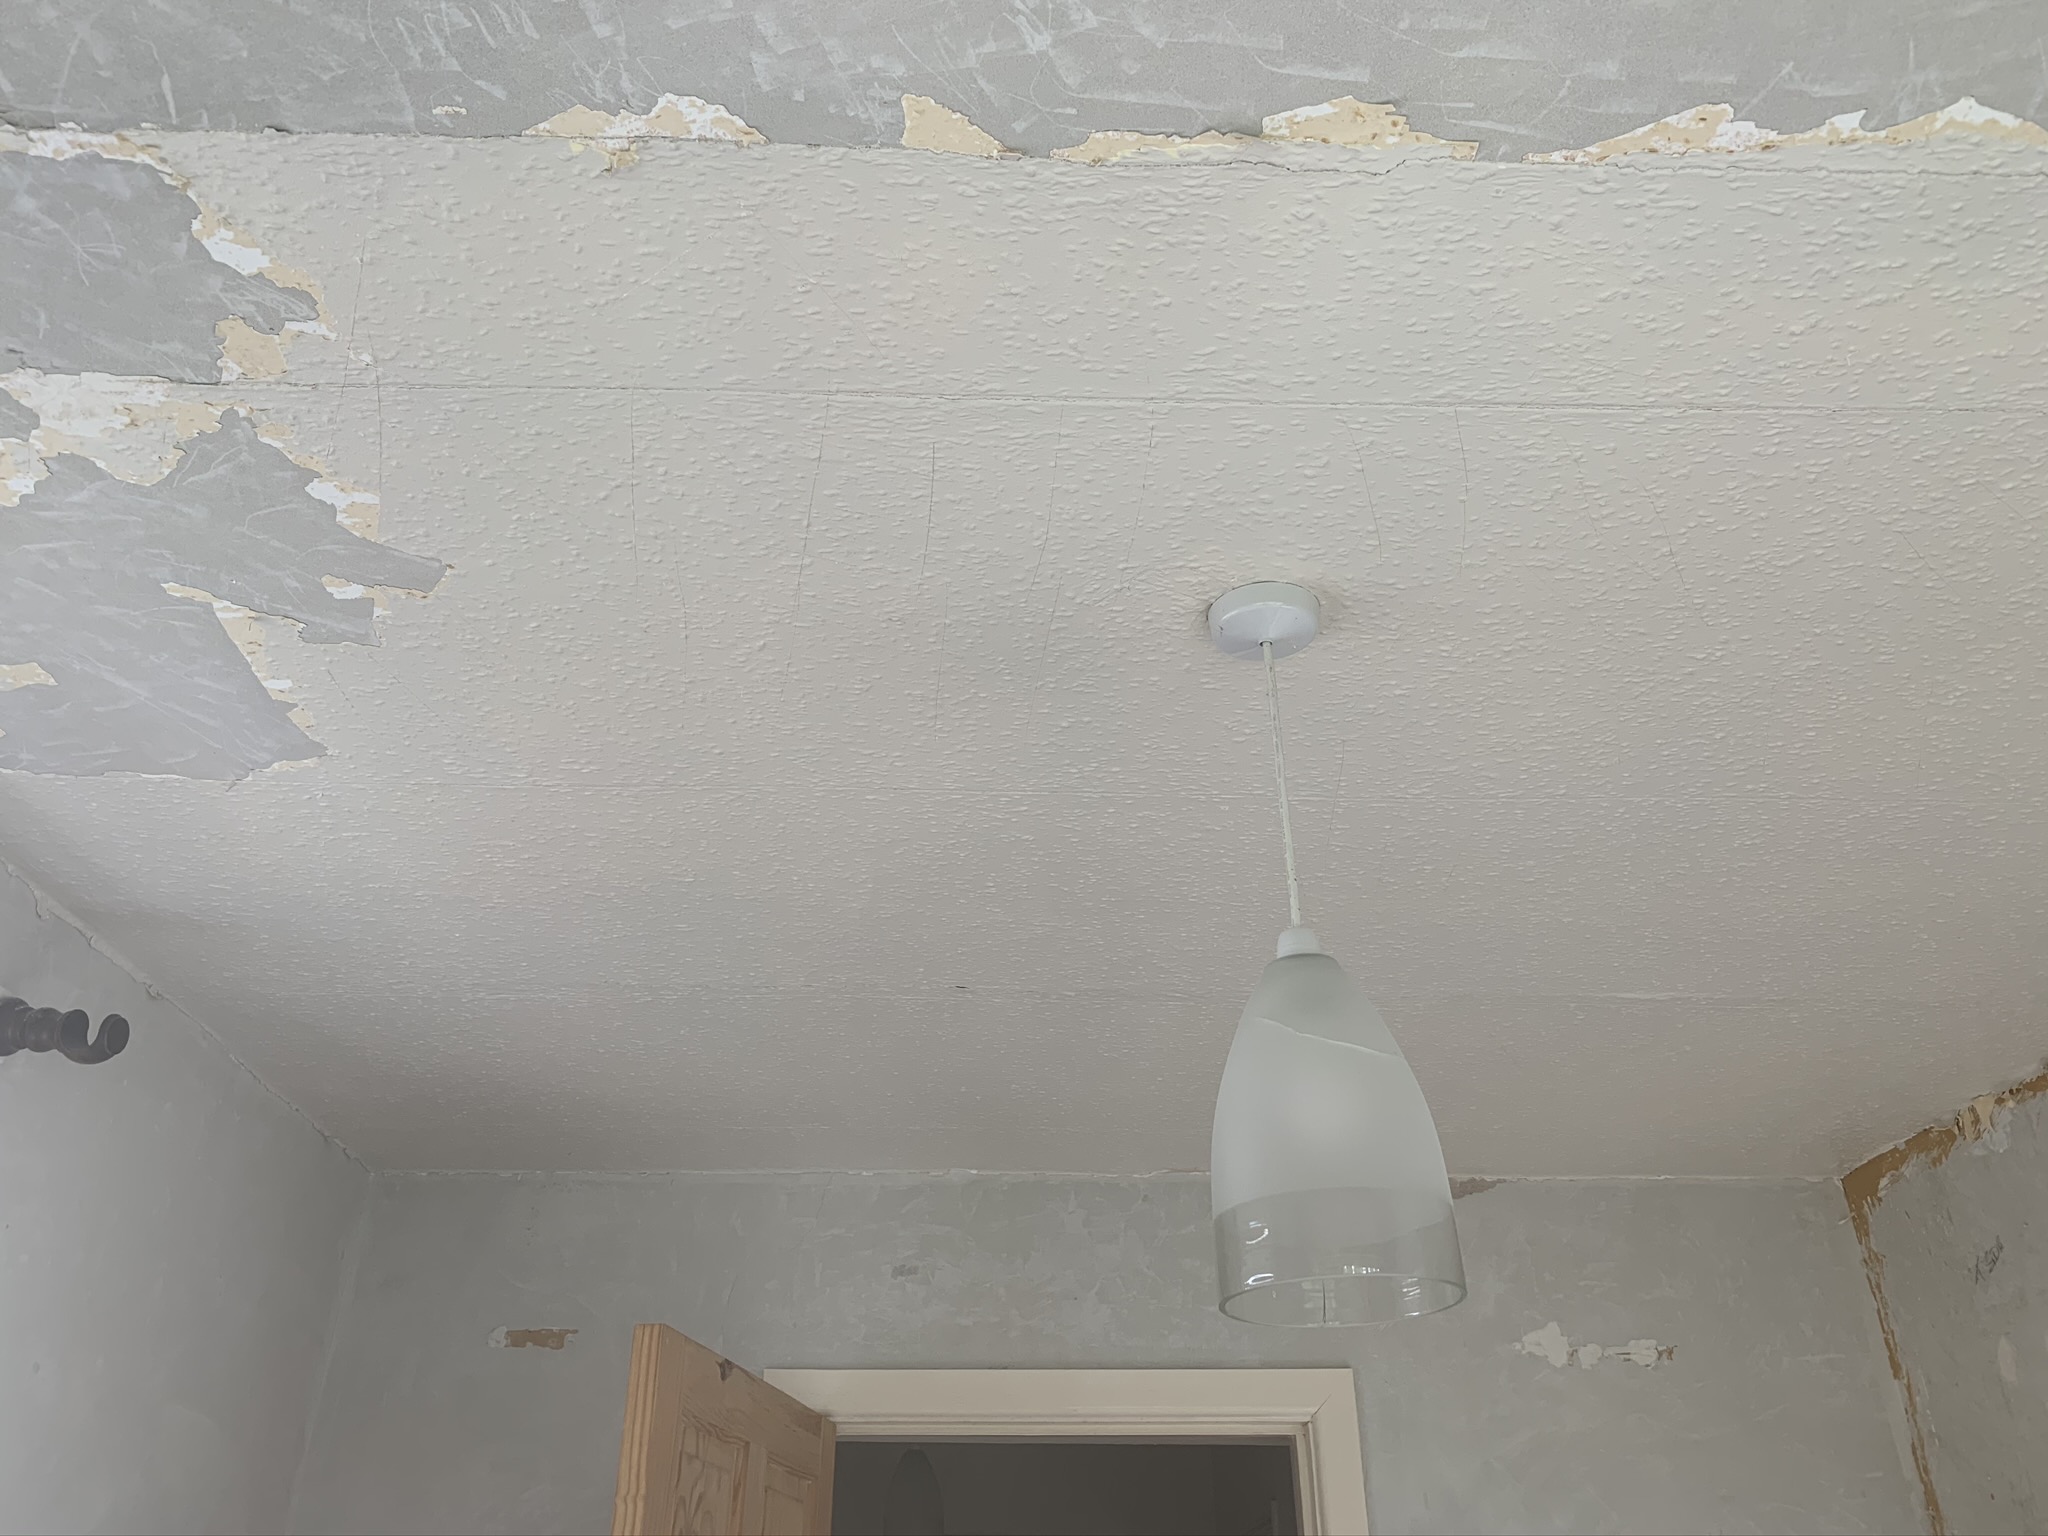
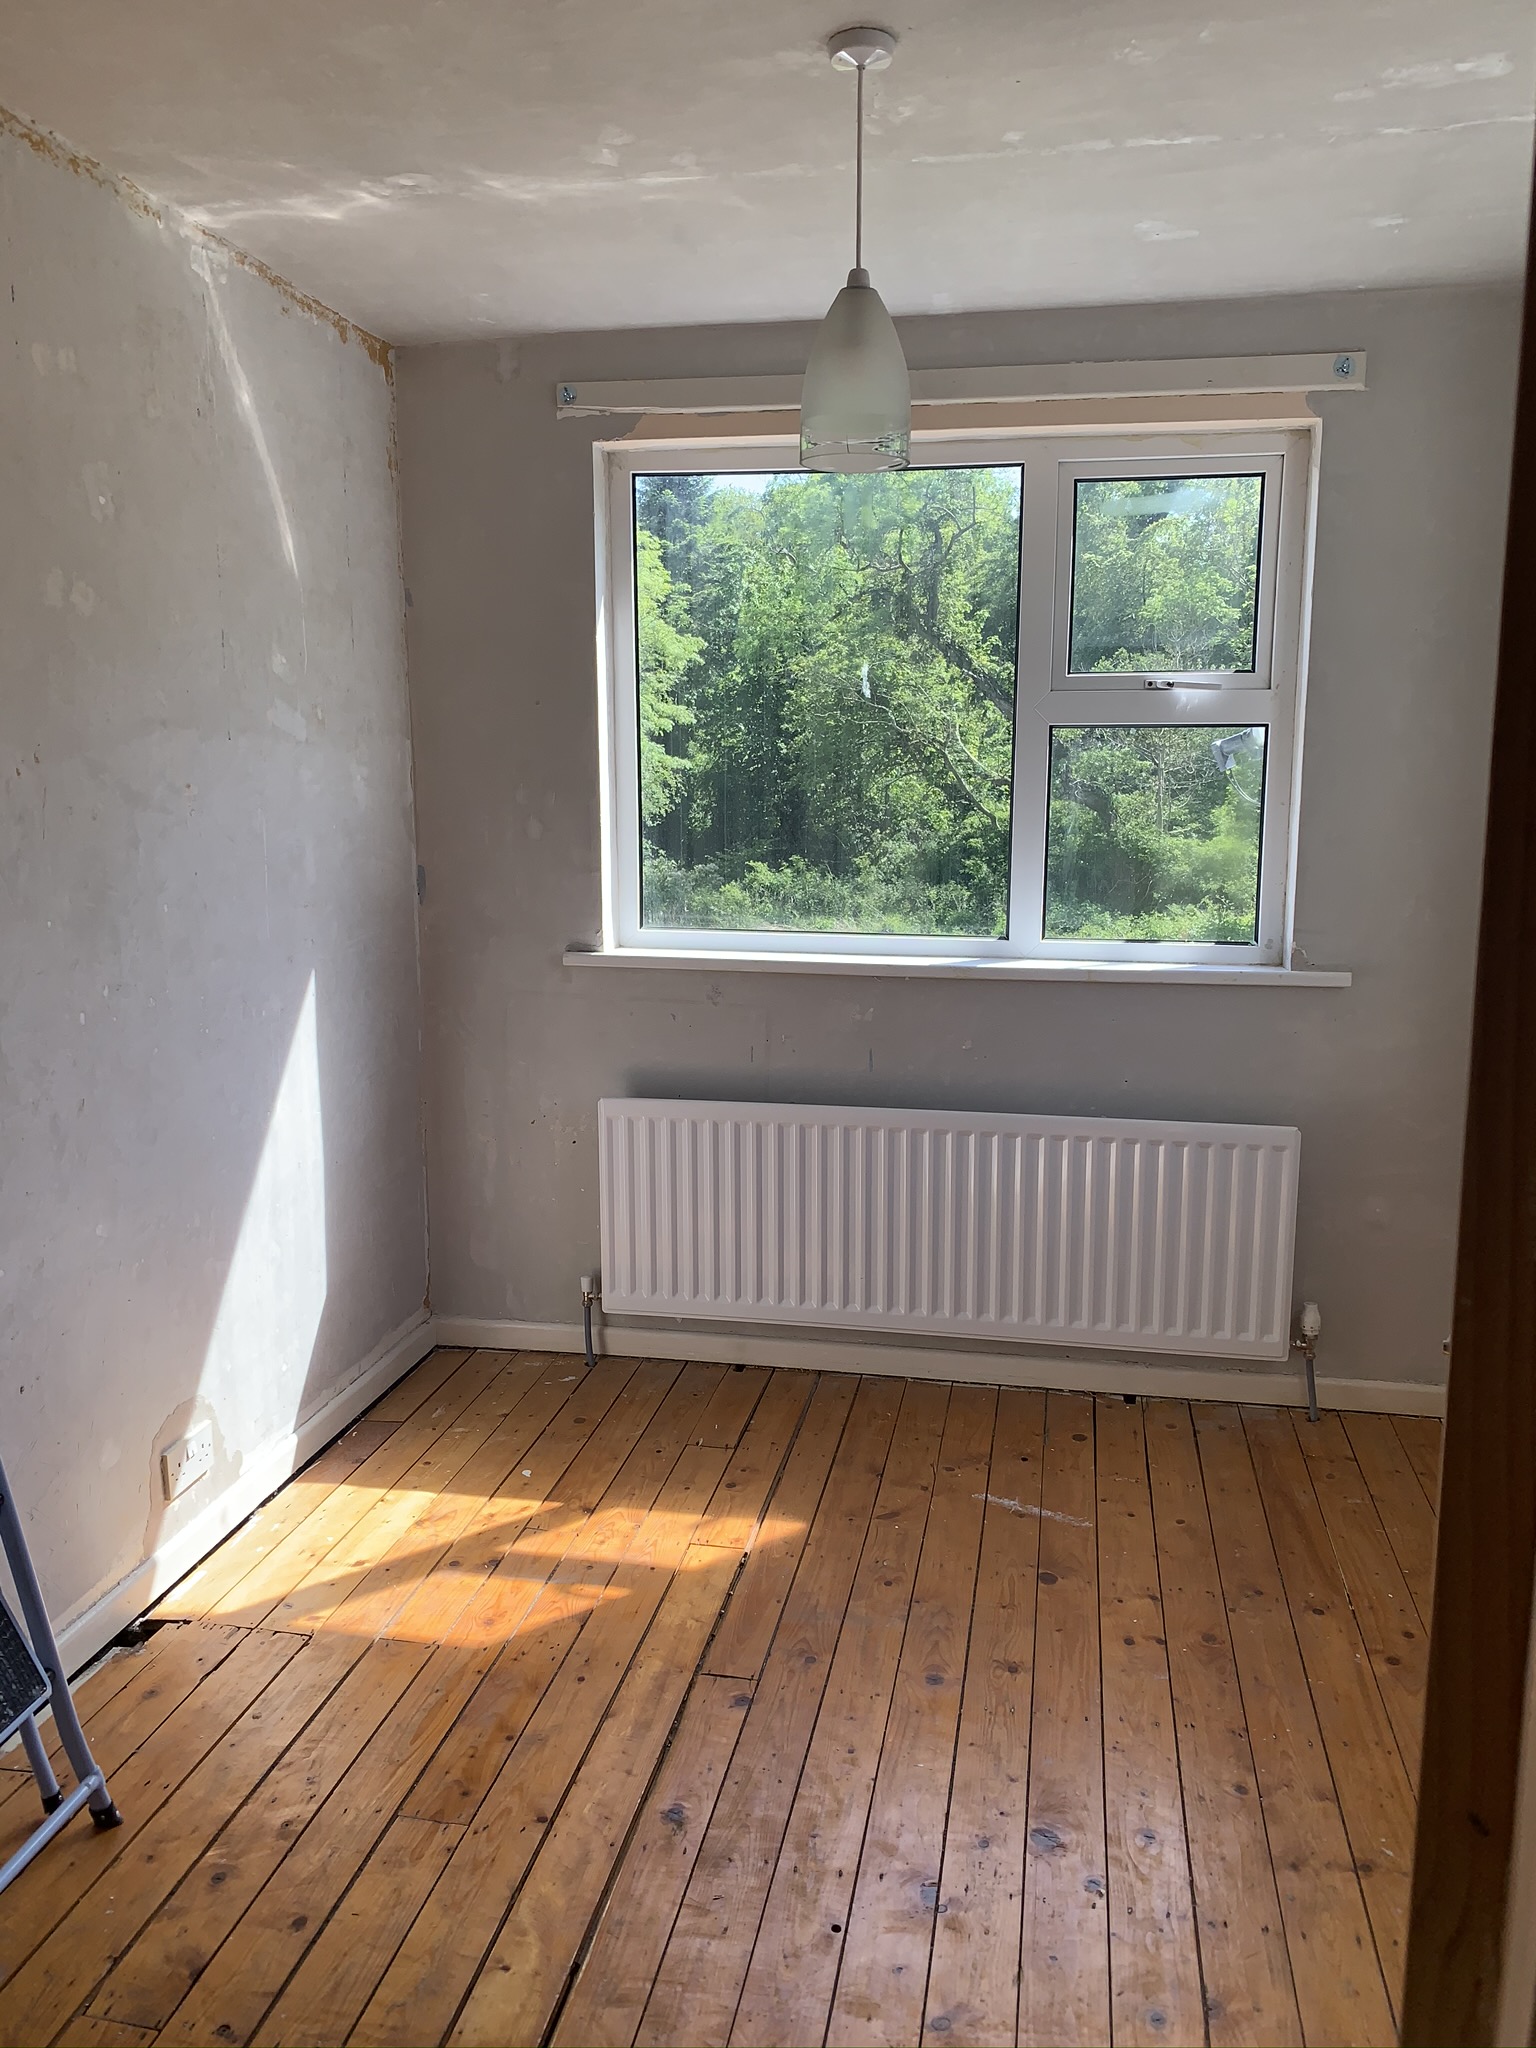
There are always jobs to be done, rough edges of design or function that announce themselves to be attended to, but there was one I had been putting off for a long time - the renovation of the back bedroom, or, as I have fairly optimistically styled it, the study. This had always been the ‘sacrifical room’, the dumping ground for assorted tat that allowed all of the other rooms to be tidy and presentable at the expense of being itself a hideous mess. There were two main reasons I’d been putting it off, one was financial cost - I’d put in a new kitchen, bathroom, front door and porch the previous year and wasn’t planning to spend more so soon, and the other was an almost existential aversion to stripping the woodchip wallpaper which adorned not only the walls, but also, and terrifyingly, the ceiling. Certainly I was concerned what portal to hell lurked behind that paper, as surely only darkest of masochists would make such a decorative choice. I thought there was a fair chance that stripping back this wood-infused shroud would reveal some structural abomination which it was attempting to conceal, or at the very least that the sheer violence that would have to be visited upon the plaster to facilitate it’s removal would mean the room would have to be skimmed.
Of course, lockdown happened, as readers will possibly have been aware, and so I decided, faced with the prospect of spending months of working days inside my beige woodchipped clutter cube, to bite the bullet and start the project.
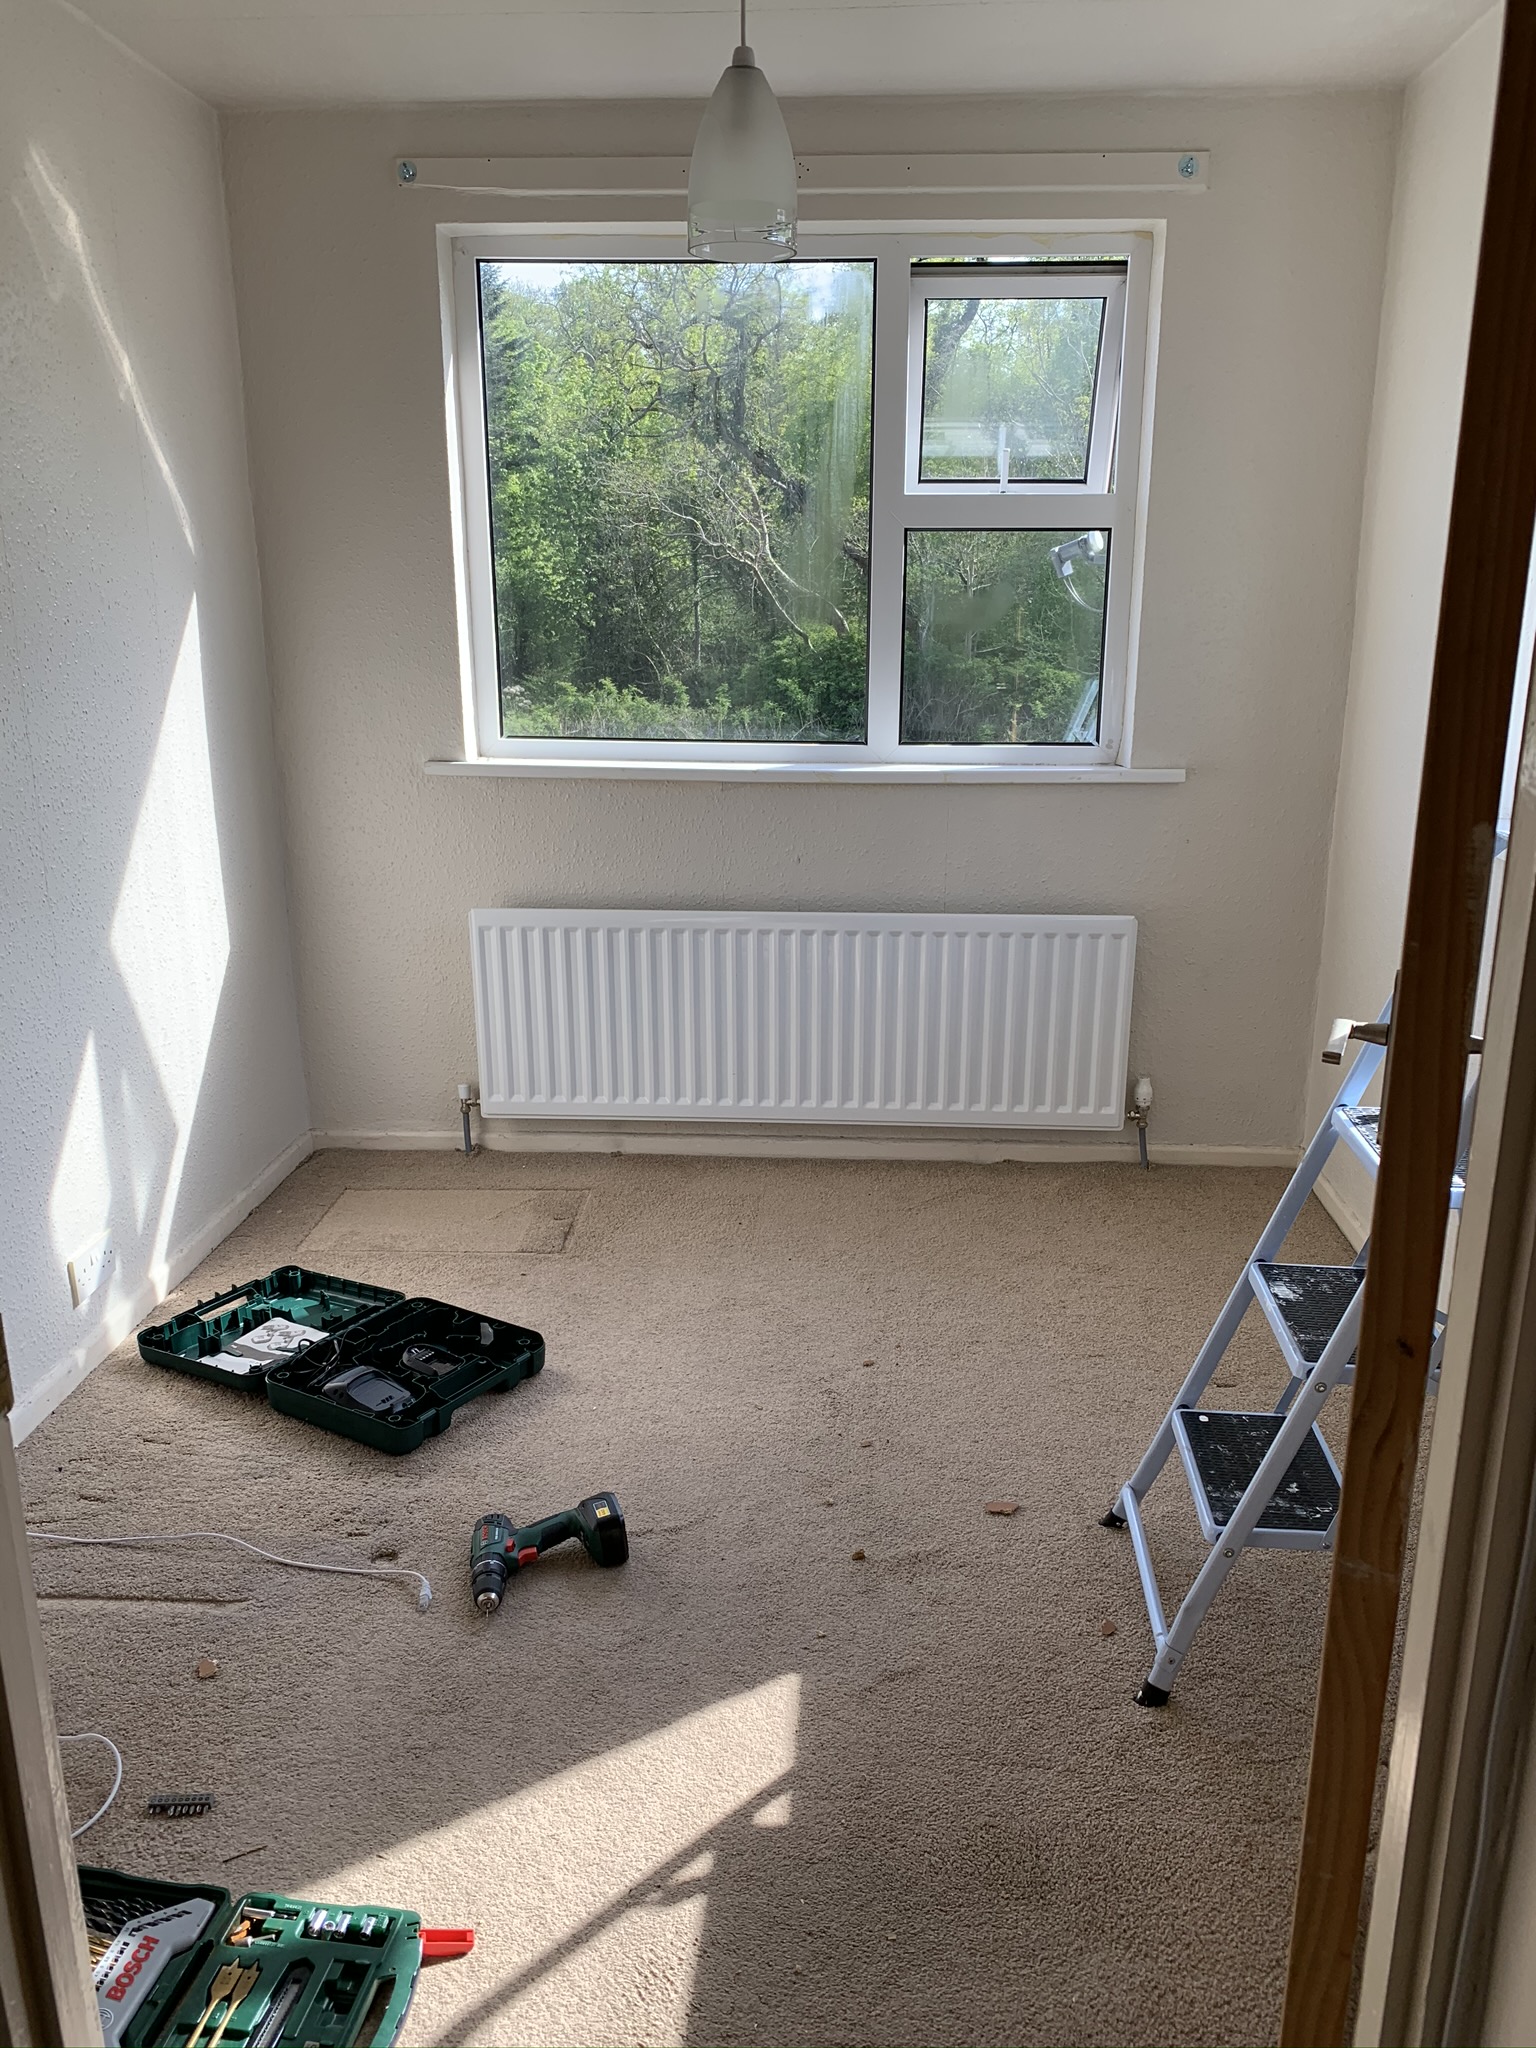
To start with, the room was fairly aggressively ugly, with unpleasant and mismatched color schemes and furniture I’d scrambled together when I moved in. The woodchip we’ve addressed, but also I’m not a huge fan of carpet at the best of times, and am on a crusade to remove it from my house entirely (for “bonus” points this one was brown). It also commits another cardinal sin in my eyes of being almost entirely beige - clearly this colour should not exist.

I’ll skip straight to the end briefly, and show a quick video of how things turned out, and then, for the interested, I’ll show the progress of the project below.
So, first things first, I started with a bit of good old-fashioned planning. At the start of lockdown, with half an eye on this project, I had undertaken to organise all my DIY and car maintenance products and tools - far too often I would end up rebuying some small tool or adpater or bit that it turned out I did actually already own but was unable to find. Taking this inventory and spending a day tidying allowed me to make a list of all the bits I already had, and then a list of all the bits that I would need to acquire for this job. I ended up buying another little plastic storage unit so I’d have a bit of space to see what I was working with.

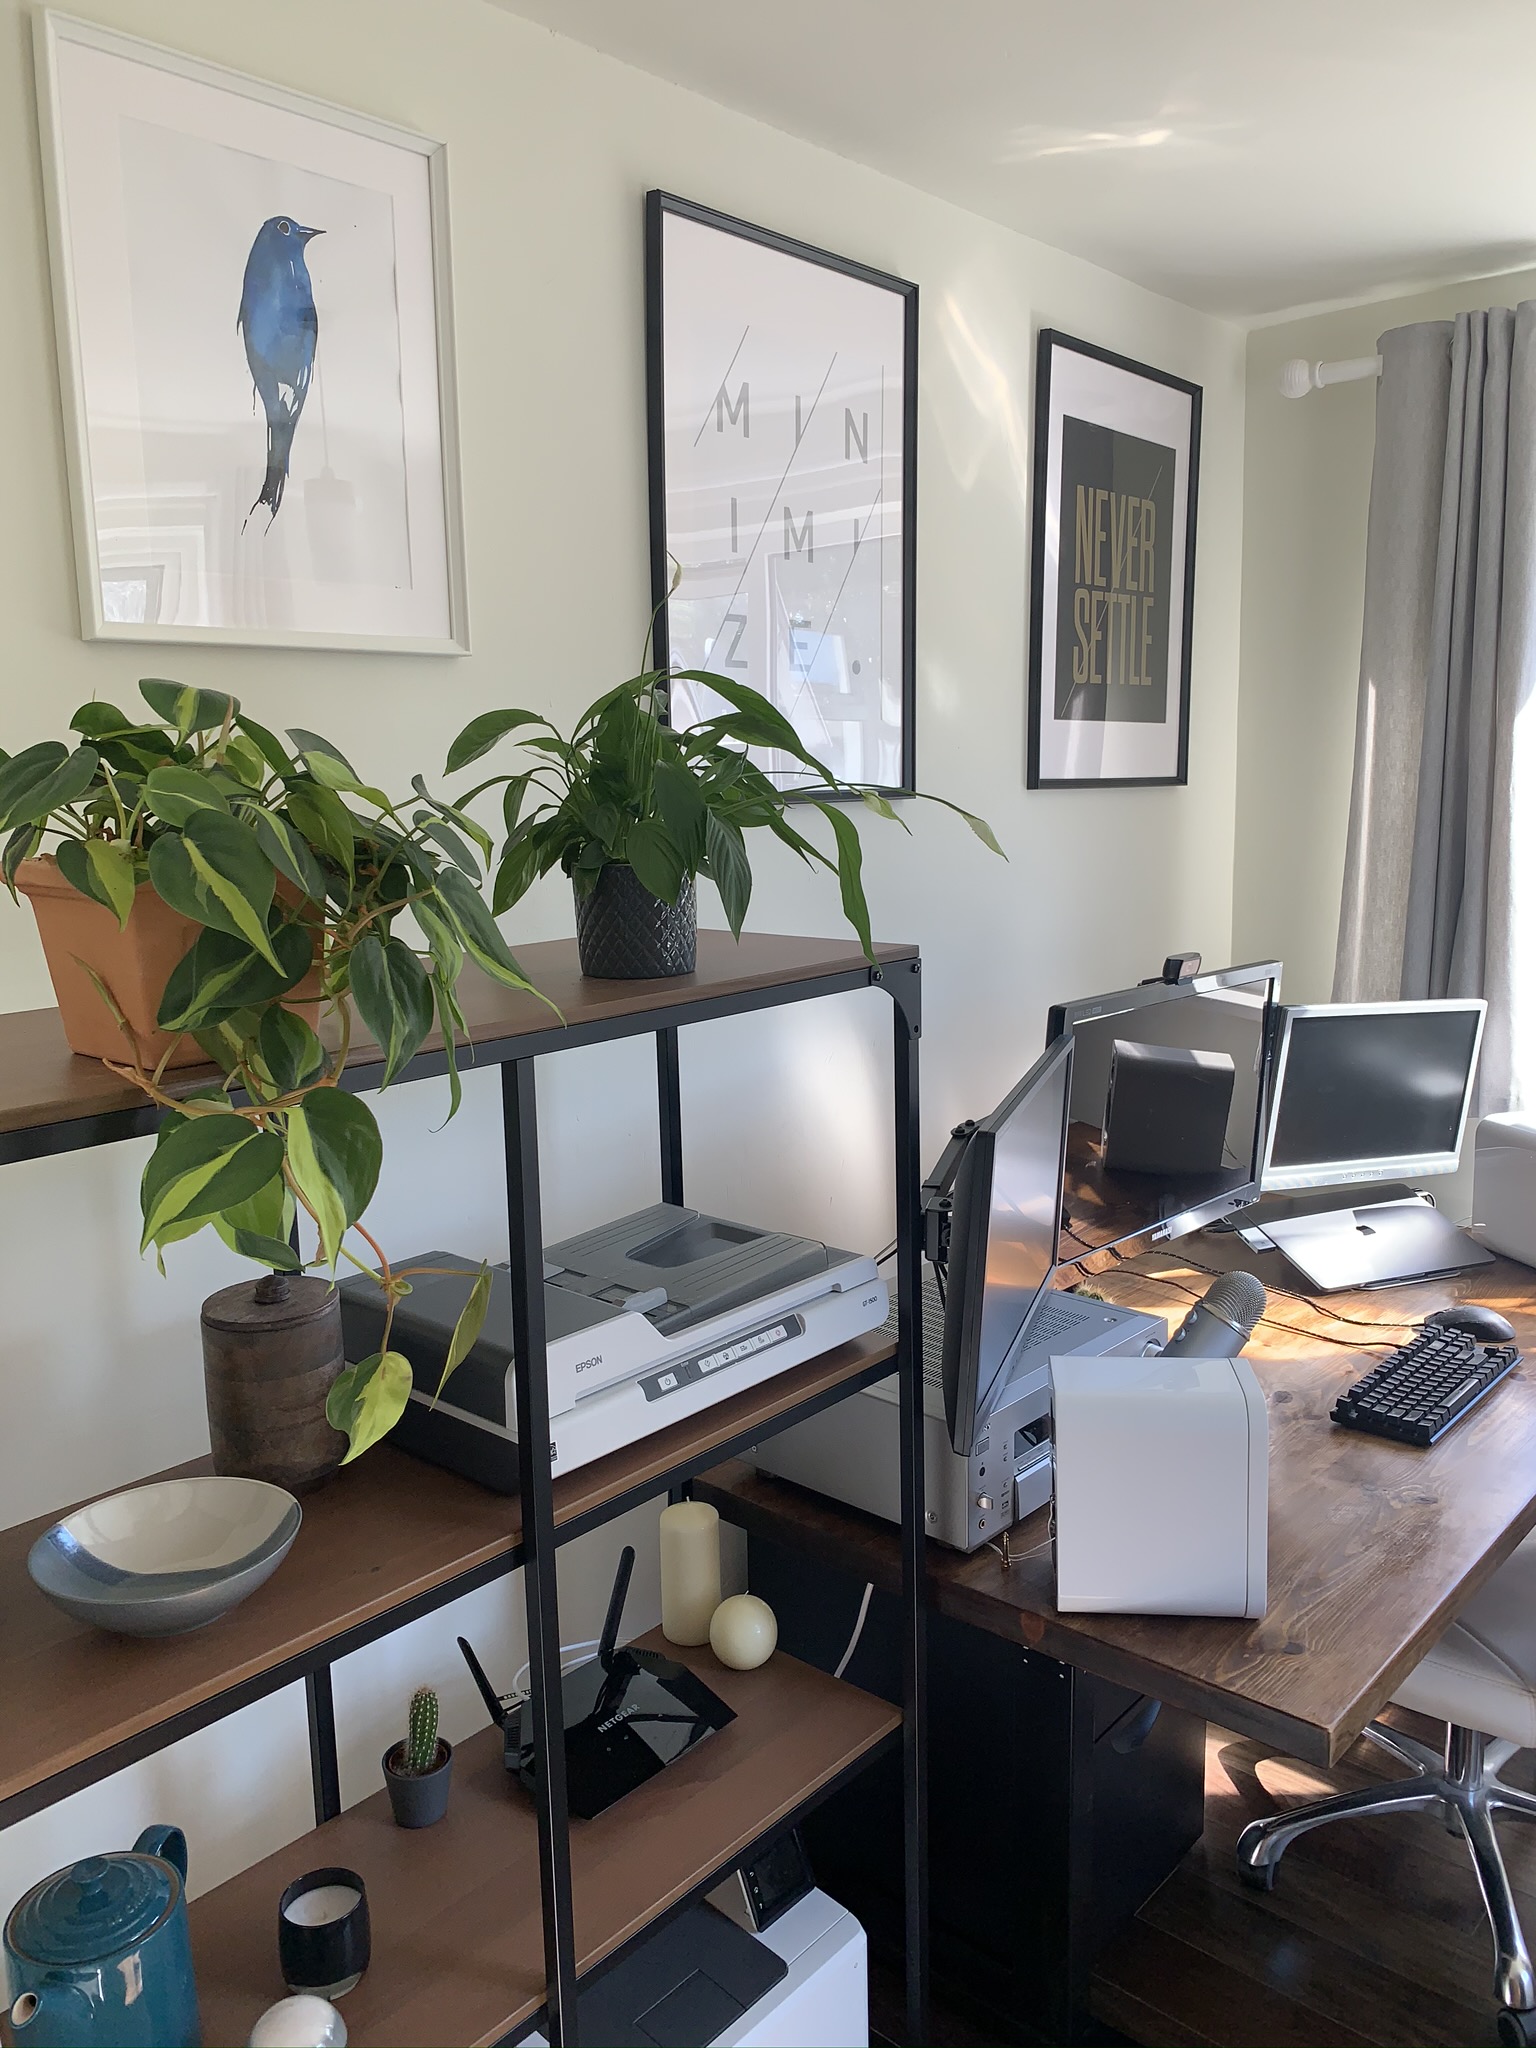
Next was the fun part of planning - designing the room! I approached this in two parallel ways, one from a styling point of view and the other from a functional point of view. I always think that the beauty of a space is all bound up with it’s utility - if it’s not functional there’s a superficial element to the design touches. The most attractive spaces have a form that enhances their utility, yet have that form executed in a way that’s aesthetically pleasing without detracting from the usbility of the space. I skew more towards the minimalist side when it comes to interior design tastes, but this time I decided to branch out a bit, and try to incorporate a style I’d seen on Instagram - a space with a strongly industrial base vibe, but softened by dressing with visually disparate trinkets, and a heavy usage of plants.
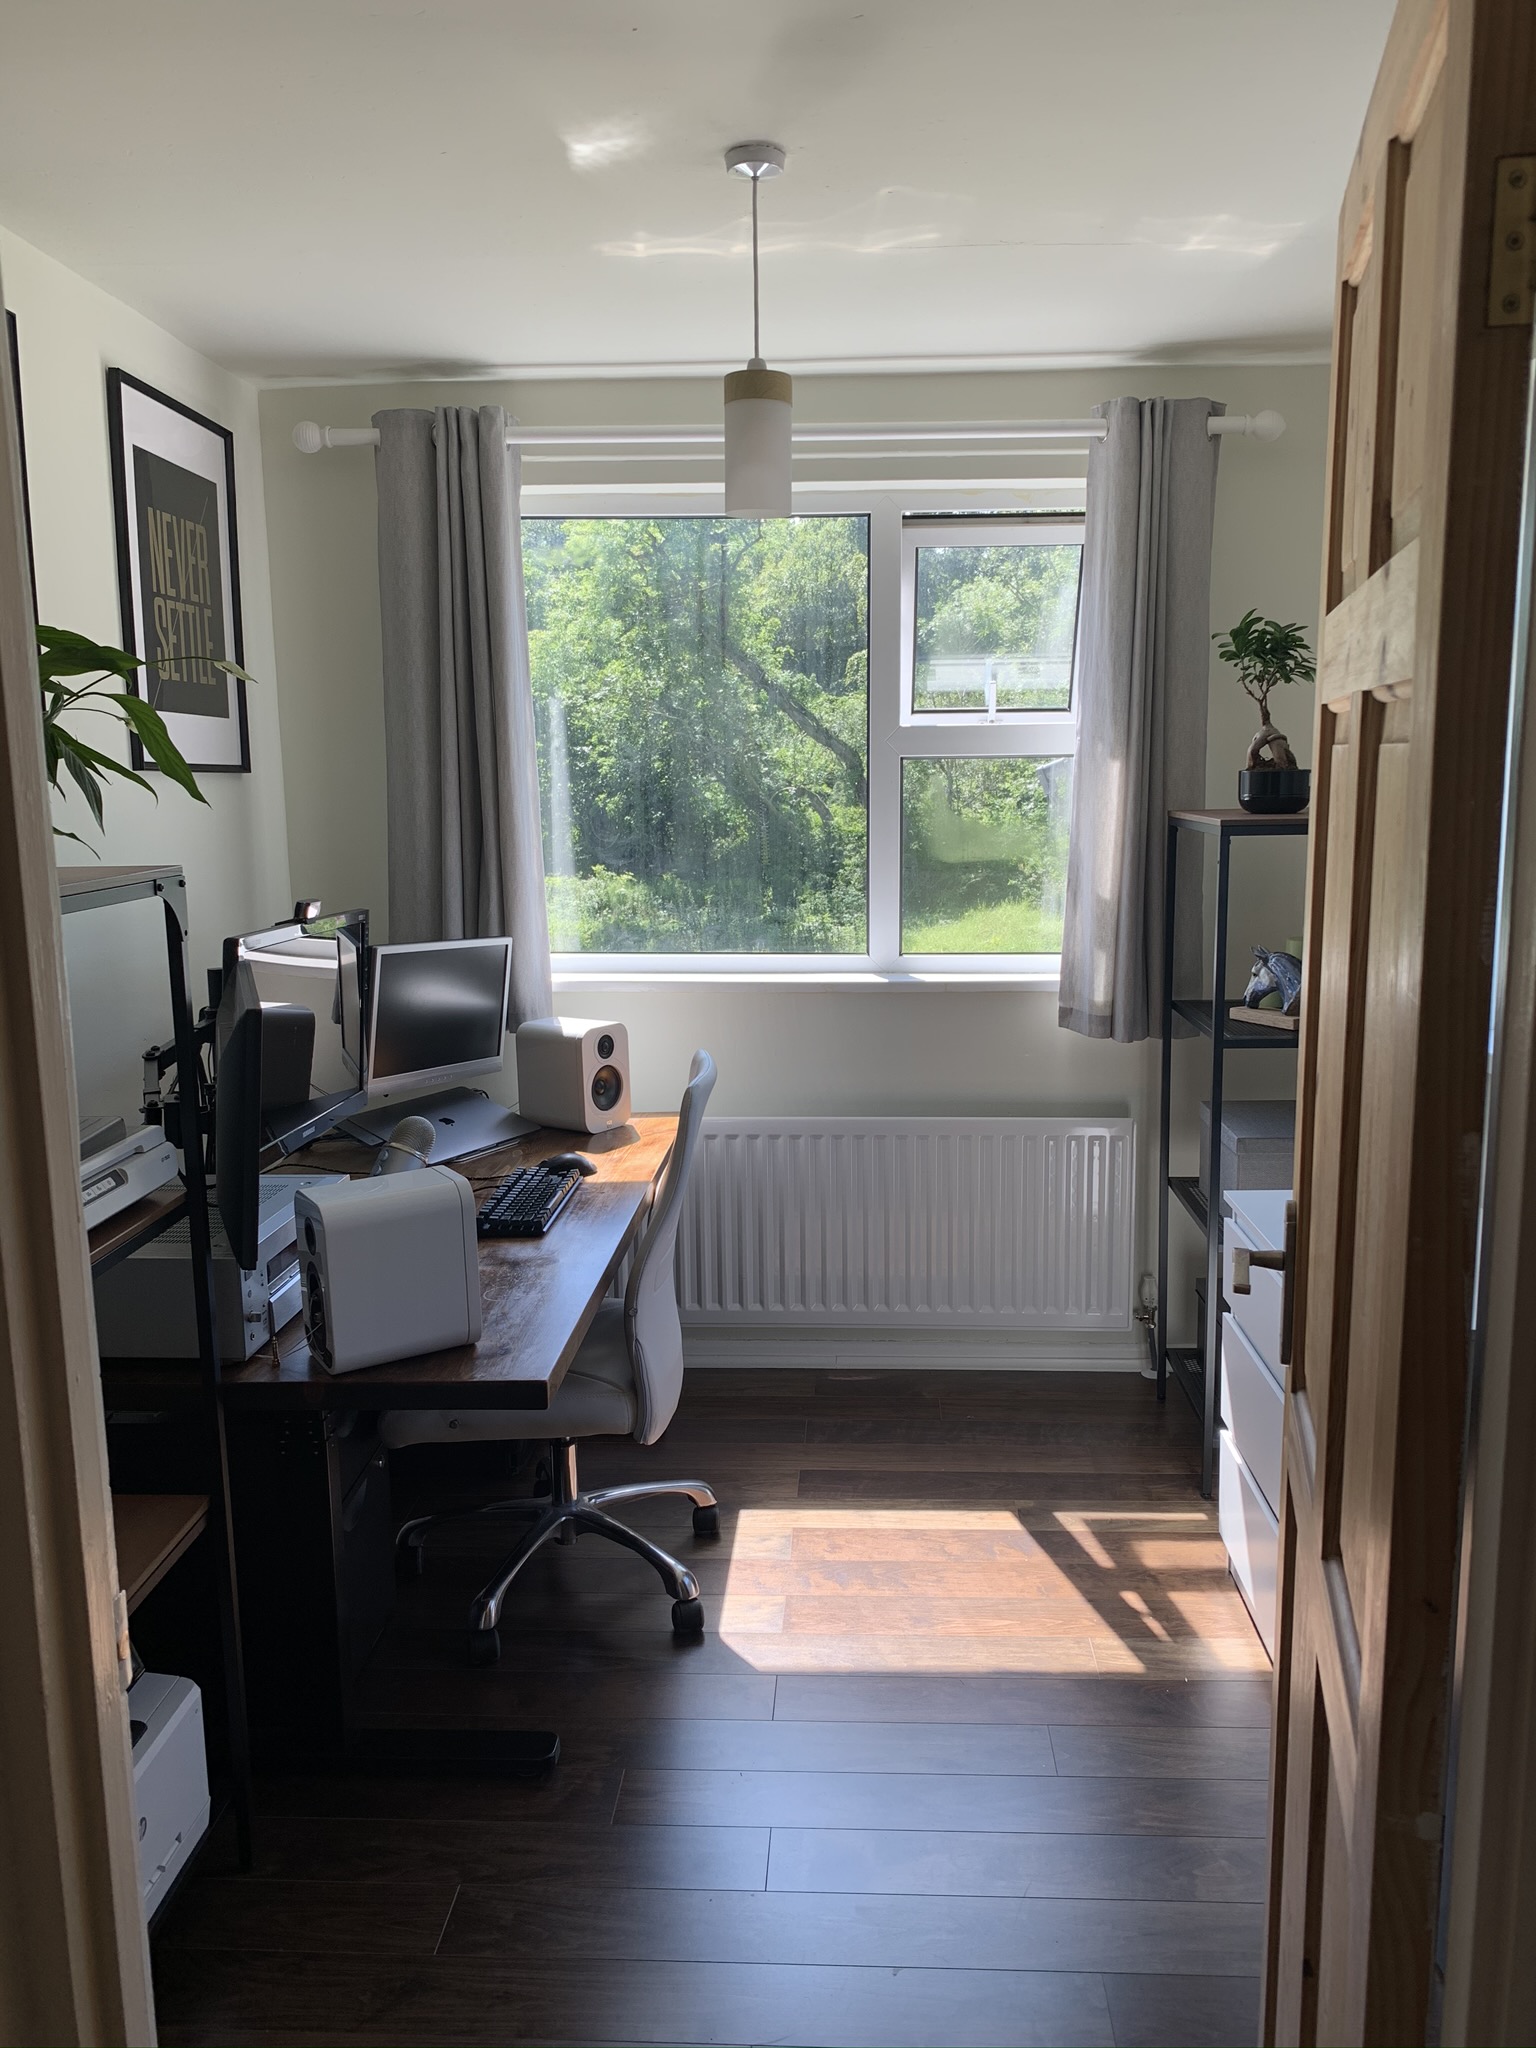
The potential I’d always seen in this room was the in views I’d fallen in love with. Two large windows allow the sun to stream in, and the views are filled with the trees (and sometimes animals) from a large nearby wood. The light in this room was always tinged with two colours whose ratio varied in the day, the fresh green of the verdant backdrop during the midday, and the warm golden glow from the lowering sun in the evening.
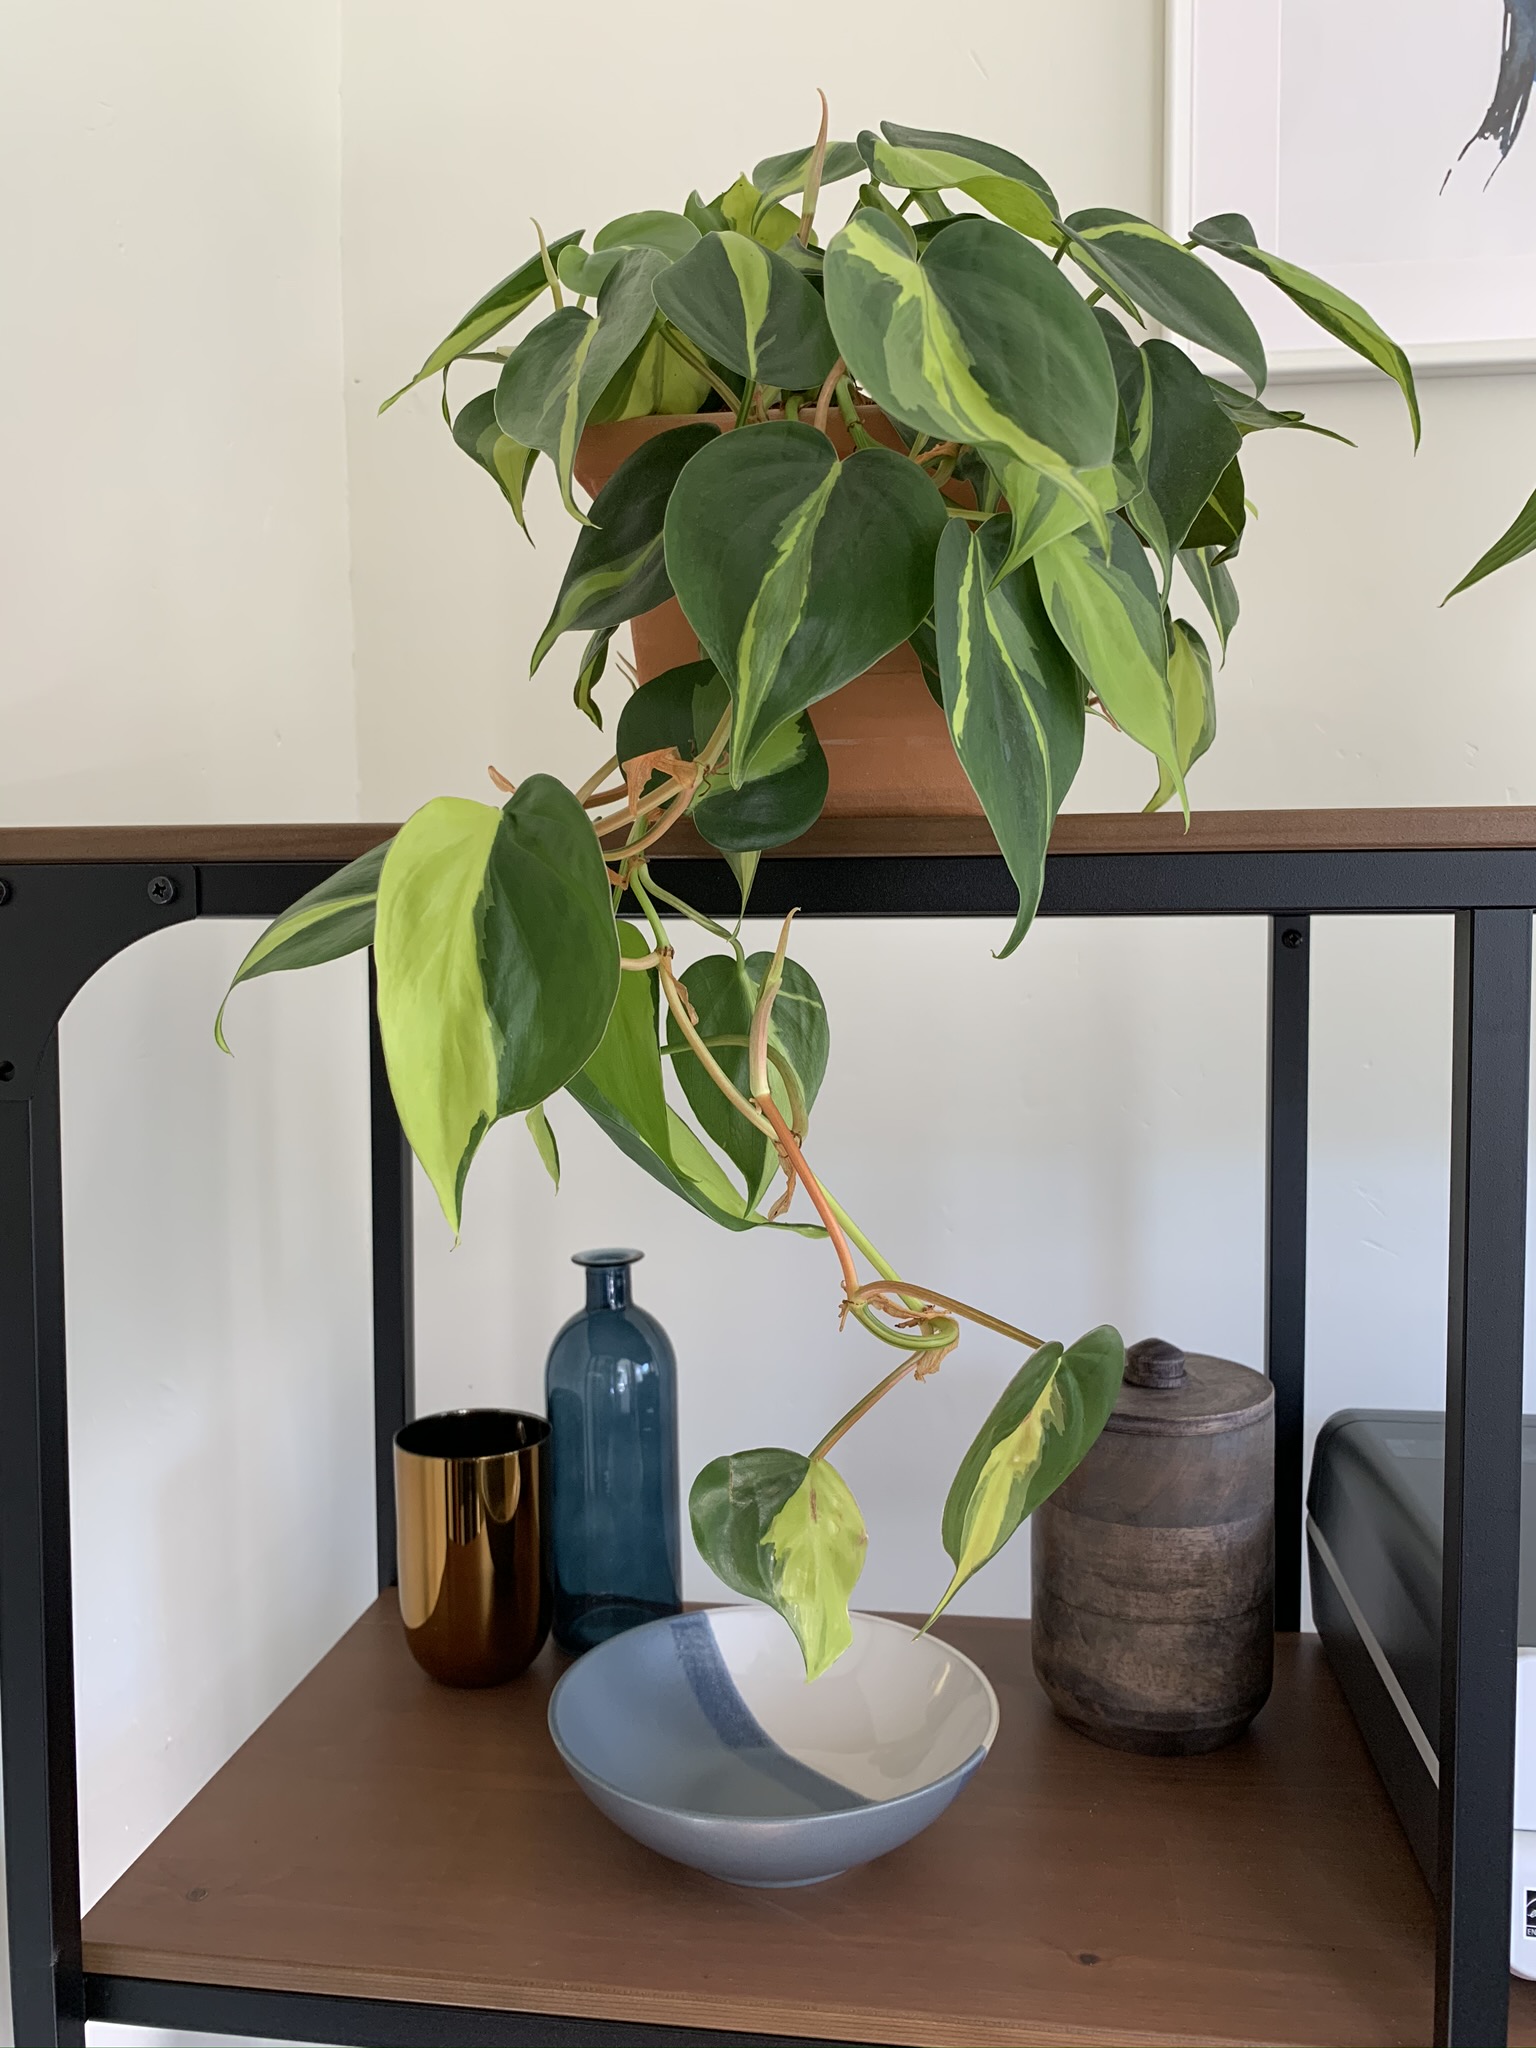
The impression I wanted to give was of the room being nestled inside the wood, and flowing into the view. I hoped that including lots of plants inside would help create this style, but the second element I applied was in the choice of color. From past experience I don’t think it’s possible to look past Farrow & Ball when it comes to paint, and I have a real affinity for their beautiful Estate Emulsion range which gives a very flat and calming matte finish, almost to the extent of being chalky. And so I picked from their range the color James White, an off white with a tint of green. I got enough of this to apply to both the walls and the ceiling, in an effort to make the room feel like it bled entirely into the surrounding forest with no boundaries neither to the side nor above. It’s not a technique I’ve been brave enough to try before, but having done it now I would certainly say it’s safe to apply, particularly in the case where you’re dealing with a light off white. In rooms with low levels of natural light, the more traditional white ceiling might be wise to stick with.
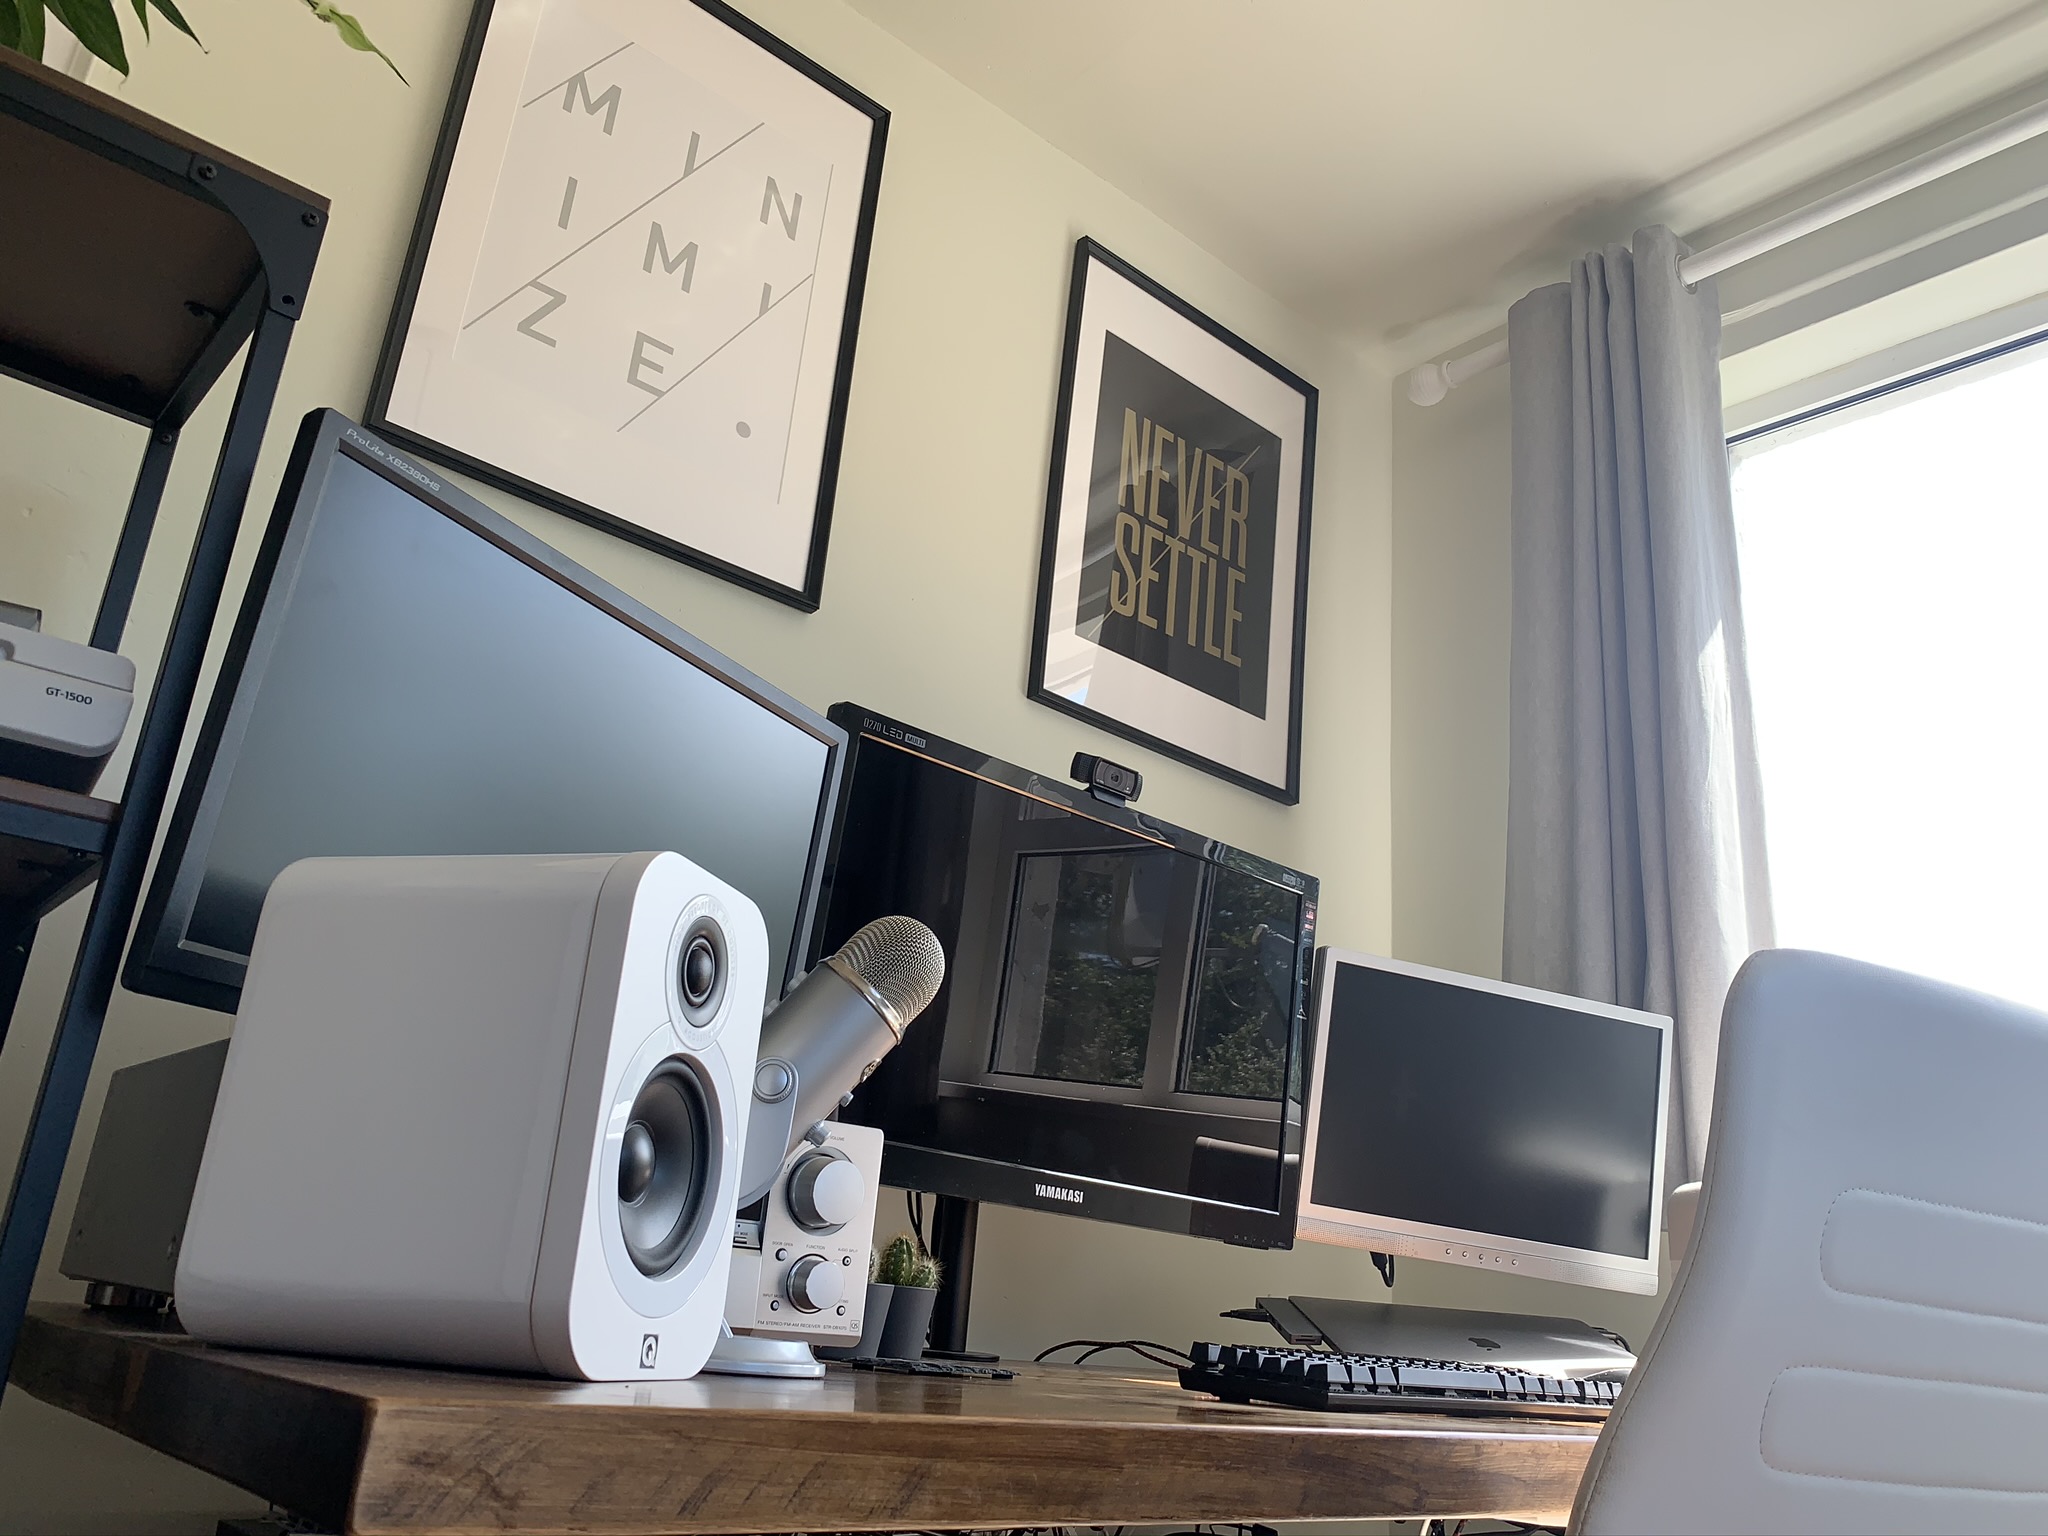
For the woodwork of the room I chose All White, in Estate Eggshell. I really enjoy the softer finish compared to the more glossy options, and the contrast of the pure white really draws the eye to the green tint in the walls, which without the constrast can easily go unnnoticed or mistaken for white. With some other pure white furniture, speakers, a chair, and insets into posters, I hoped that there’d be a few splashes of white around the room to work as an accent color to the pale green.
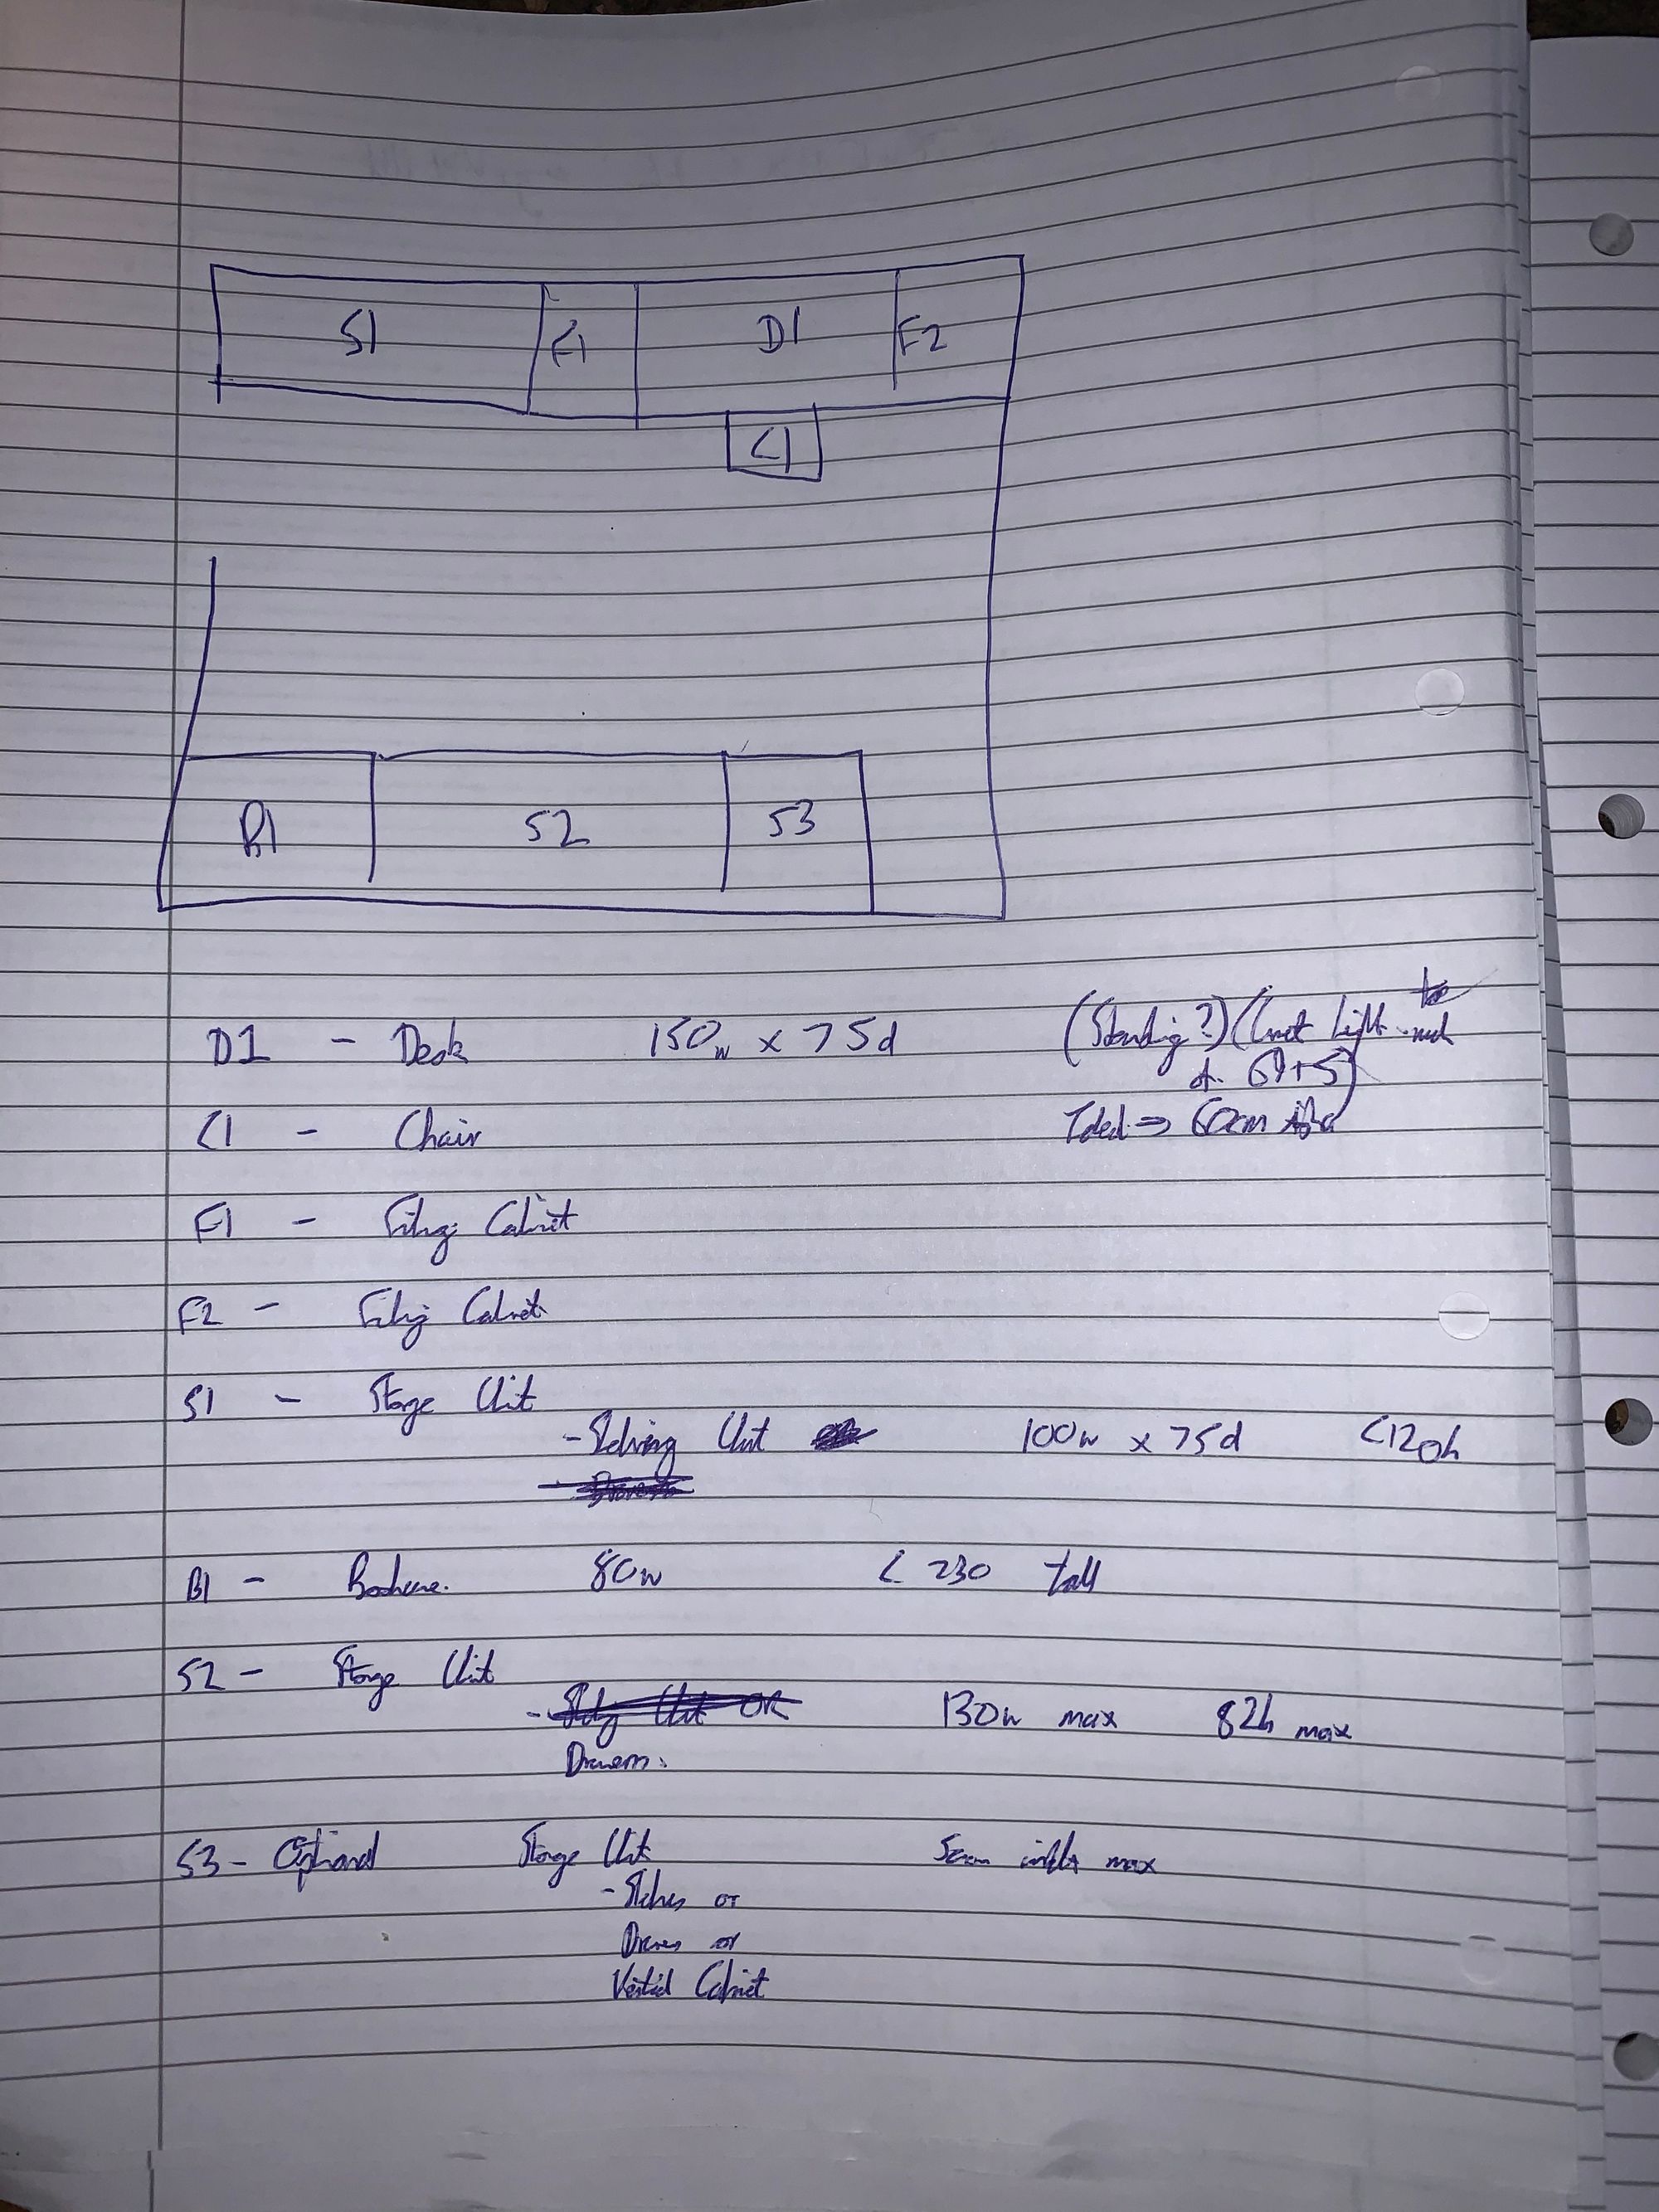
I started with sketching the plan below to choose furniture, and set about finding pieces that could store what I needed, fit together physically in the room, and also match the aesthetic I was hoping to achieve. By the end of the planning I had a clear vision of how the space might look, almost to the point where I could take a mental tour and inspect the objects. I just had to hope the objects I was imagining existed in the real world - more on this to follow!
And now, to business! My first task was to clear the room, and find somewhere for all the furniture. This was easier said than done in a 2-bed terrace, and so living conditions were, shall we say, cosy for a few weeks. There was, for example, a desk in the doorway to the bathroom for a while. Not ideal. In particular an old wardorbe that lurked in the corner was beyond saving, and so after an hour of addressing it with a set of tools, a huge pry bar and an even larger mallet I had wardrobe pieces at the back of my house, the room cleared and and curtain poles taken down.
The first real job was one of the worst. Tackling that woodchip. I’m a keen student of psychology and philosophy, and there’s a school of thought in which it’s not clear how much attending to your environment is different from attending to yourself. Certainly the house, in dreams, say, is a symbol of the psyche from a Jungian perspective. But less abstractly, DIY is chance to realise your knowledge, values, and personalilty into physical form, to test them against the physical world and see how they stack up. They say that how you do anything is how you do everything, and so I tried to find some meaning in the brutal task of stripping the room.
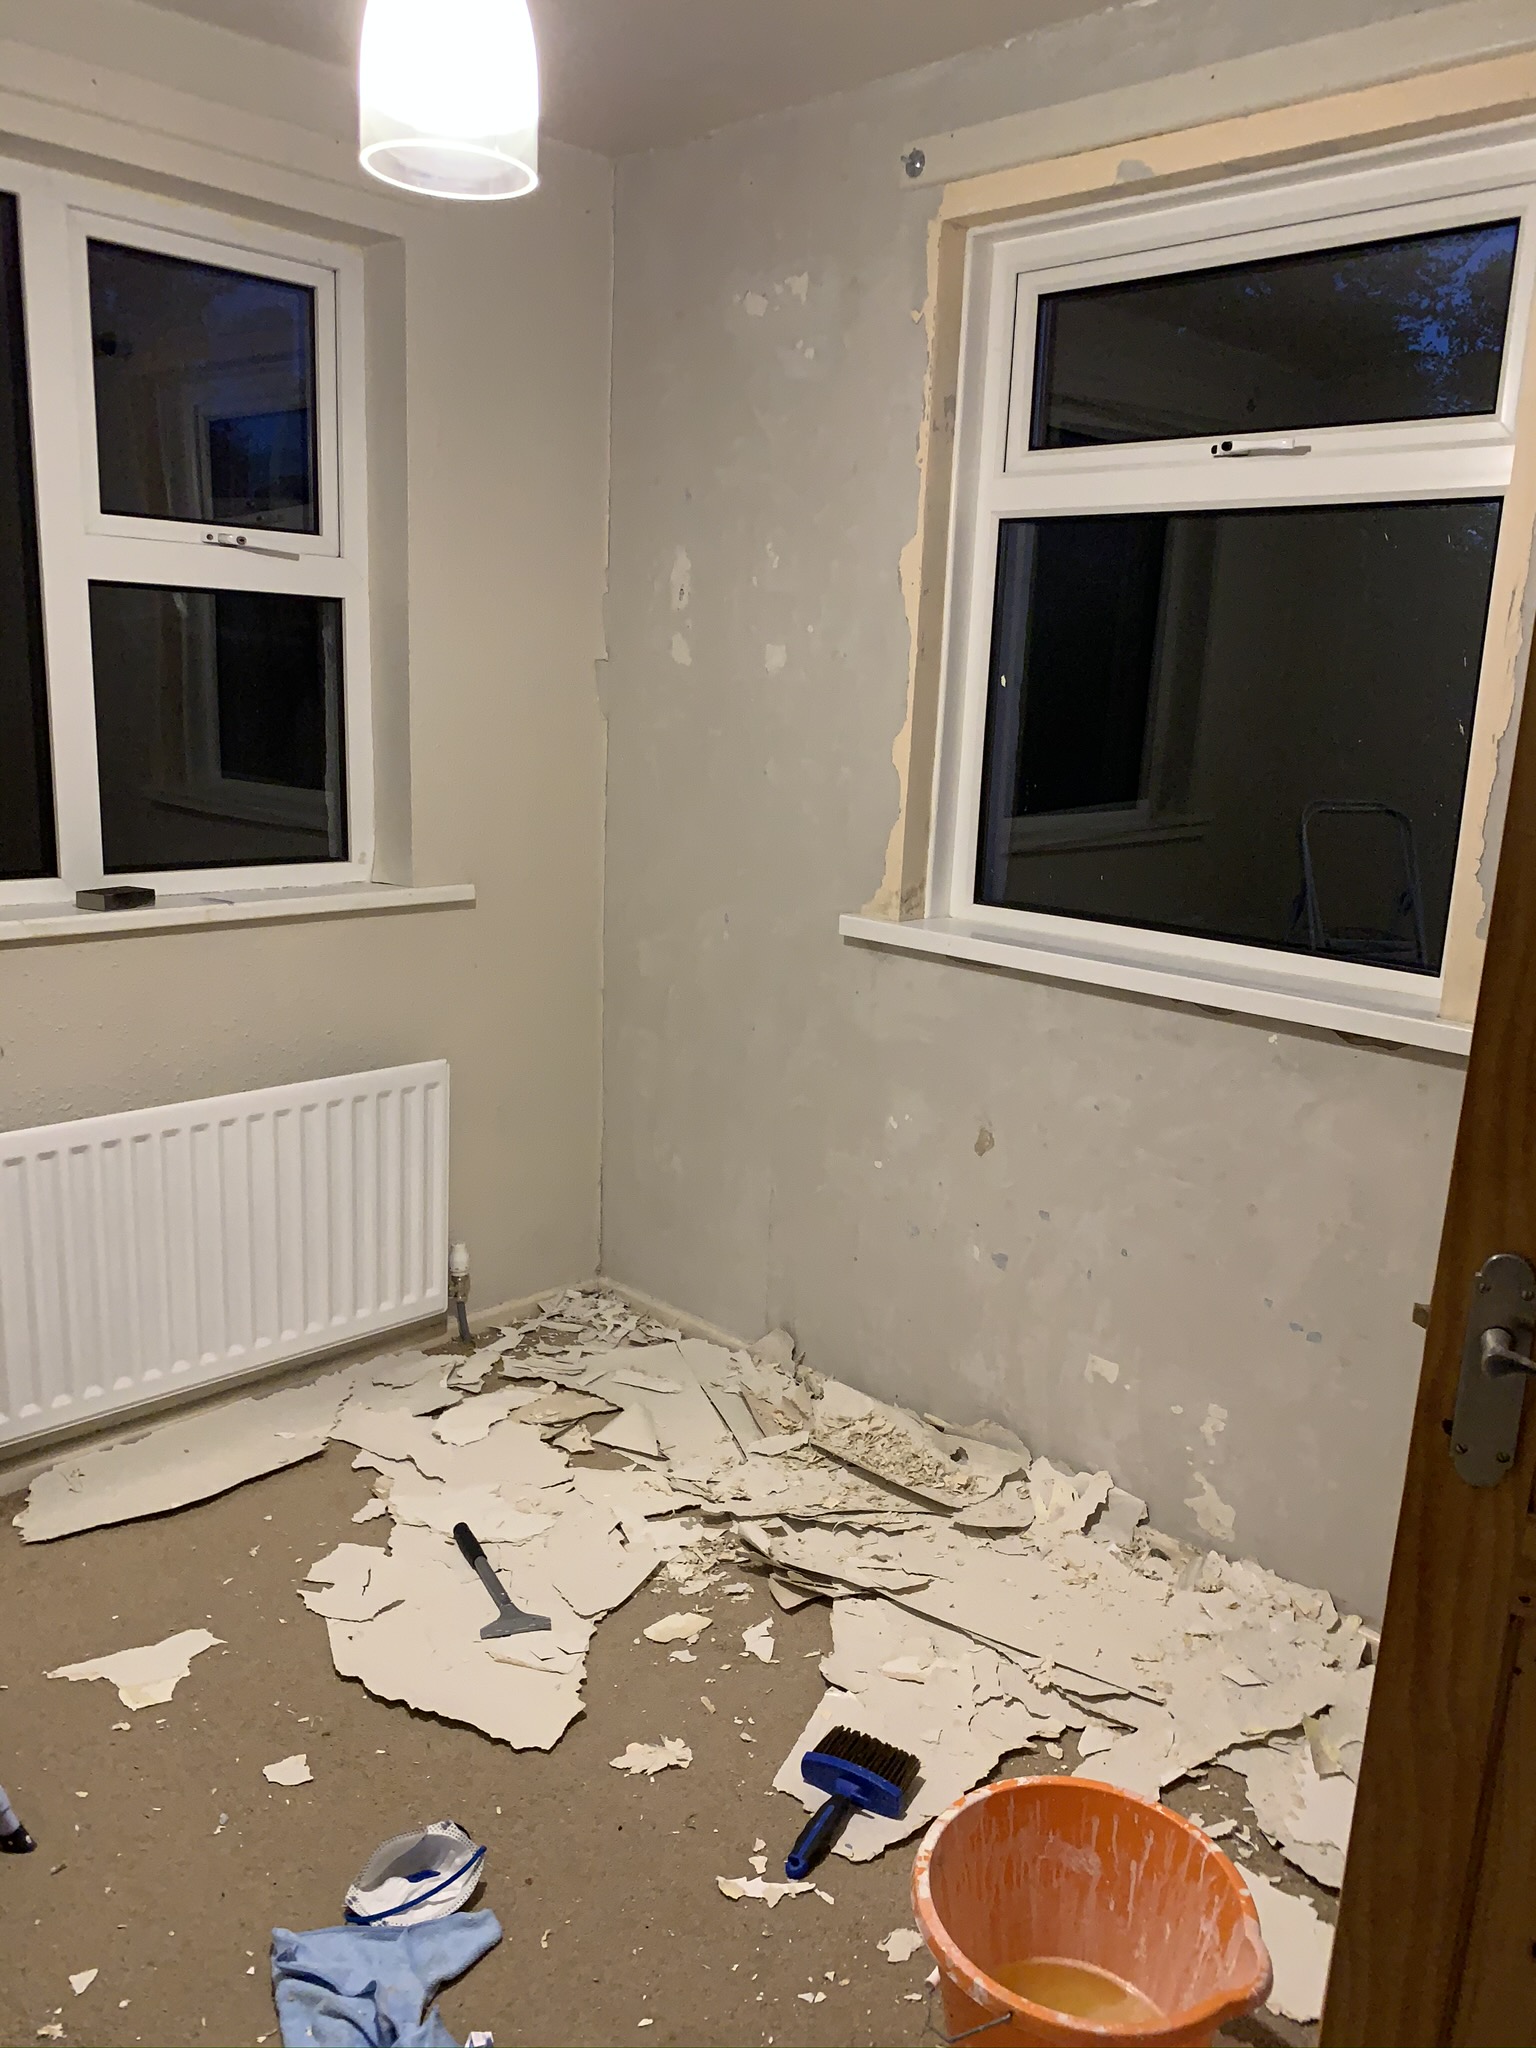

In terms of technique, the woodchip itself was difficult enough to remove, but the job was made vastly more difficult as the wallpaper had been applied over paint, so I had to revisist every surface with a razor blade to painstakingly hack and chip this off millimeter by millimeter. One wall had a layer of highly glossy paper between the paint and the woodchip which rebuffed entirely all attempts of stripping solution, or steam, to break the surface. By far the most challenging section was the ceiling, as it was much more difficult to gain purchase against the surface from underneath, perched atop a step-ladder. After the first few hours, I calculated that at my current rate, it would take a total of 50 hours to strip the ceiling alone. I was able to get faster with practice, but I’m not sure that in the end I beat it by much!
On the plus side I entertained myself with music and podcasts, and, among other things, got through around 40 hours of psychology lectures that I’m not sure I would have otherwise! The philosophical subject matter was the perfect motivational accompaniment to imbue the laborious task with a sense of meaning.
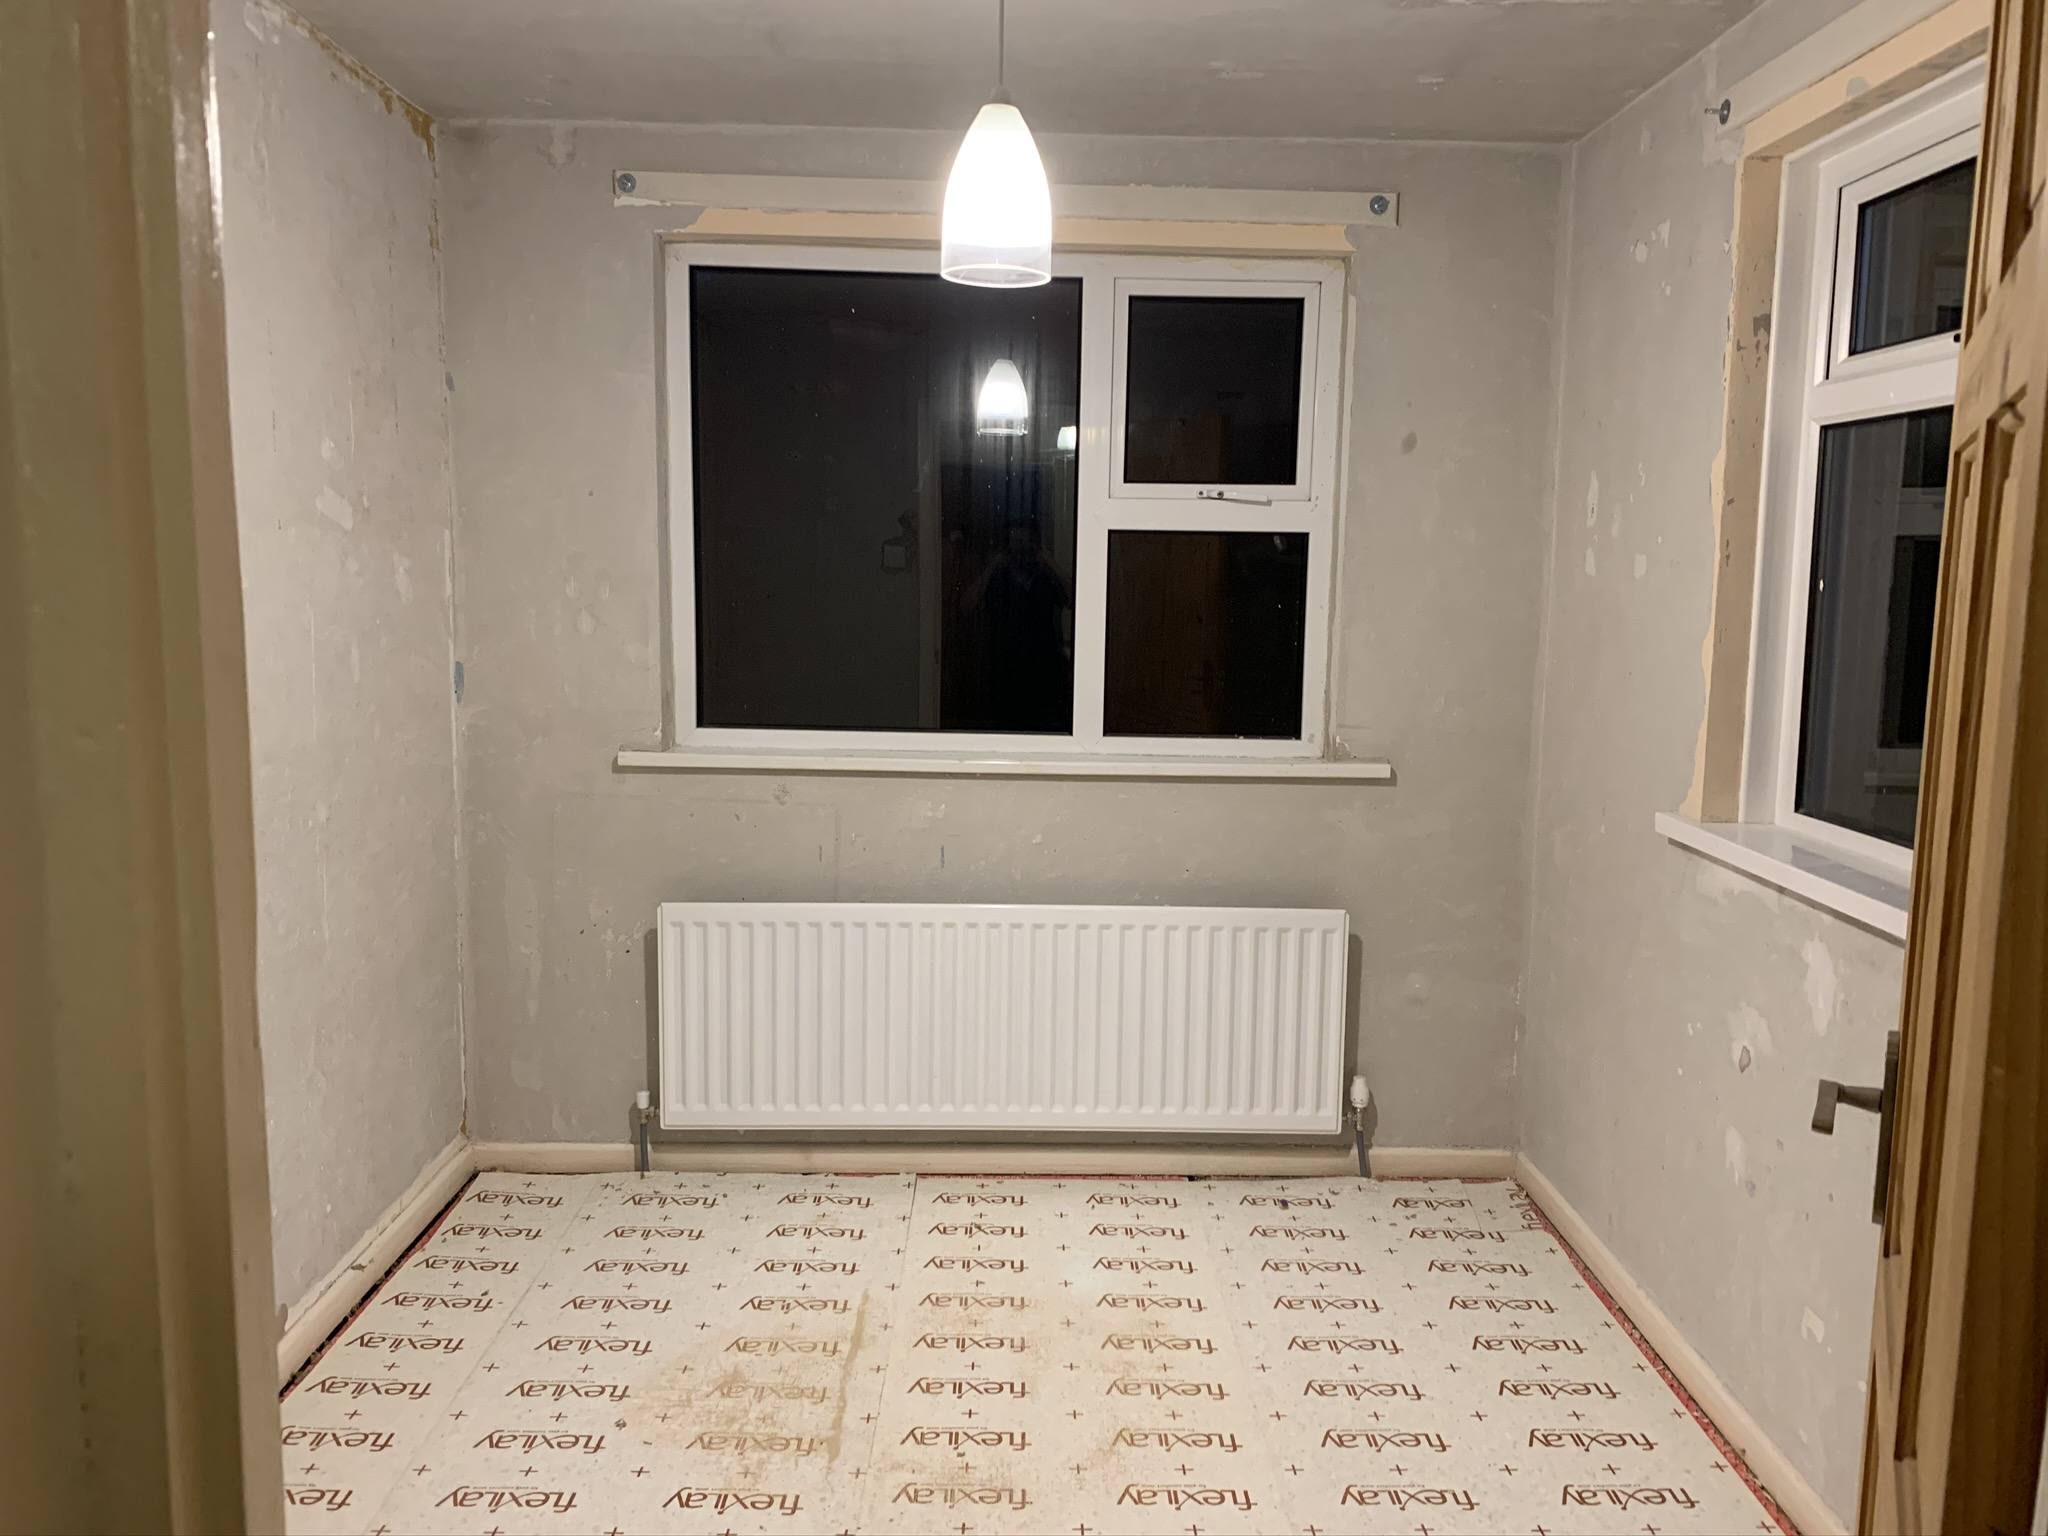
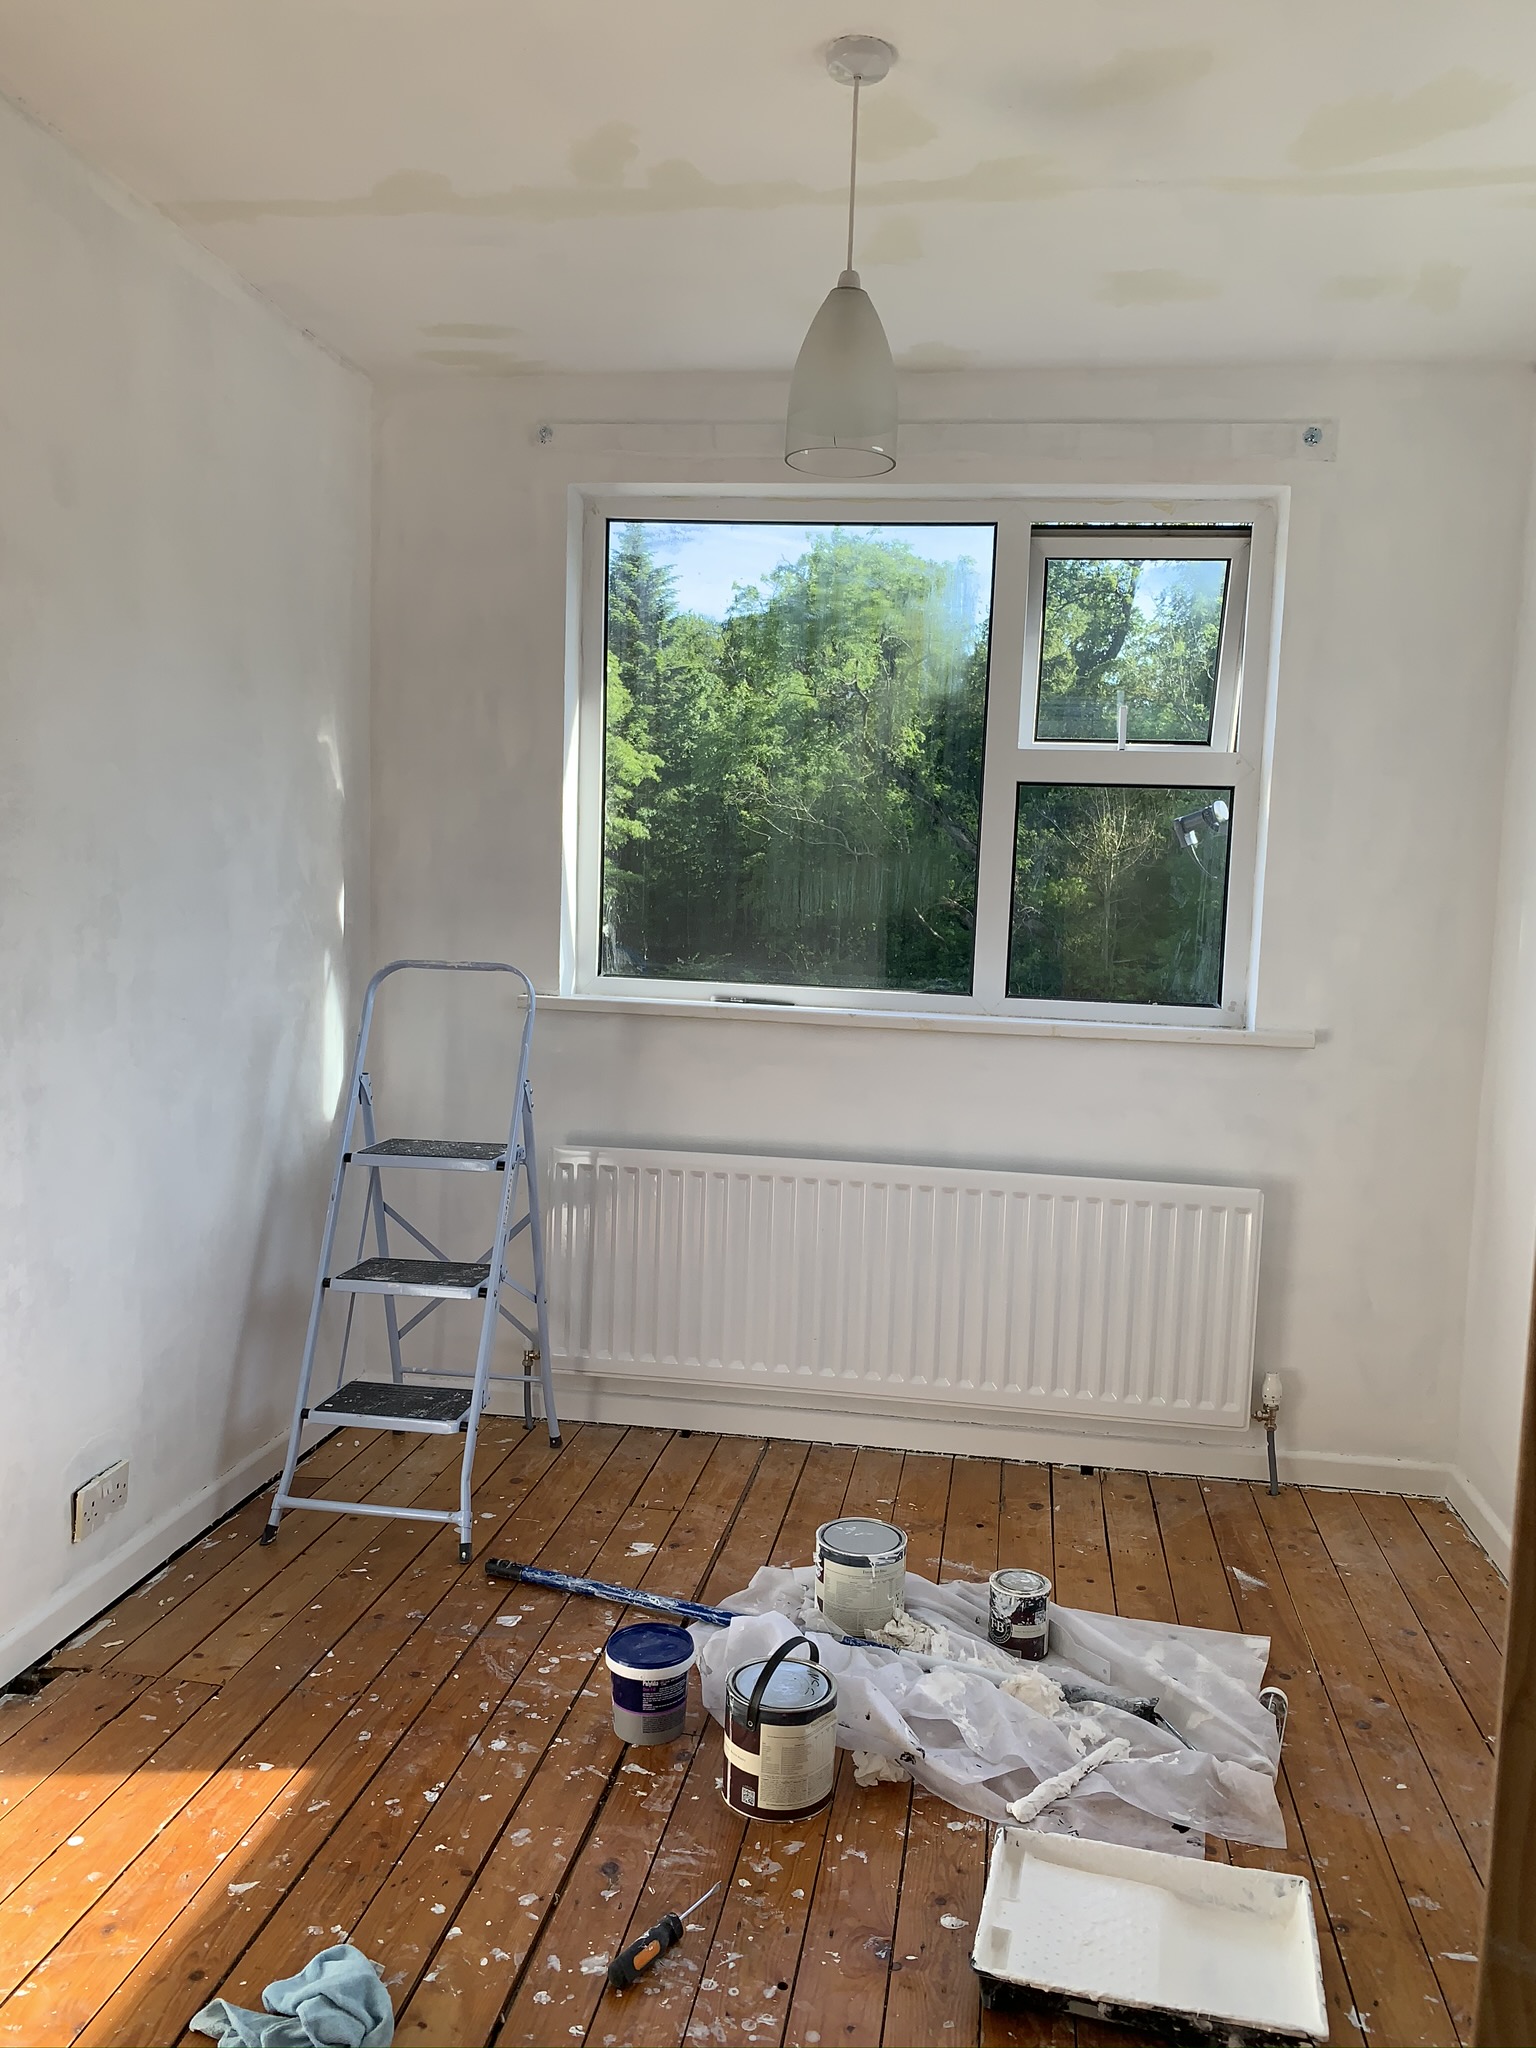
Once the woodchip was gone and I’d shop-vac’d away the mess, I had to revisit the walls a few more times. Firstly, to repair with filler the most egregious cracks and divots, secondly to sand the surface to remove any residual glue which might stop paint adhering and to create a key for the primer, and finally to wash them down to remove the dust from the surface.
Thankfully, the condition of the walls after this process was surprisingly good, and not the Kafkaesque horror which I had half been expecting to be revealed. All-in-all I’d rate this experience an 8/10, mainly for the spiritual growth :)
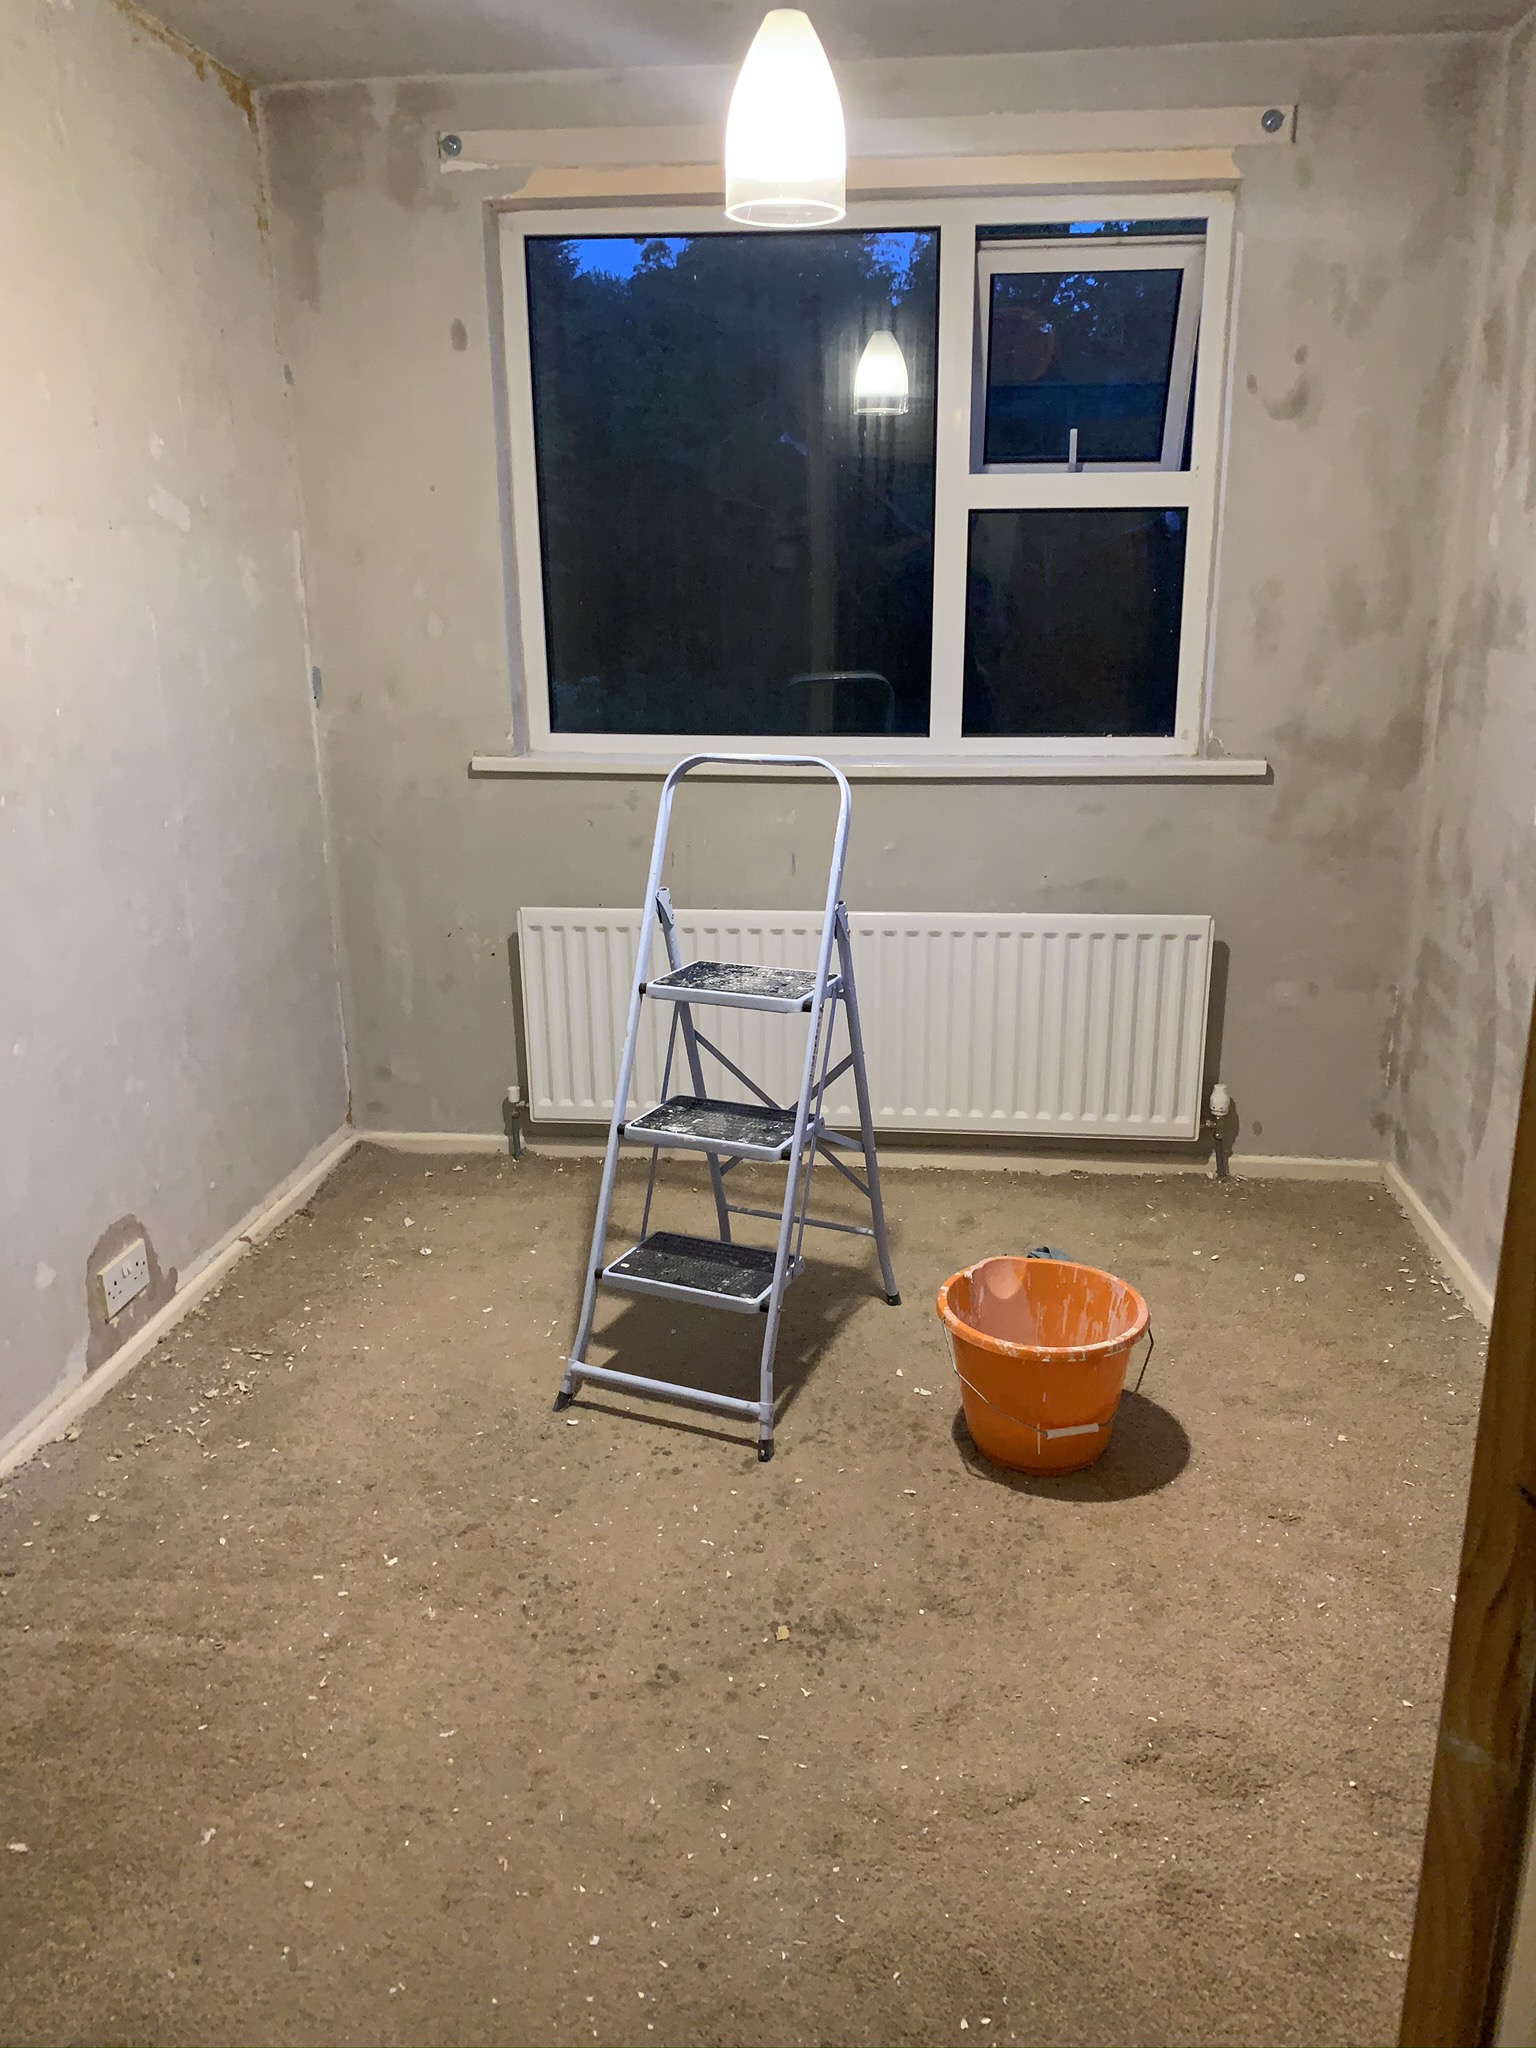
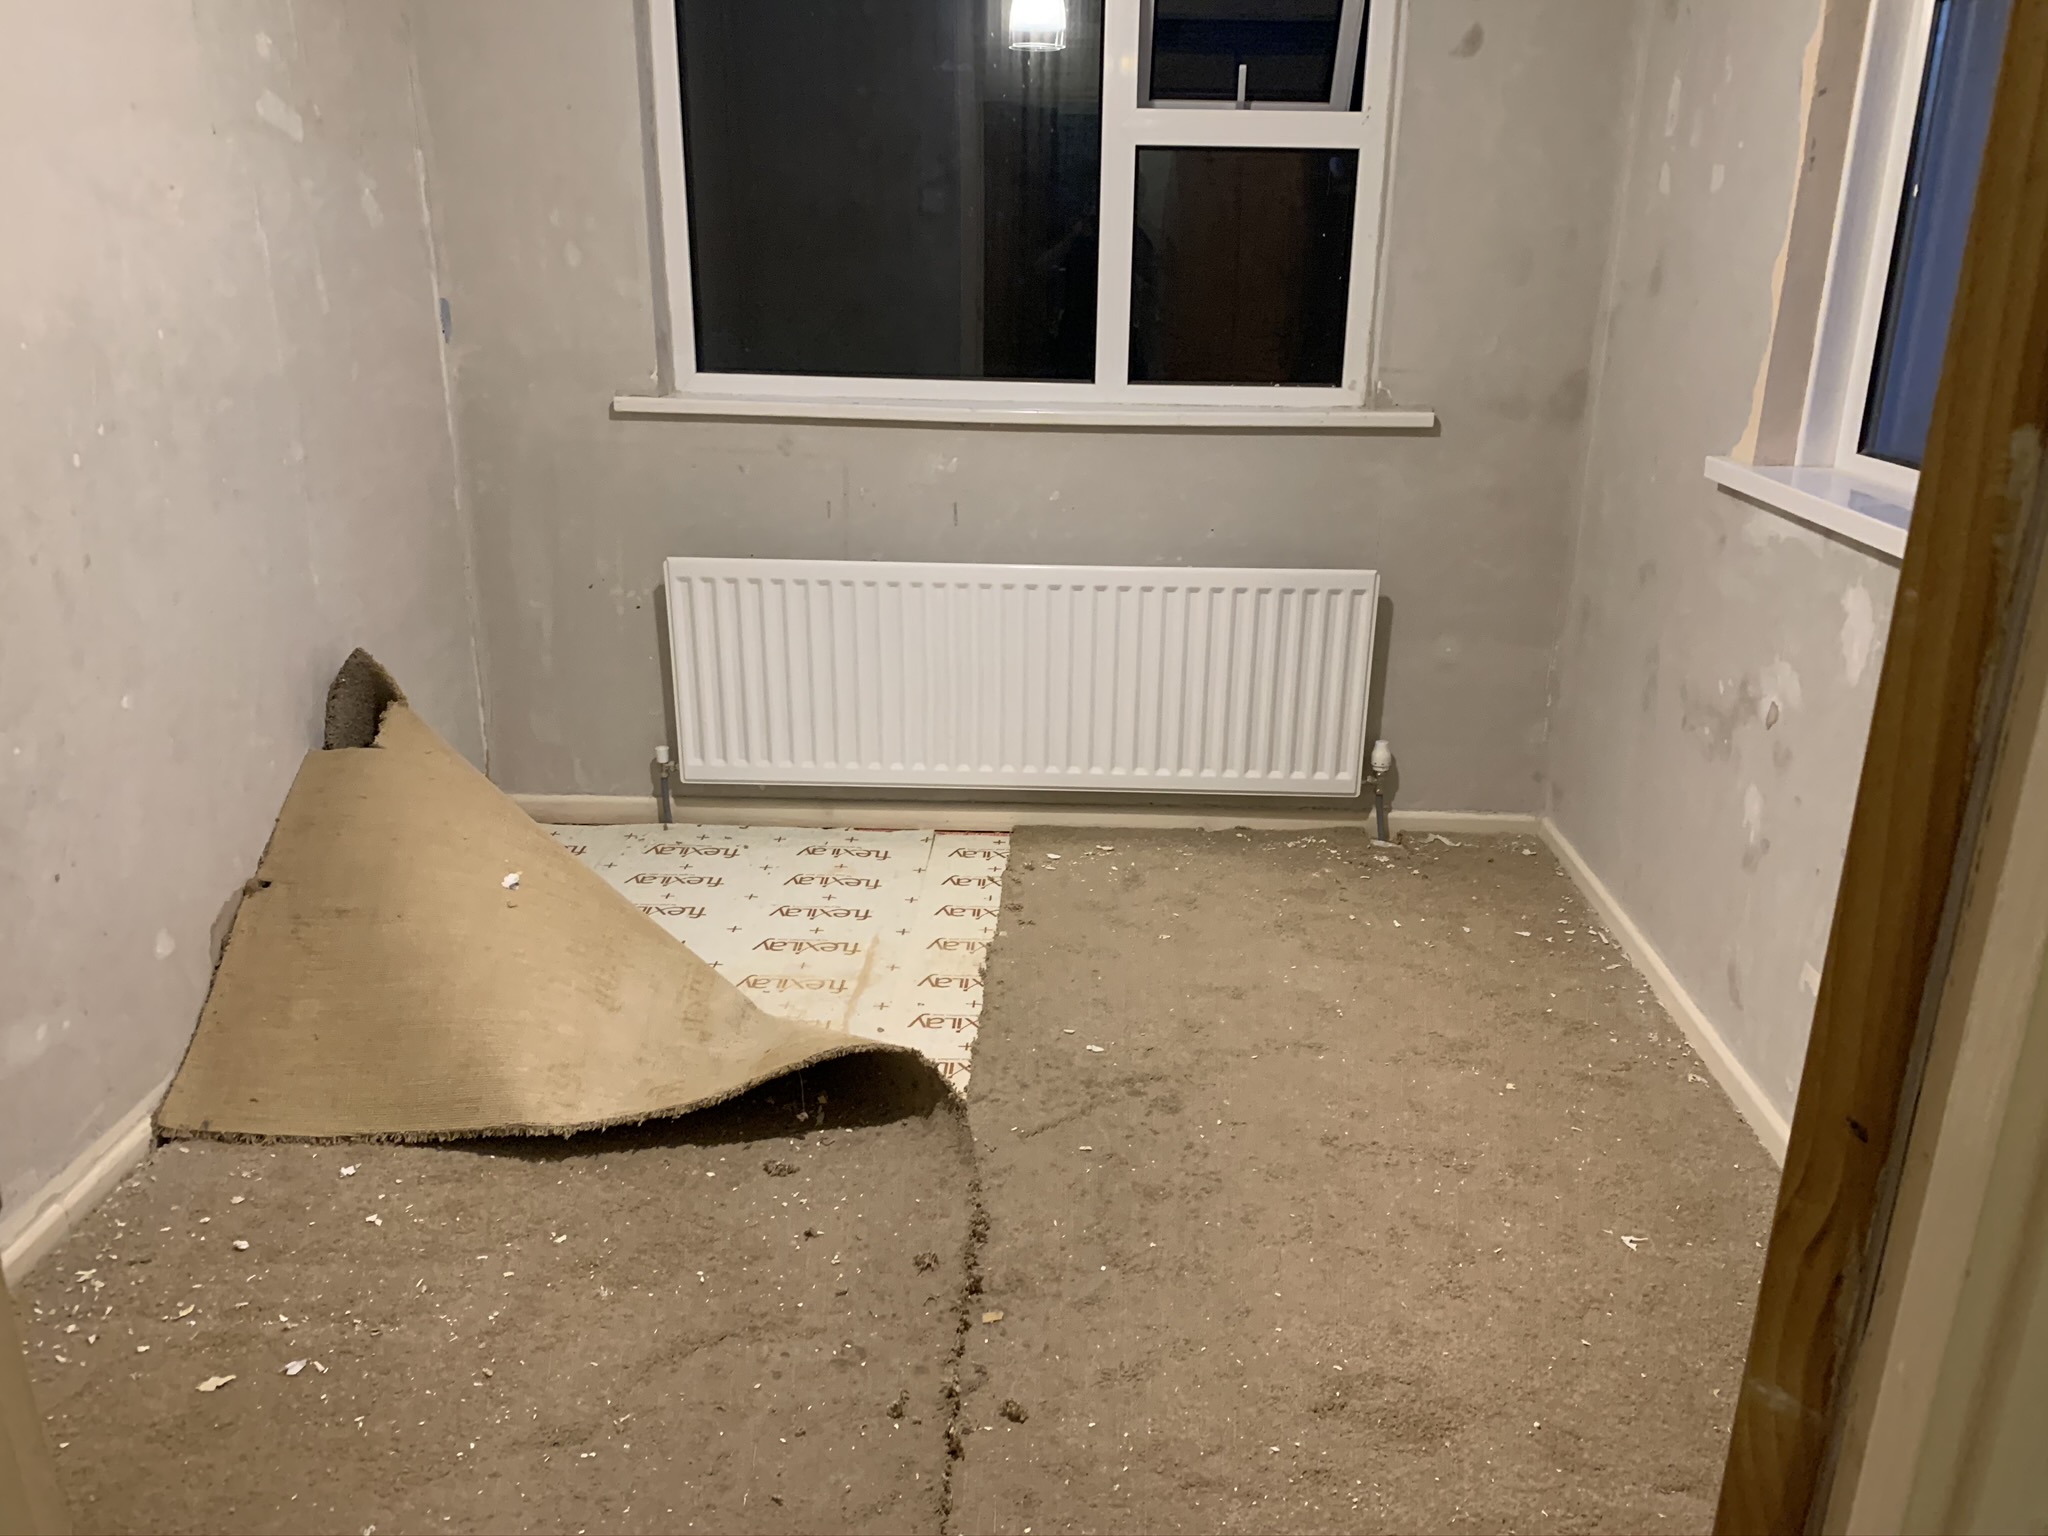
Next was a nice quick win, getting up the carpet, underlay and gripper roads, just a short job with the help of a Stanley knife and a crowbar. My secondary objective here was not to pry a gripper rod violently into a radiator pipe and flood the entire house, but luckily mission accomplished.
The next task was much more enjoyable, painting. I started by giving the woodwork two coats - I find it’s much easier to cut in the walls along the woodwork afterwards than to attempt to paint the walls first and the woodwork after. Also, any excess paint is much easier to clear from the more glossy woodwork paint than from the more matte finish typically used on the walls, so this seems to be the easier order all round.
In total, I gave each surface of the room three coats of paint - one of primer, and two of the coloured topcoat, each time cutting in around the edges of the walls, ceilings, windows and fittings with a medium brush, and then filling in the surfaces with an extensible roller, working one wall at a time.
I noticed after my primer coat that some of the repair patches I’d made on the ceiling were flashing through - I got a top tip from a work pal to dust these with a little bit of the topcoat color after priming, and allow that to dry before applying the full layers of topcoat. This worked a treat, and after painting all of the surfaces had a nice uniform finish.

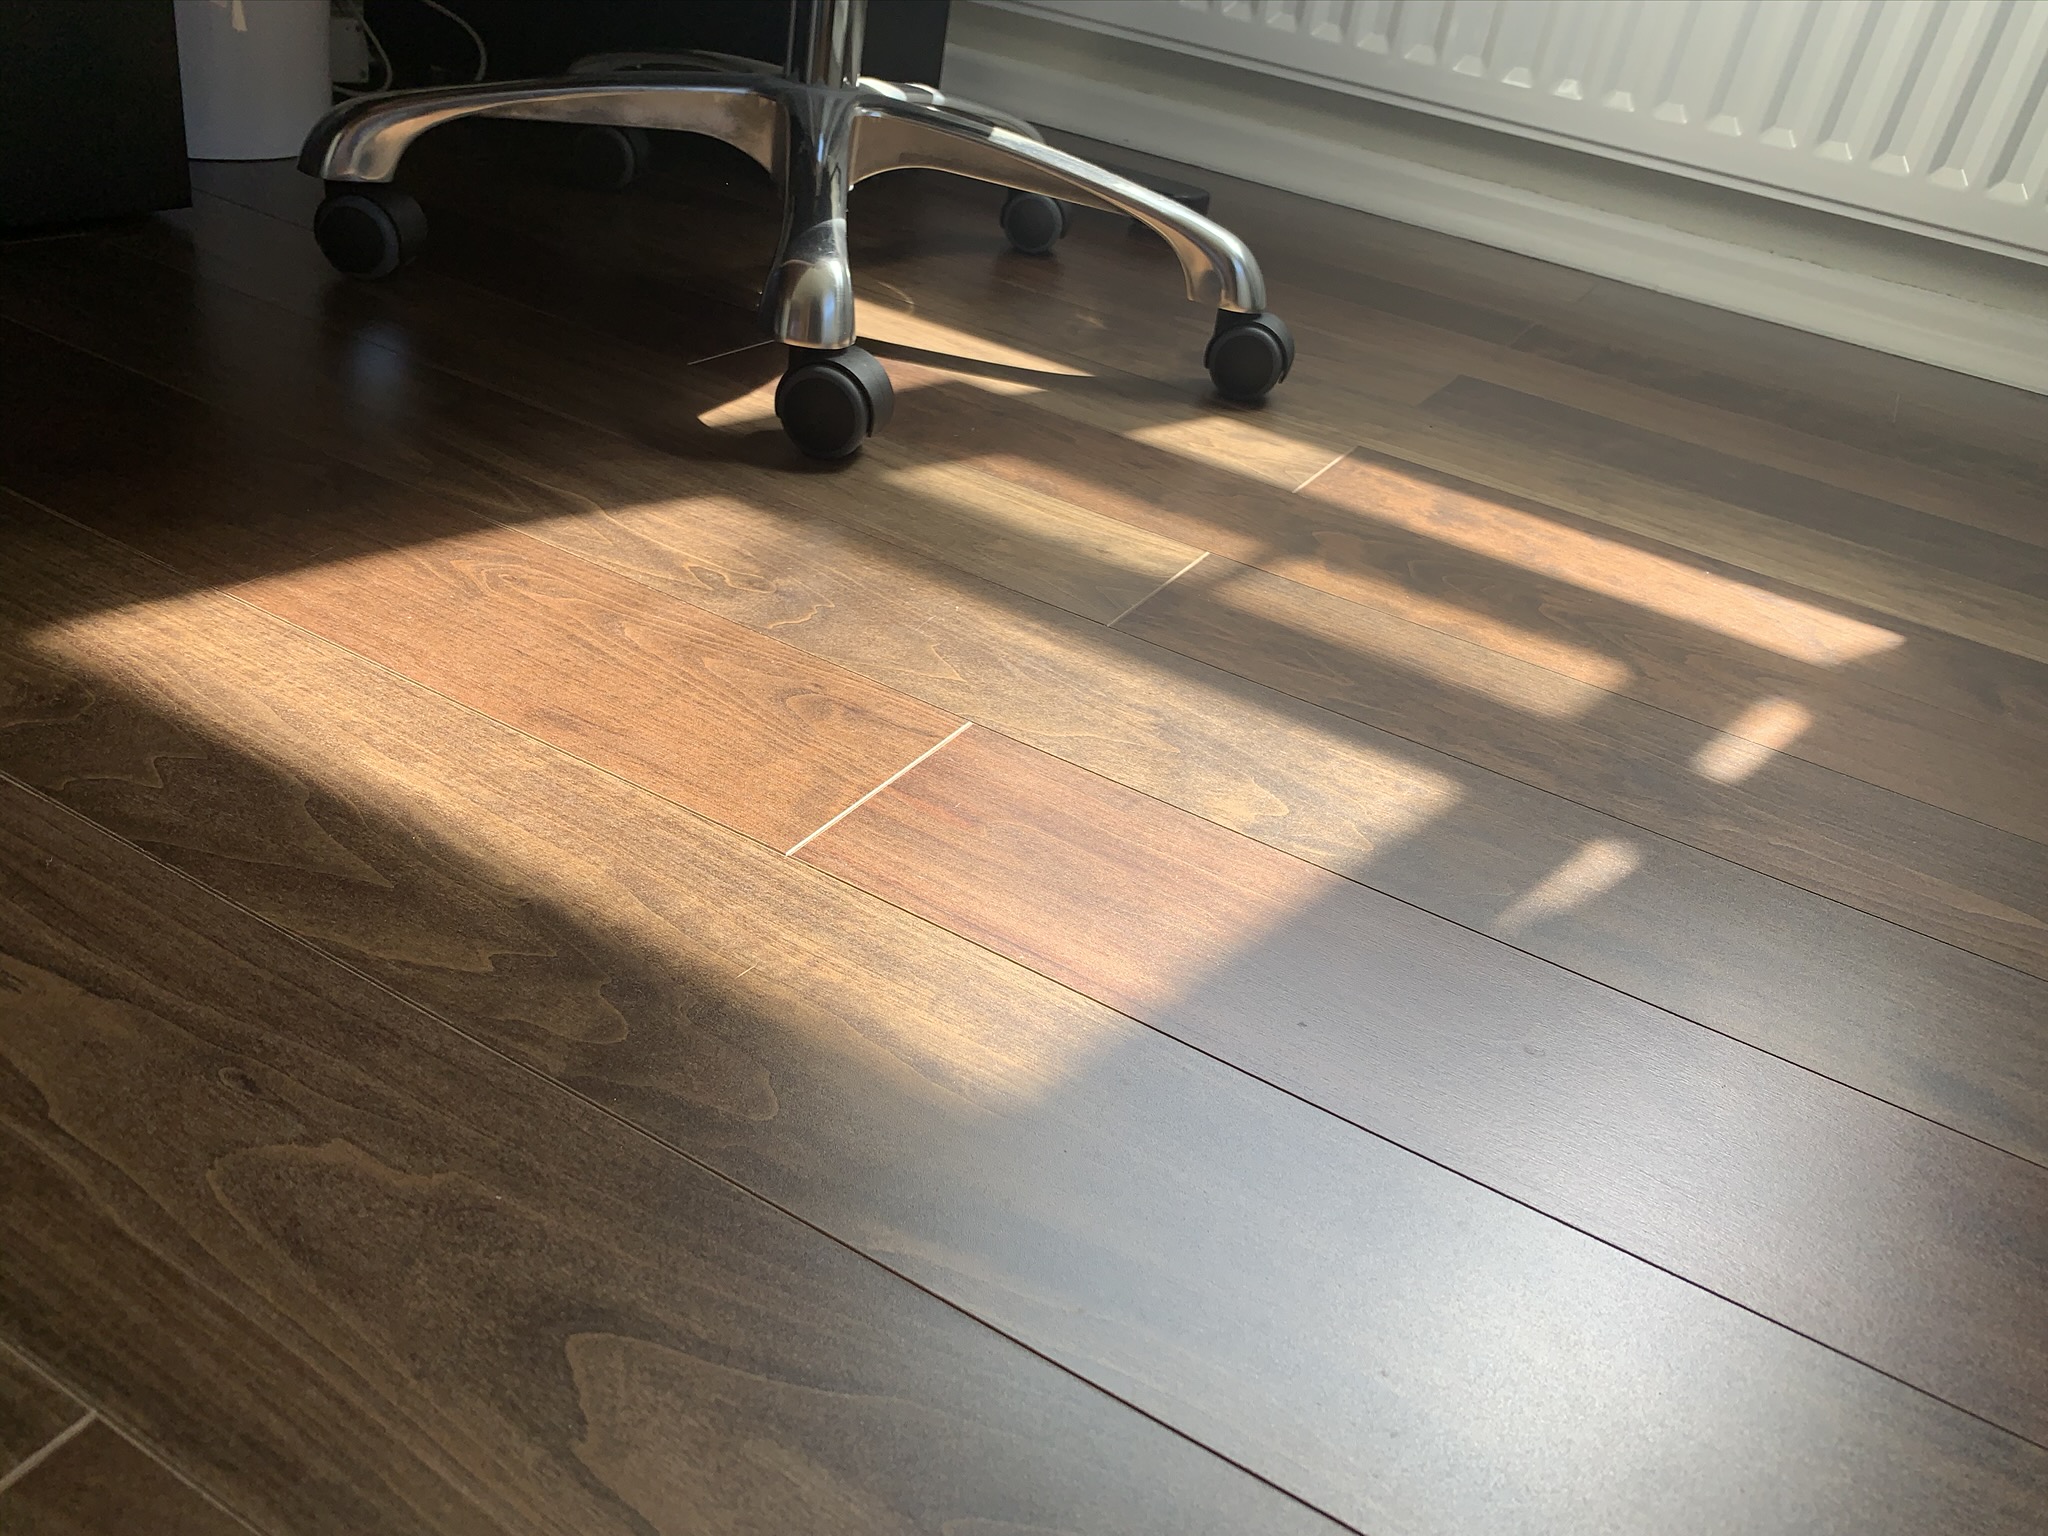
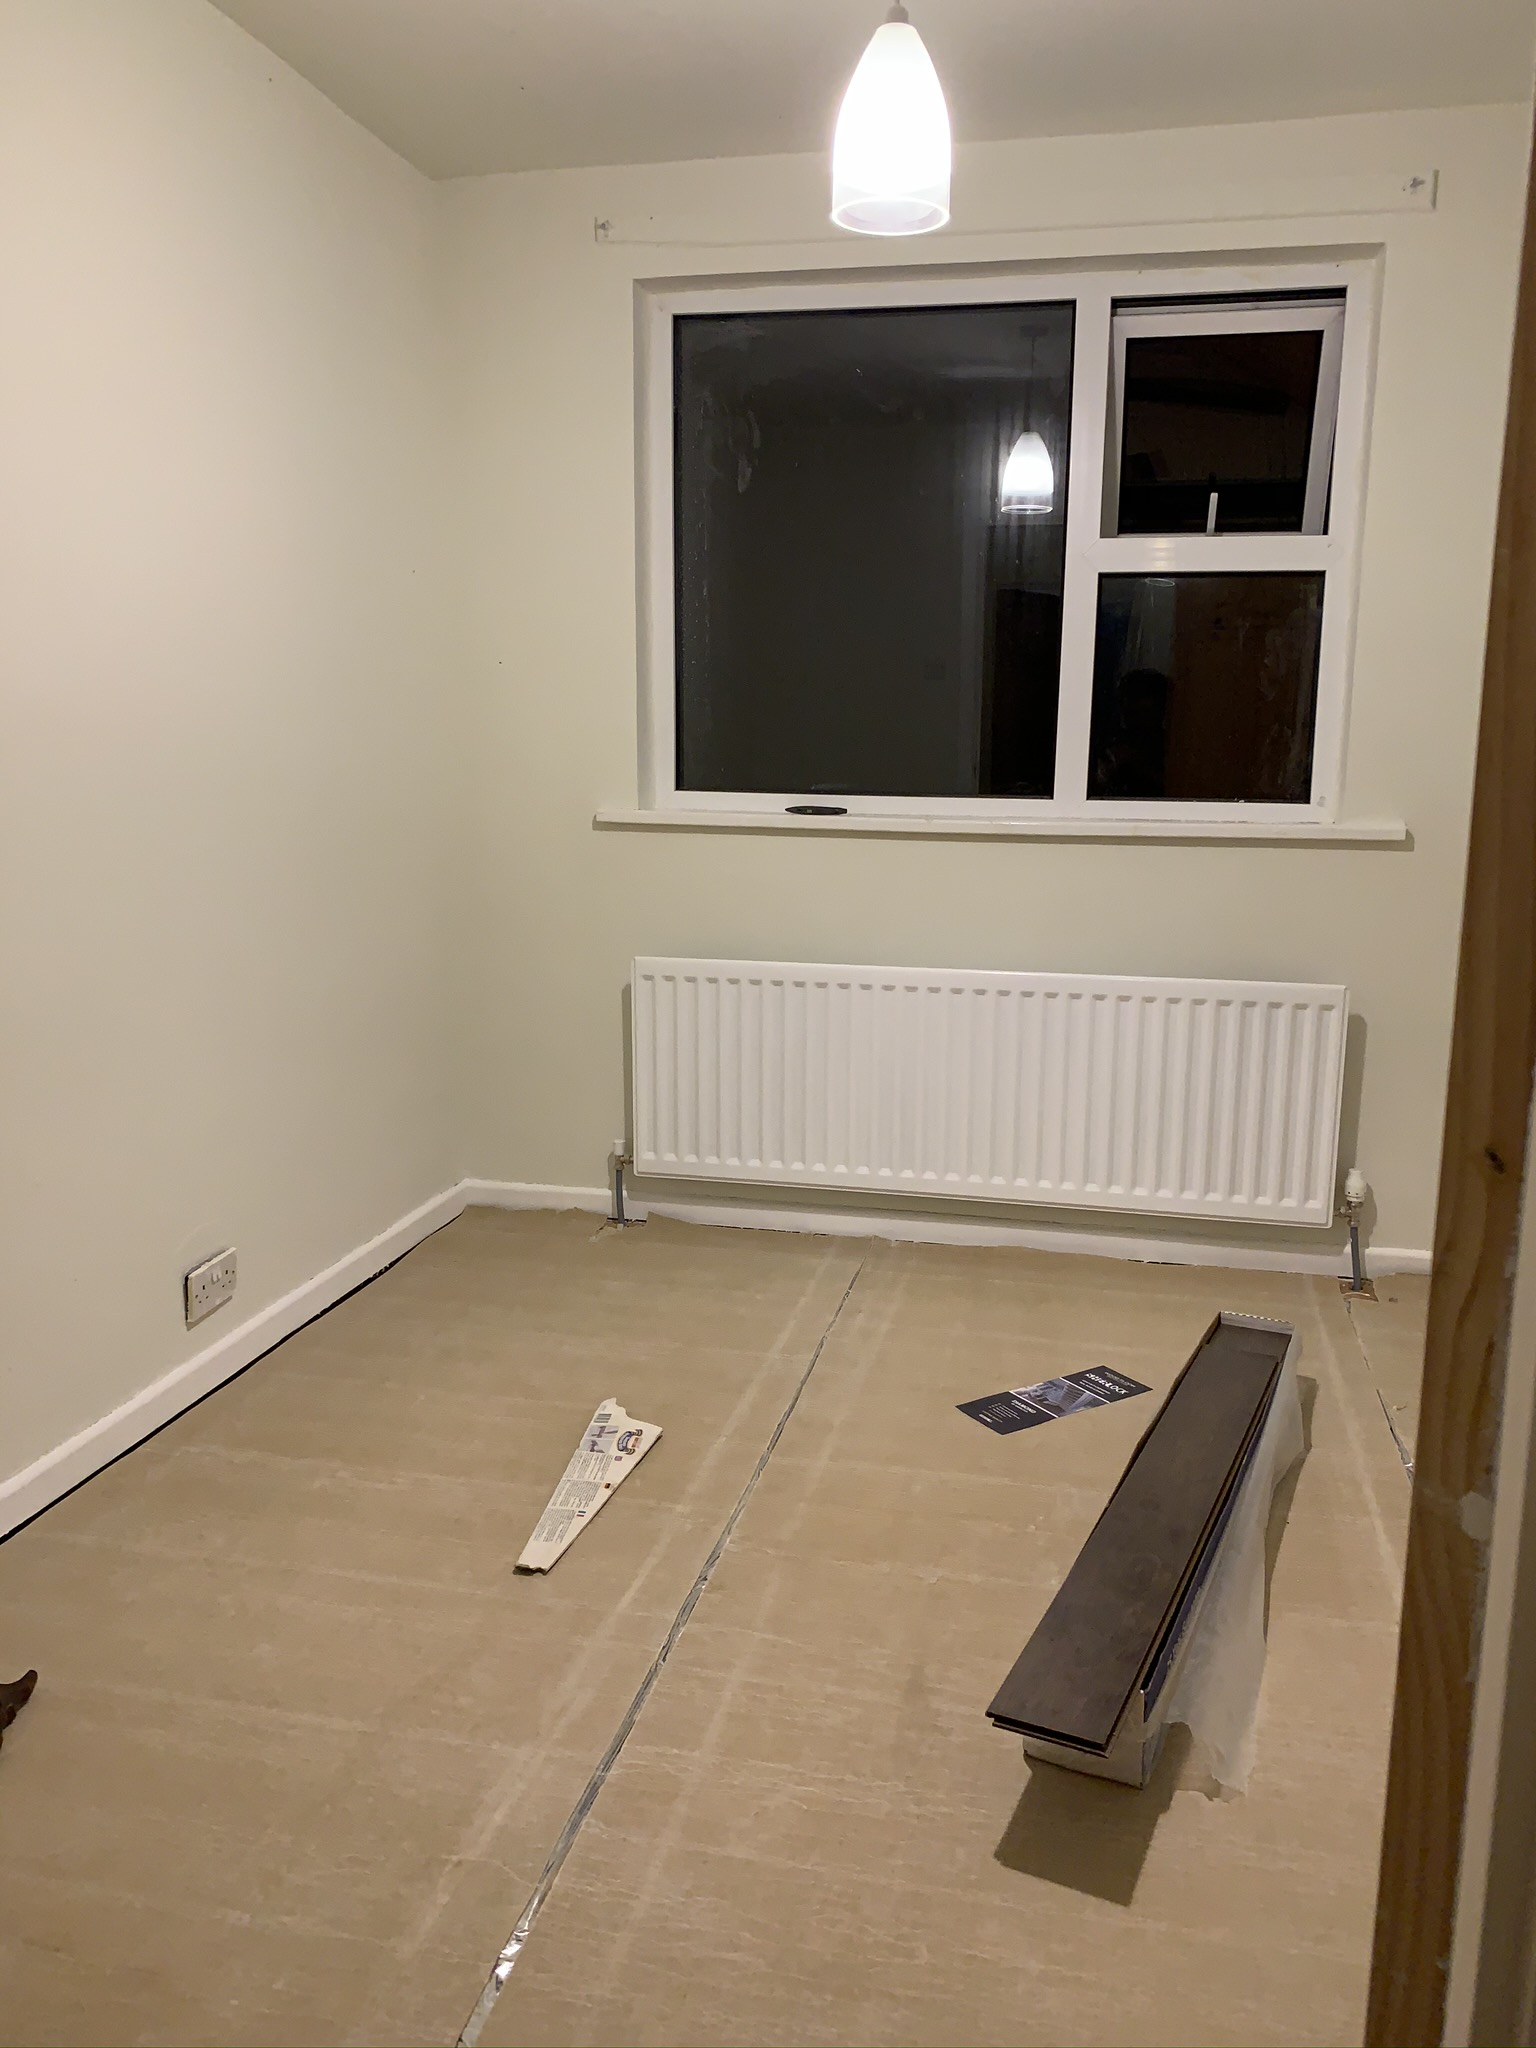
Next it was floor-o’clock. I like to think that DIY follows some of the same rules as cooking (stay with me…) in that even if you don’t know what you’re doing, and even if nothing really works together, you will probably end up with a delicious meal if you just use good ingredients. I’d been chatting with a friend about design choices here and was reassured to go with a dark floor with the pale walls - this had been something I’d been mulling over, and that was the push I needed! I was very lucky to find an engineered wood floor at a cracking sale price, and jumped at the chance to get a real walnut veneer. I’m delighted with this, as I’d thought only laminate would be in budget, but now this is one of my favourite aspects of the room. I was also advised by another helpful work pal to get the best underlay I could find to help the floor to be quiet and stable over time.
I had no idea how to fit a wooden floor, but armed with a Jigsaw, a workbench, YouTube, and a delivery of wood and interesting tools, I set to work.
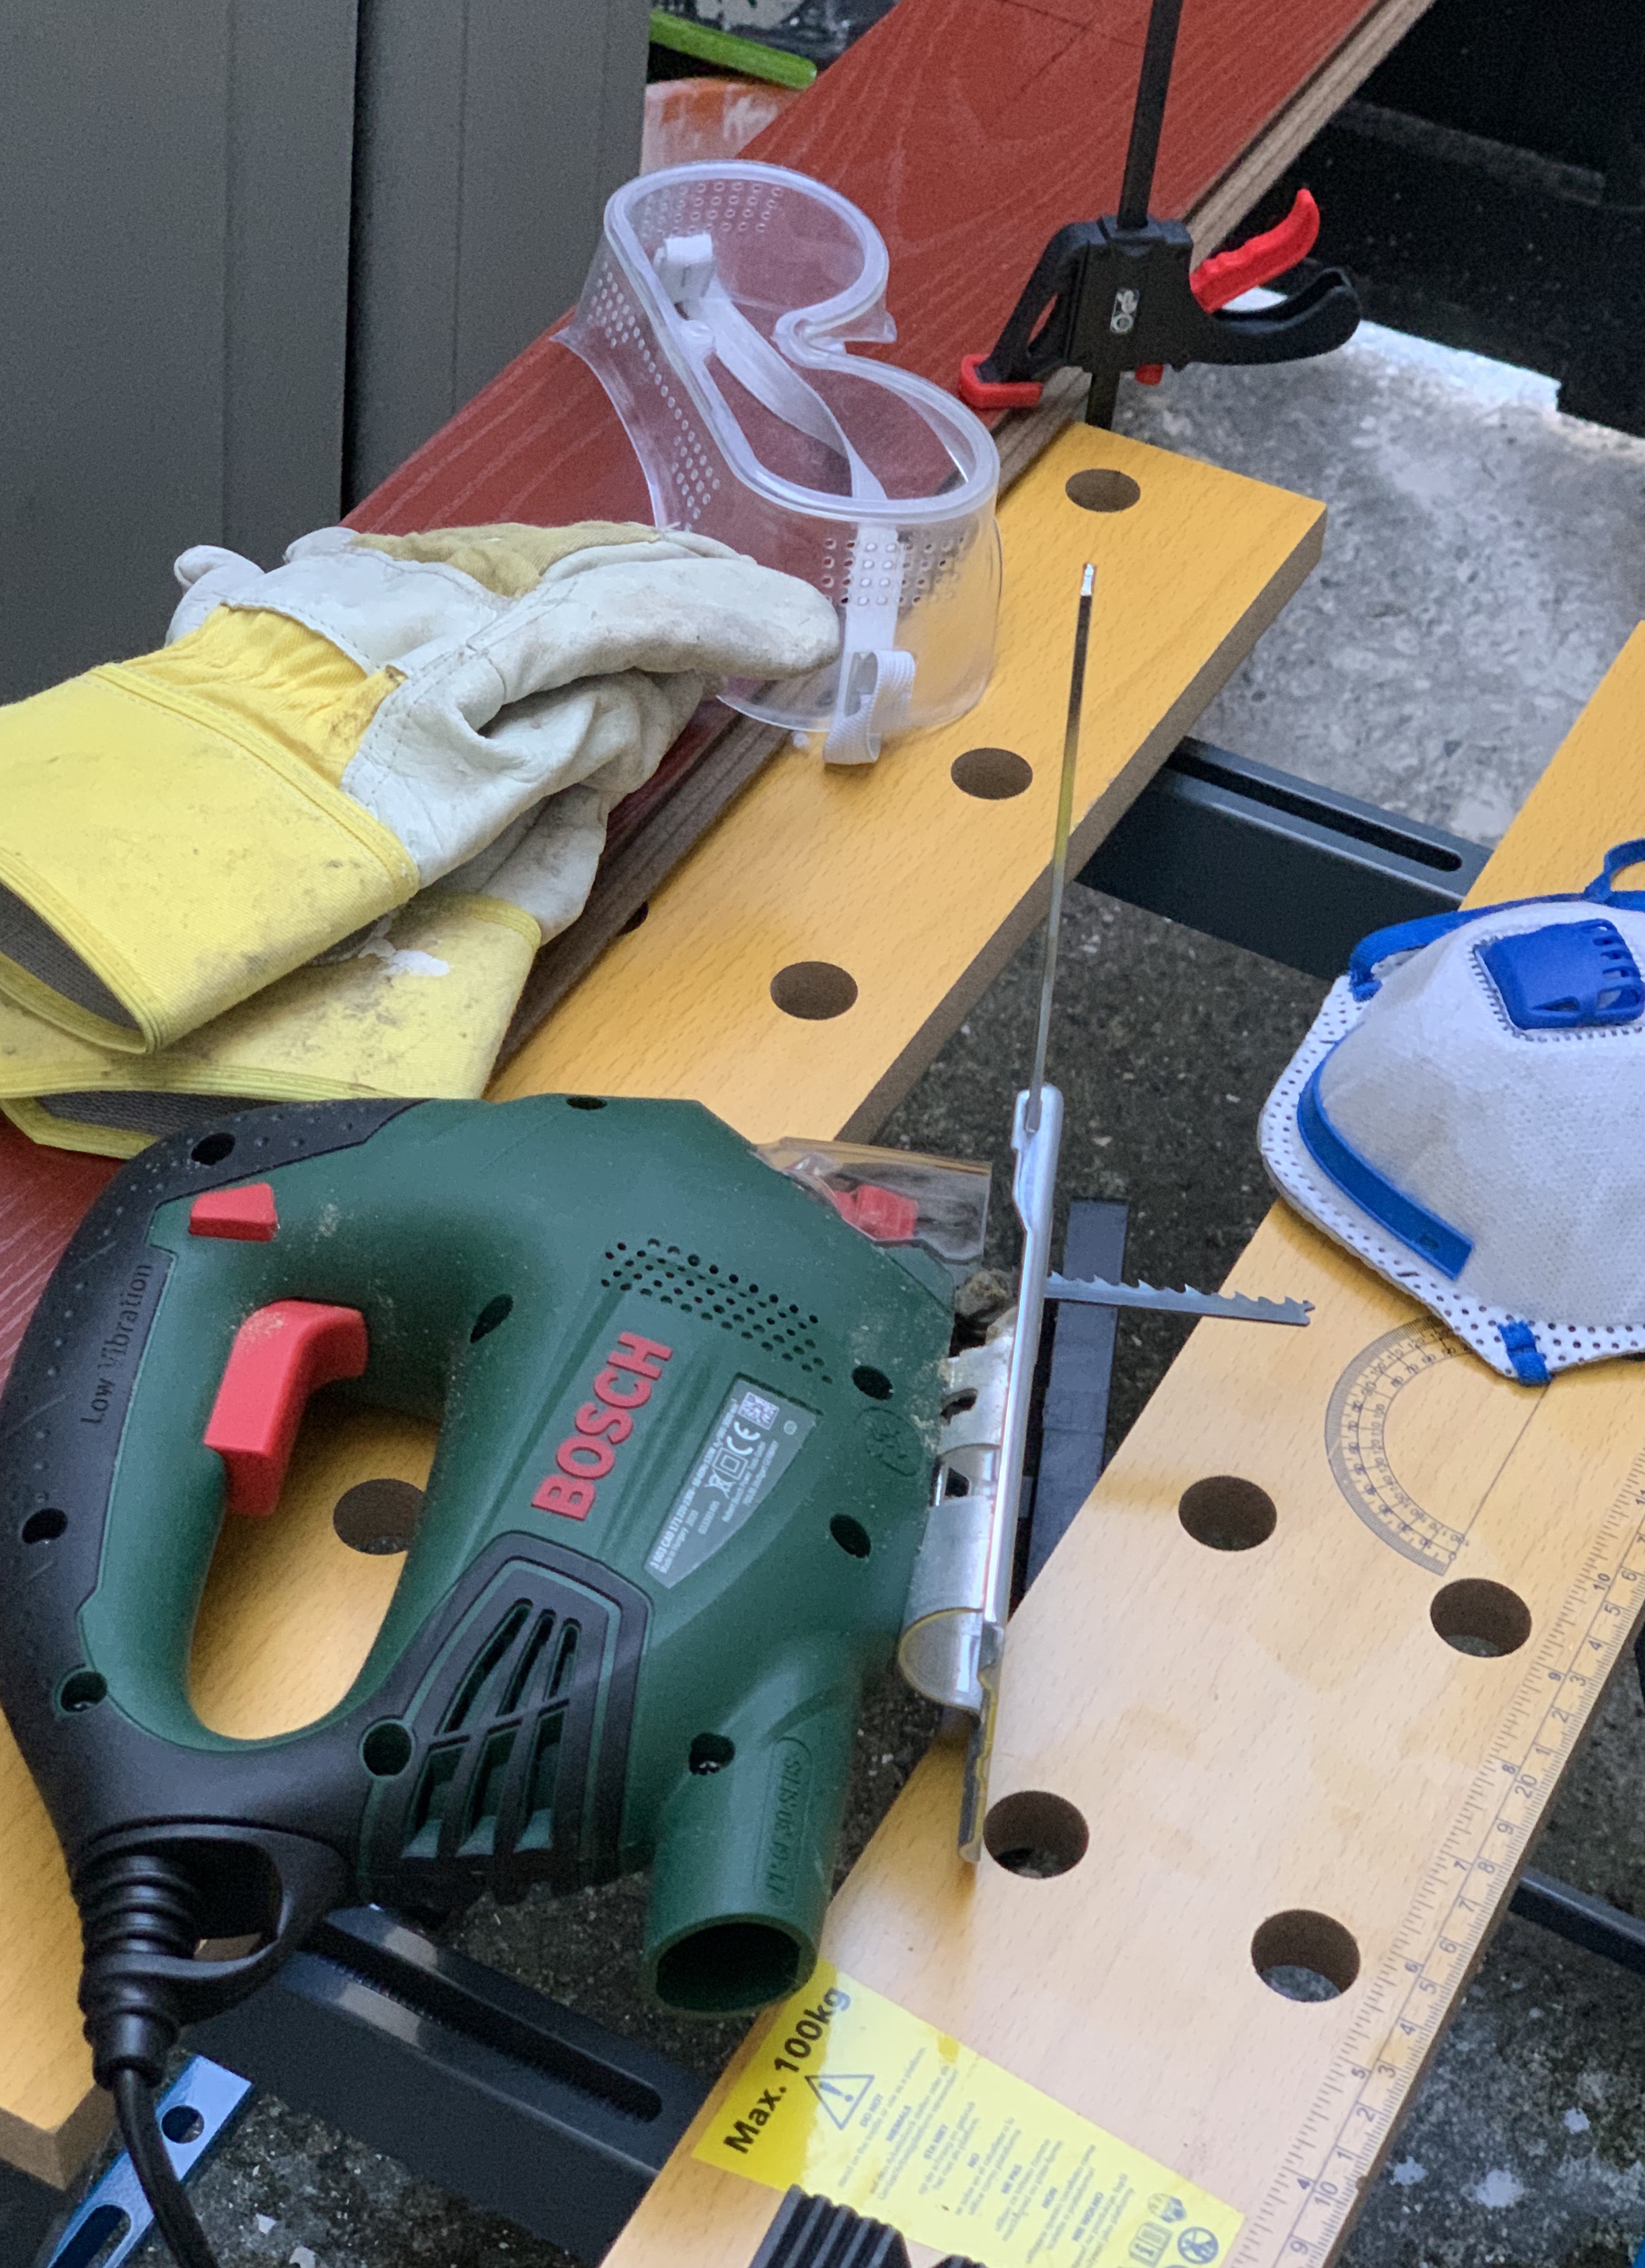
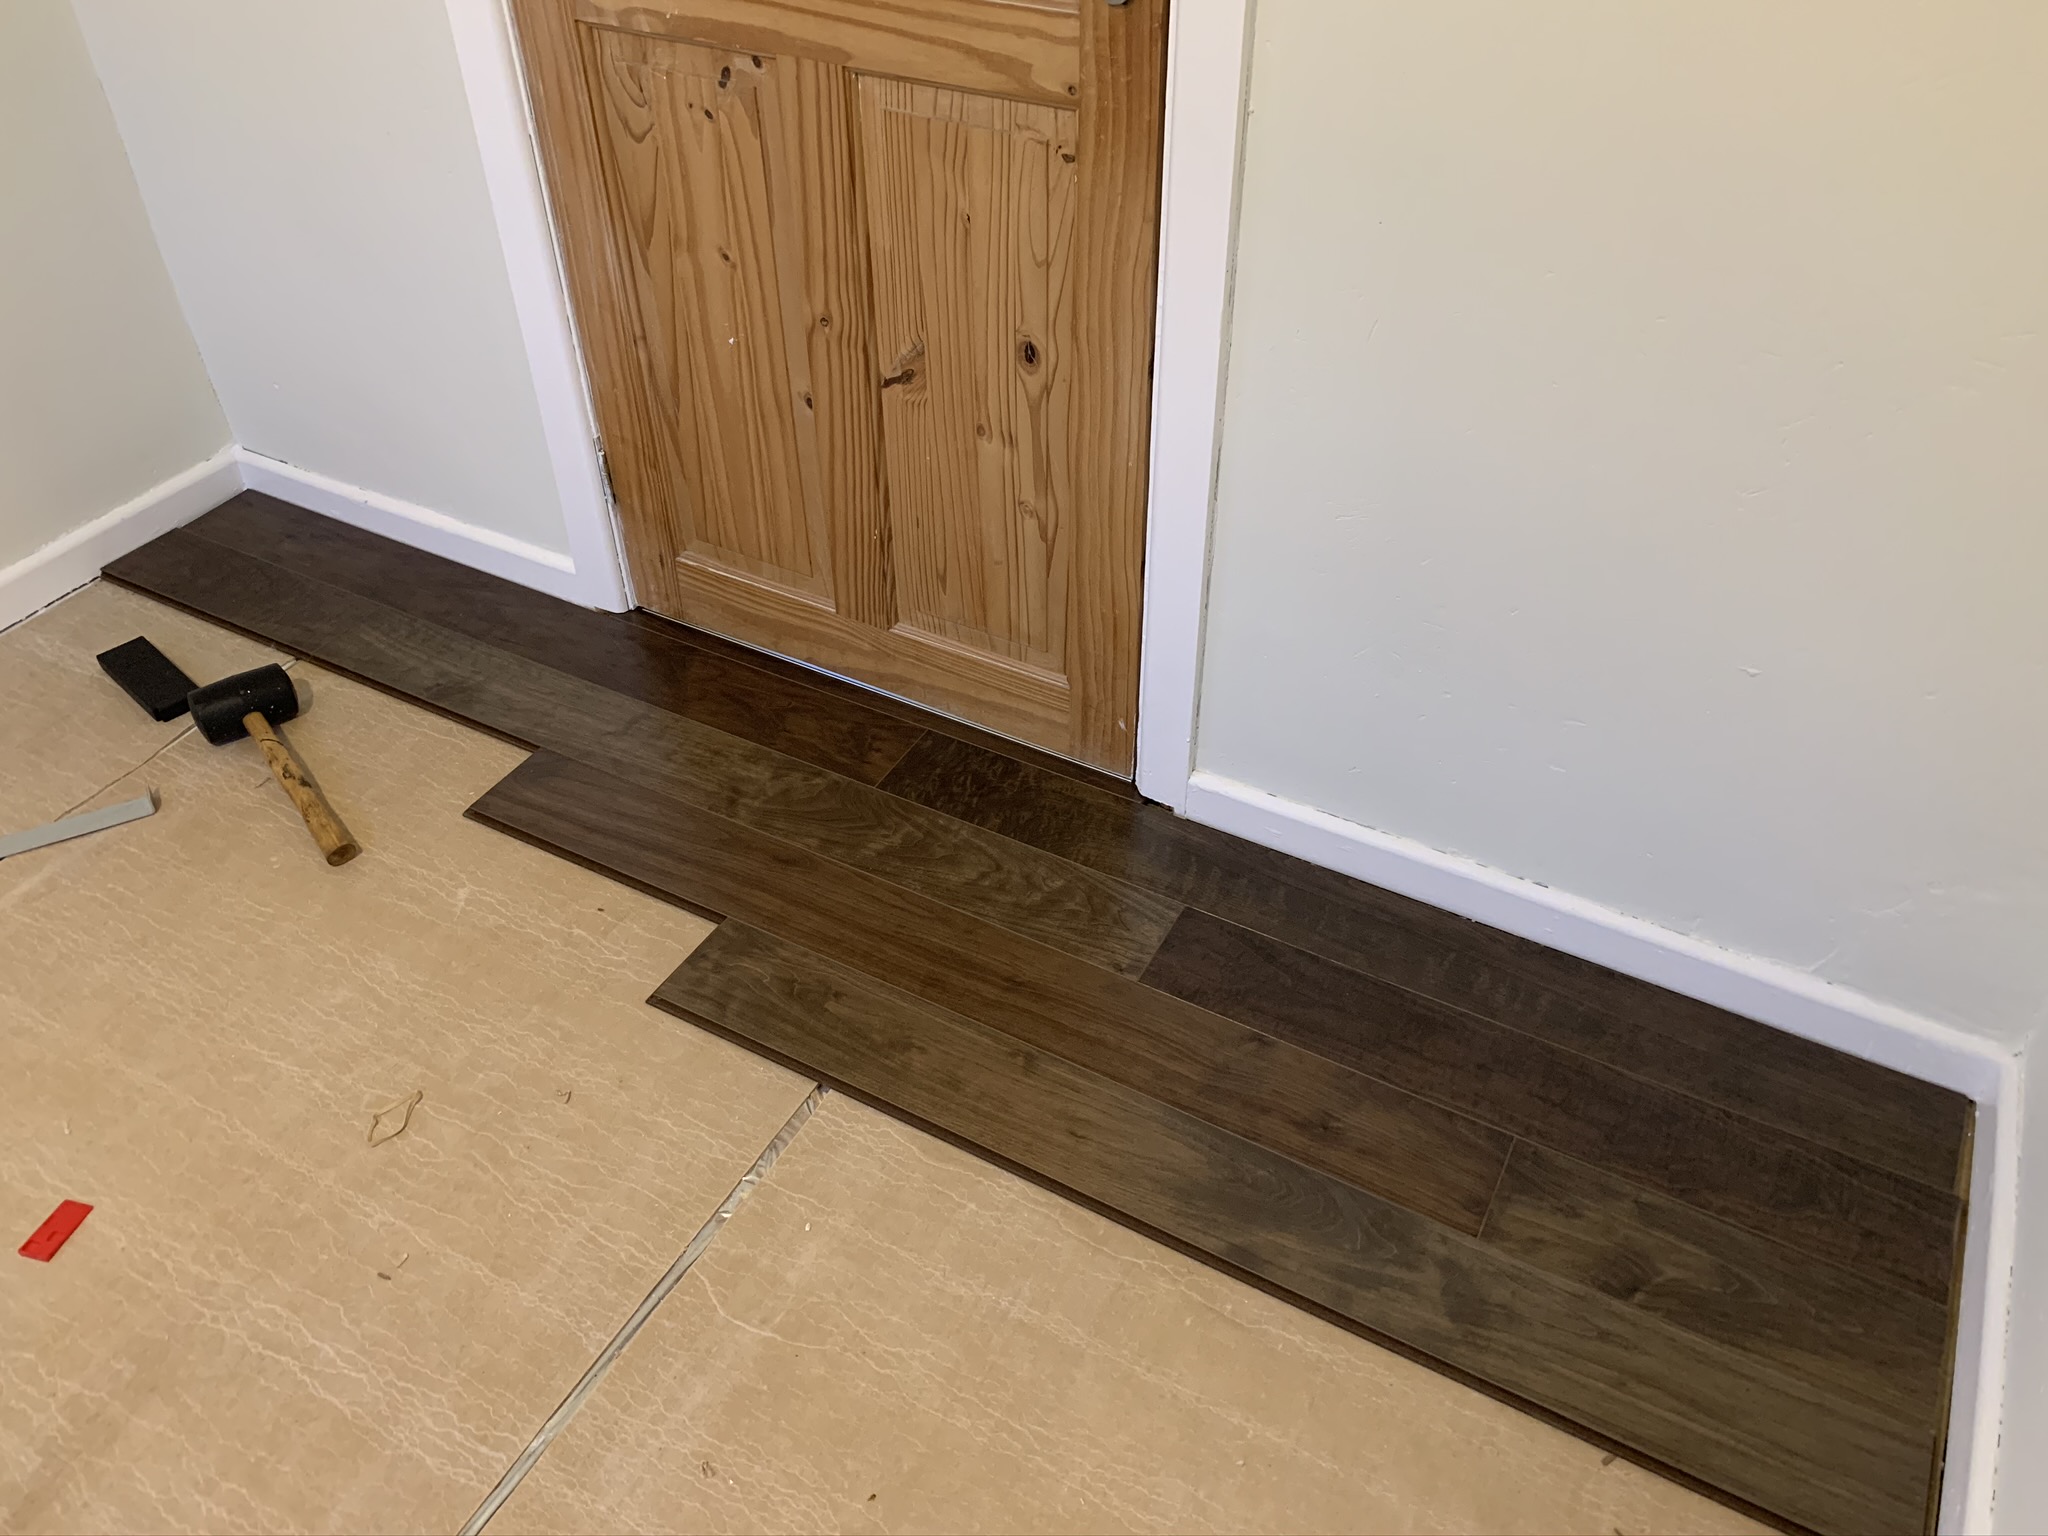


This was fairly straightforward in the end, although I did go through three jigsaw blades. Ideally a table saw would be used for the long rip cuts, and a compound mitre saw would have been a blessing also, but I was able to muddle by with a workbench, clamps, mitre block, a jigsaw and a tenon saw for the whole job.
The trickiest bit was around the doorway - the idea here is to cut through the bottom frame of the door with a hand saw, so that the first piece of wood can be slid in underneath it, to avoid leaving any visible gaps. The first piece also then needs to be cut to the shape of the frame, and once this is done it slides in like a jigsaw piece, and forms the first row of the floor. From there, the rest of the planks are cut to length and snapped into place (with a little manual persuasion), with care being needed to keep joins a foot or so part on adjoining rows for strength, and to leave a small gap around the edges to allow for expansion.
Unfortunately I ended up with a very thin strip to finish near the radiator which was a little awkward, but cutting semi-circular indents allowed the second-last row to fit around the pipes. The final touches here involved painting and cutting mitres into the scotia, which I then installed around the edges with wood glue and a nail gun. I massively enjoyed the floor fitting process, especially the learning opportunities it offered, and for the amount of difference it made to the room it really didn’t take too long, I trundled through it with the company of some tunes in just over a day.
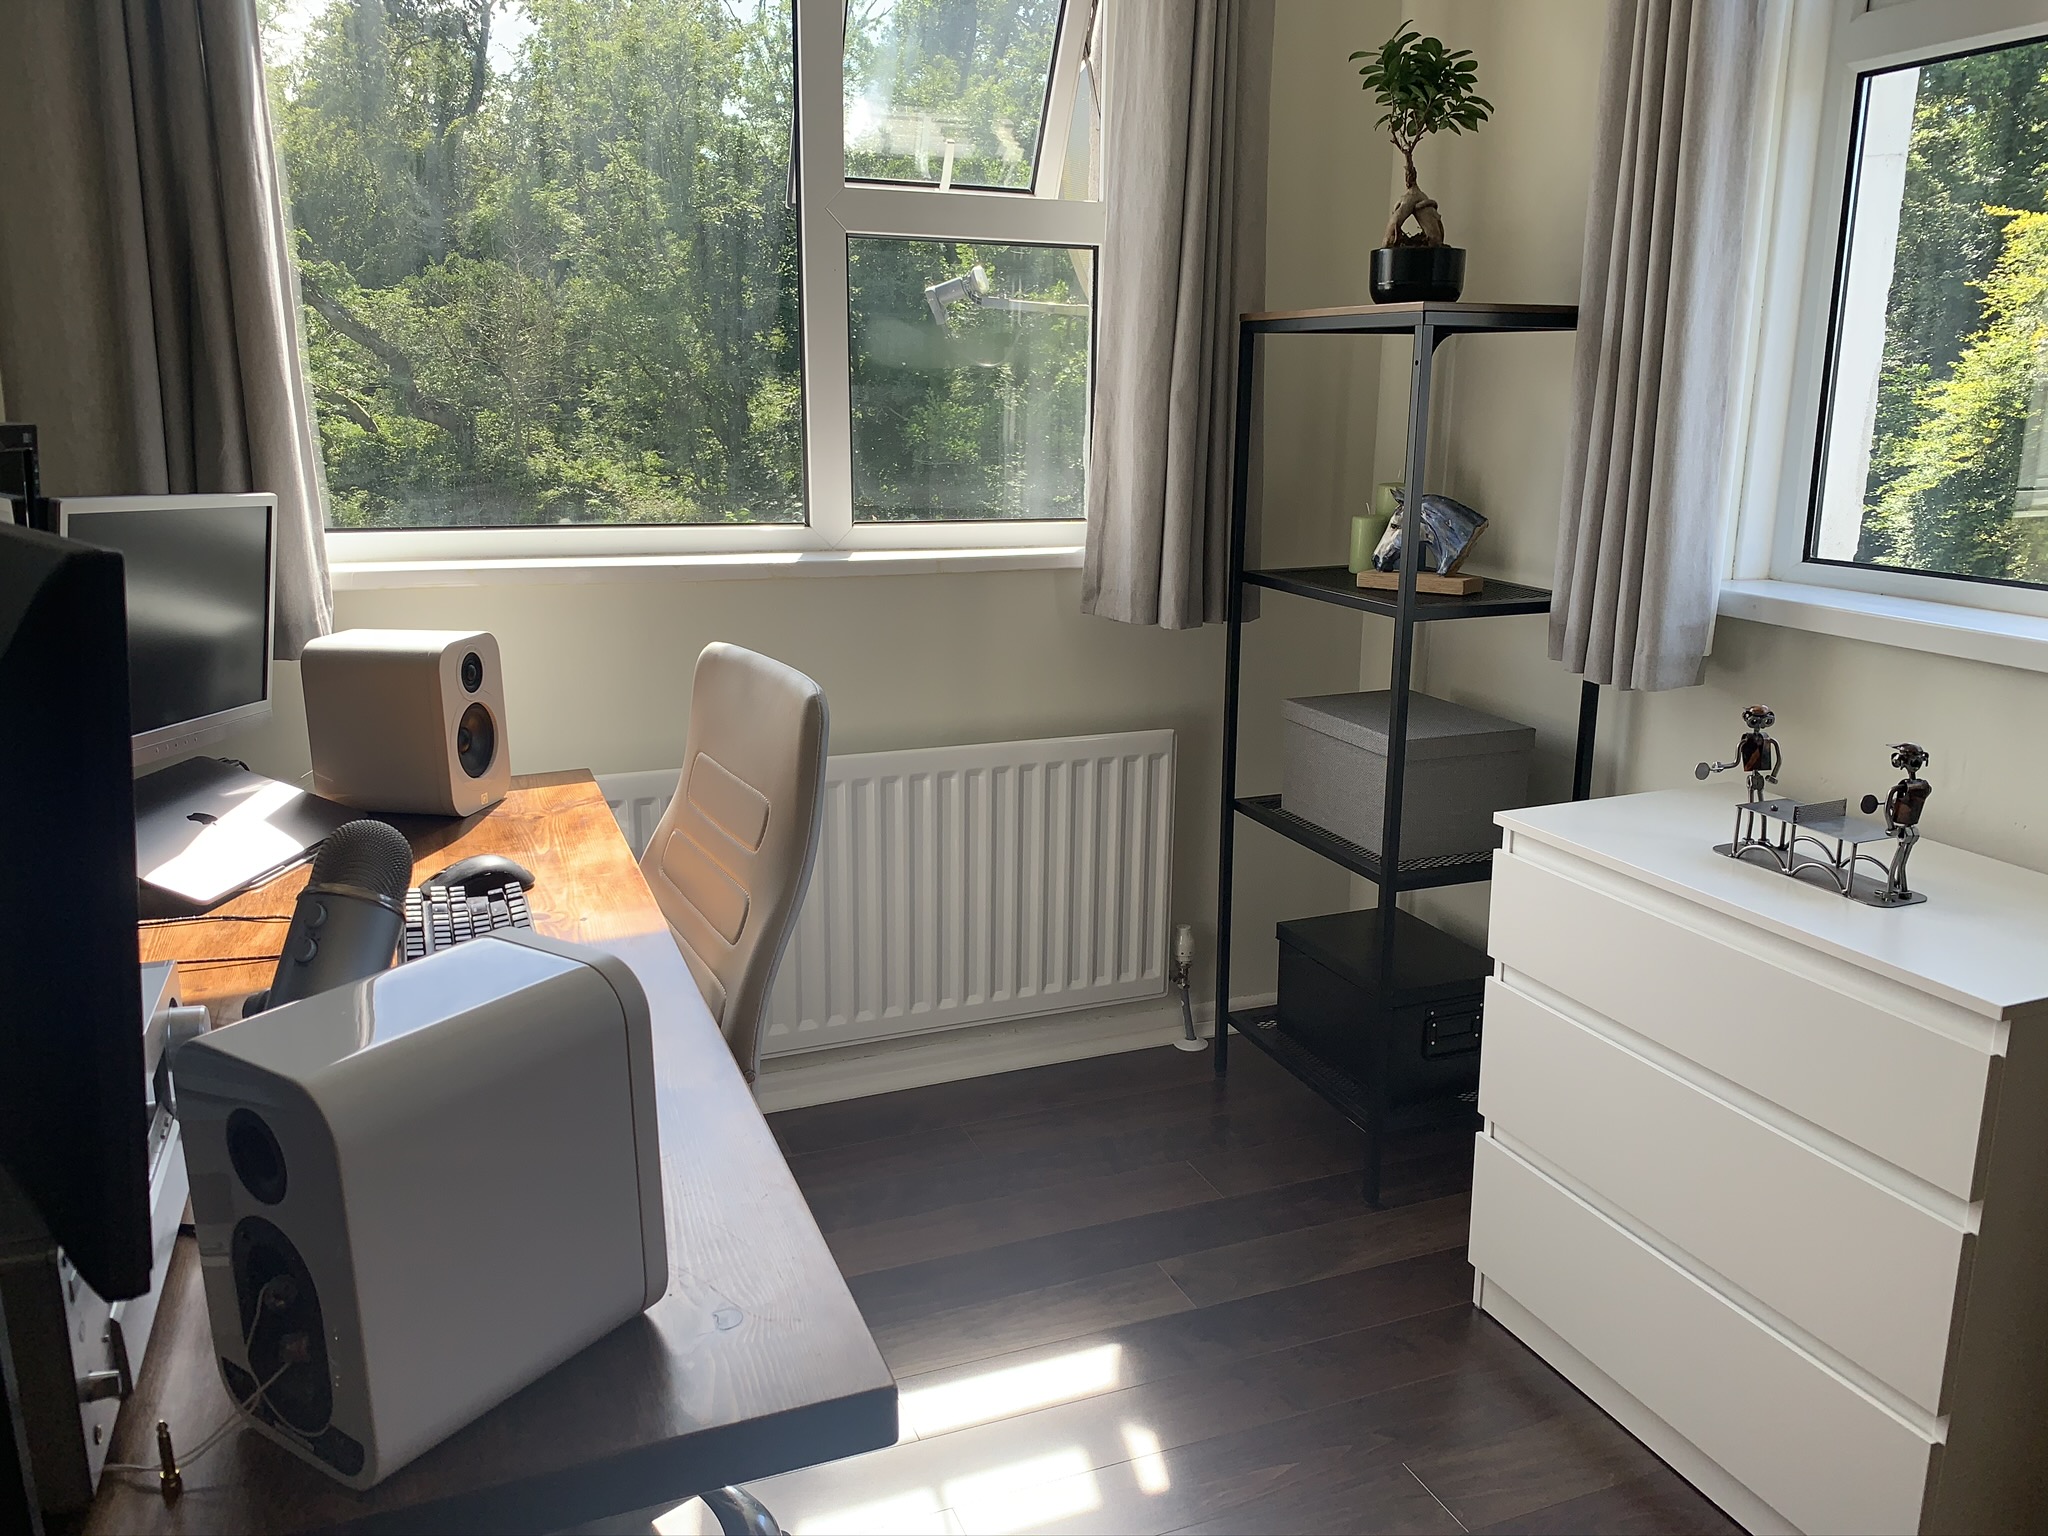
The eagle-eyed reader will have noticed that while this was going on I painted the once-brown curtain rails in All White to match the trim, and dressed them with some soft grey curtains. With these finishing touches, that was the DIY part of the project complete!
I was incredibly pleased to get the tools out of the kitchen, the desk out of the bathroom, some old furniture off to new homes via Facebook Marketplace, and to shower plaster dust out of my hair for the final time. I think I eneded up bringing 4 or 5 full car-loads of debris and miscellany to the recycling center over the following couple of days.
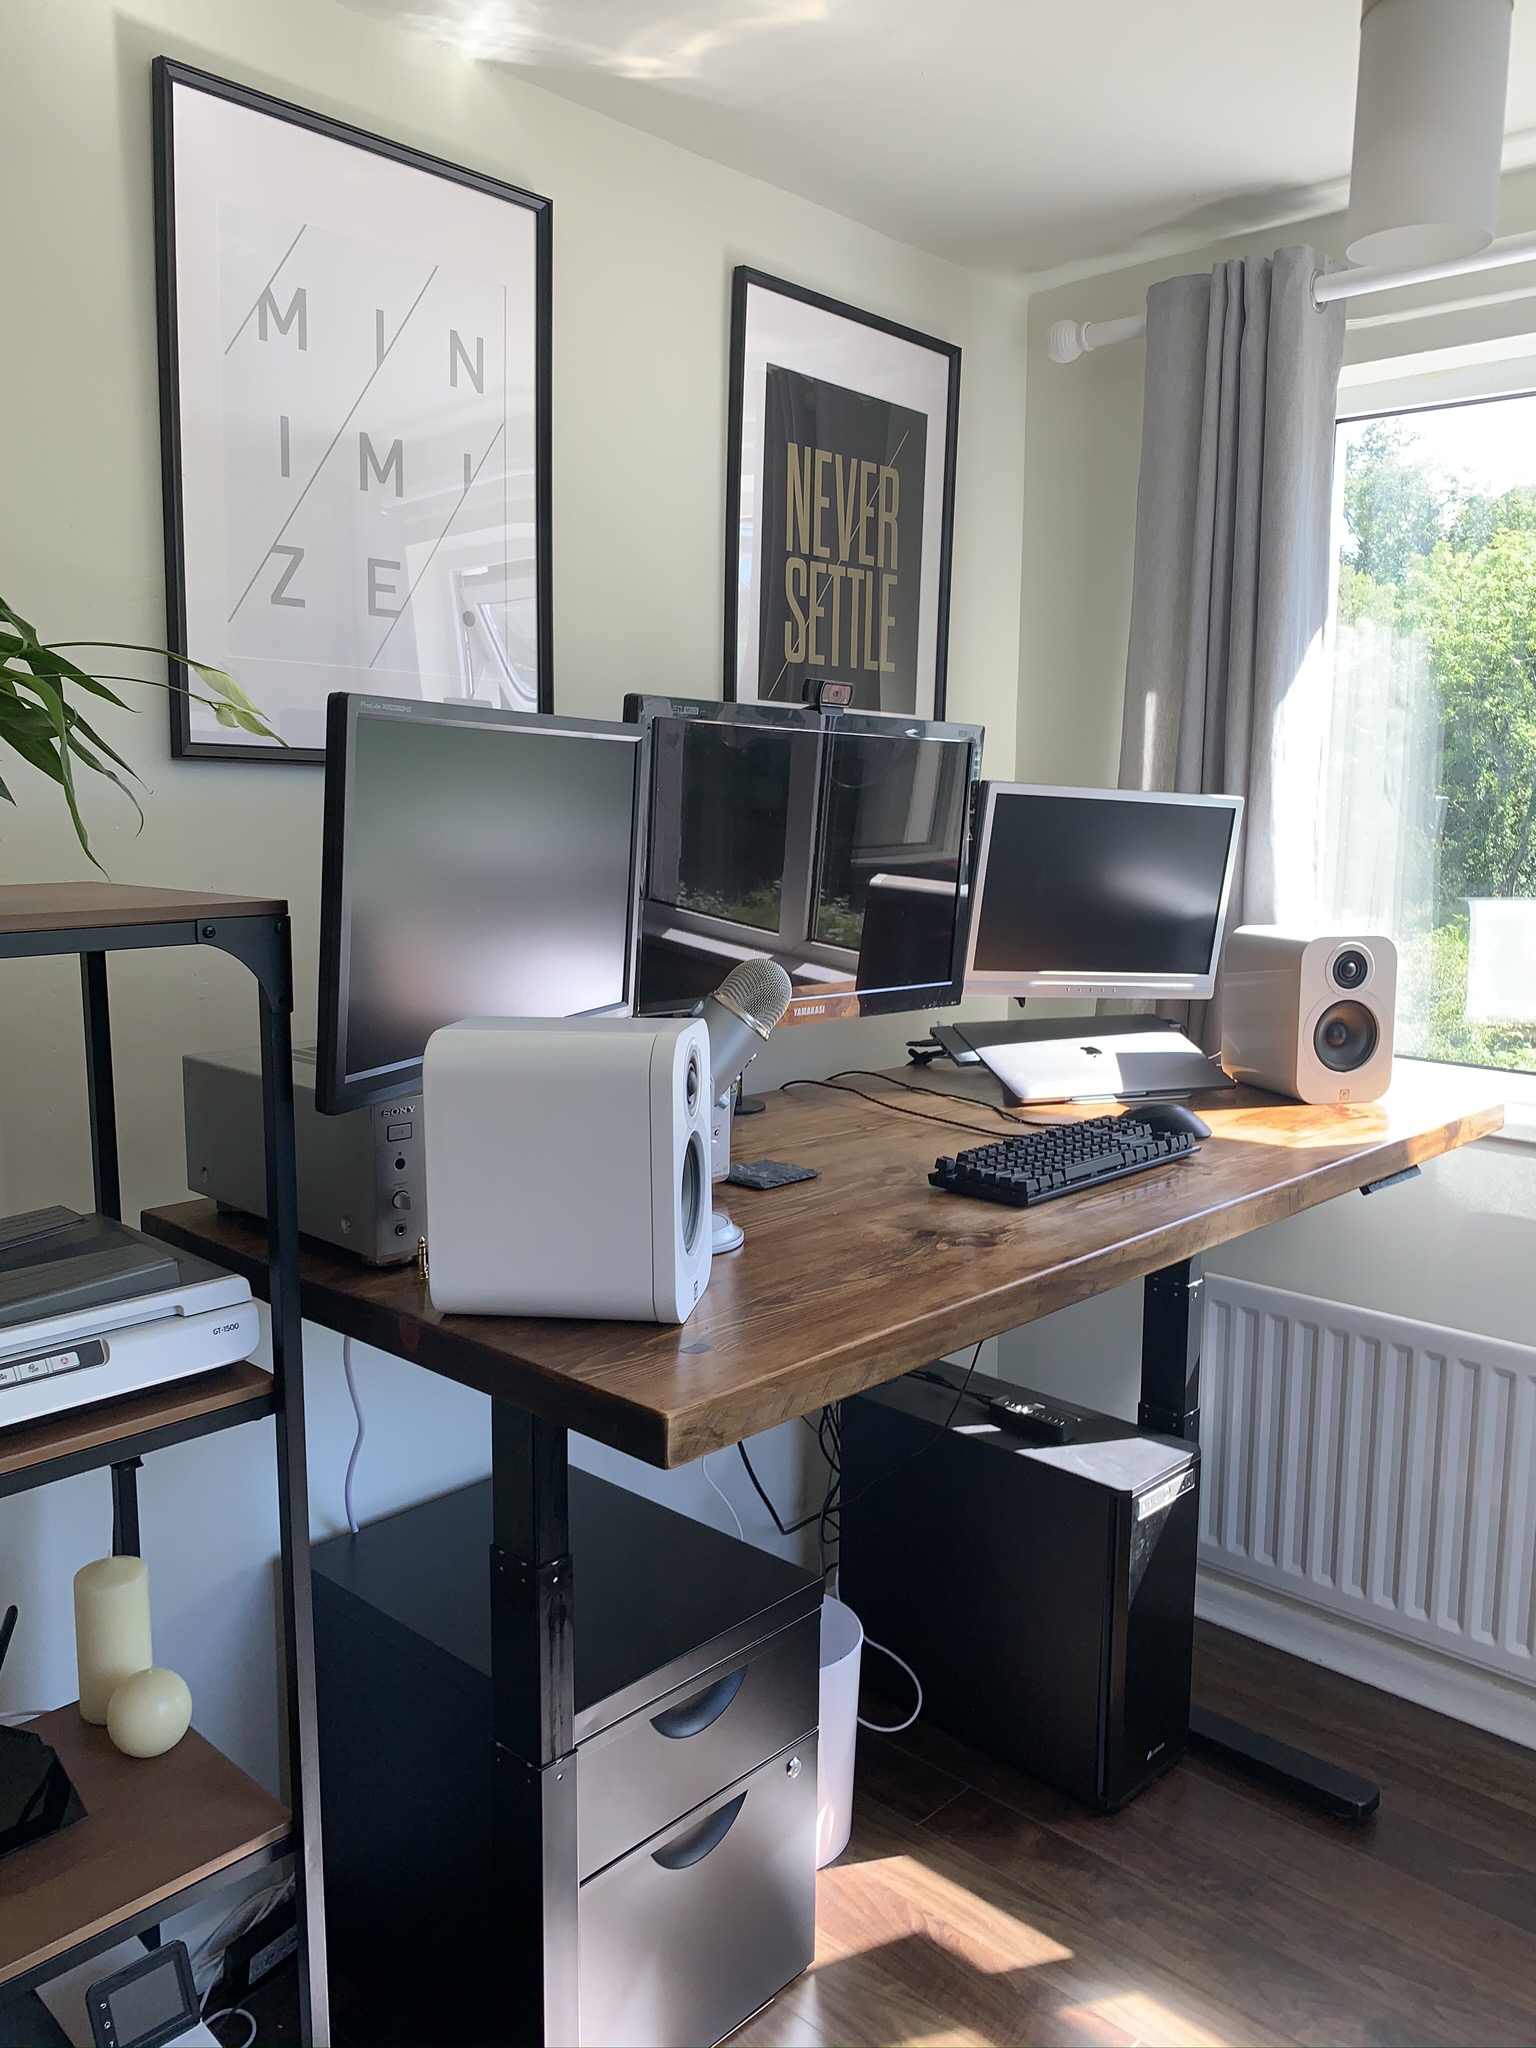
Next job - dress the room! Time to think about a desk. There were a few ideal requirements I had for a desk. Firstly, it would be large enough to take 3 monitors, a laptop, an amp and speakers and still leave room for some mobile devices, and space to write notes. I’d also been curious about standing desks. As someone who is at a desk most of the day, I had often experienced shoulder tension and ultimately headaches, from a combination of being in the same position for too long, and from most desks being just a little too high to allow me to sit with loose shoulders with feet flat on the floor.
These requirements - adjustable from a low seating position, to a full standing position, and large, meant I couldn’t find anything affordable on the market. The closest were the IKEA offerings, but their minimum height was pretty high, they were fairly expensive, and the surfaces were quite basic in terms of quality. A little more research revealed that you could buy uprated desk legs by Duronic from Amazon which offered a full range of motion, and the ability to support a lot of weight. I was then lucky enough to disover I had a friend of a friend who not only made custom wooden furniture, but also worked on the same street where I lived! This seemed perfect, and so after talking with the talented Mark Justin of @justinwoodni, I was the proud owner of a custom solid redwood desktop. An evening of spannering later, and I had mounted the desktop onto the Duronic motors, and had my custom standing desk! I’ve since used the desk in standing mode for an hour or two a day, and have noticed it is very helpful with reducing the strain on neck and shoulders. So far the Duronic motors have been flawless, the desk is incredibly sturdy and solid, it moves between positions quickly and quietly, and the control unit allows you to set memory positions, so you can move from standing to sitting or vice versa with a single button press.
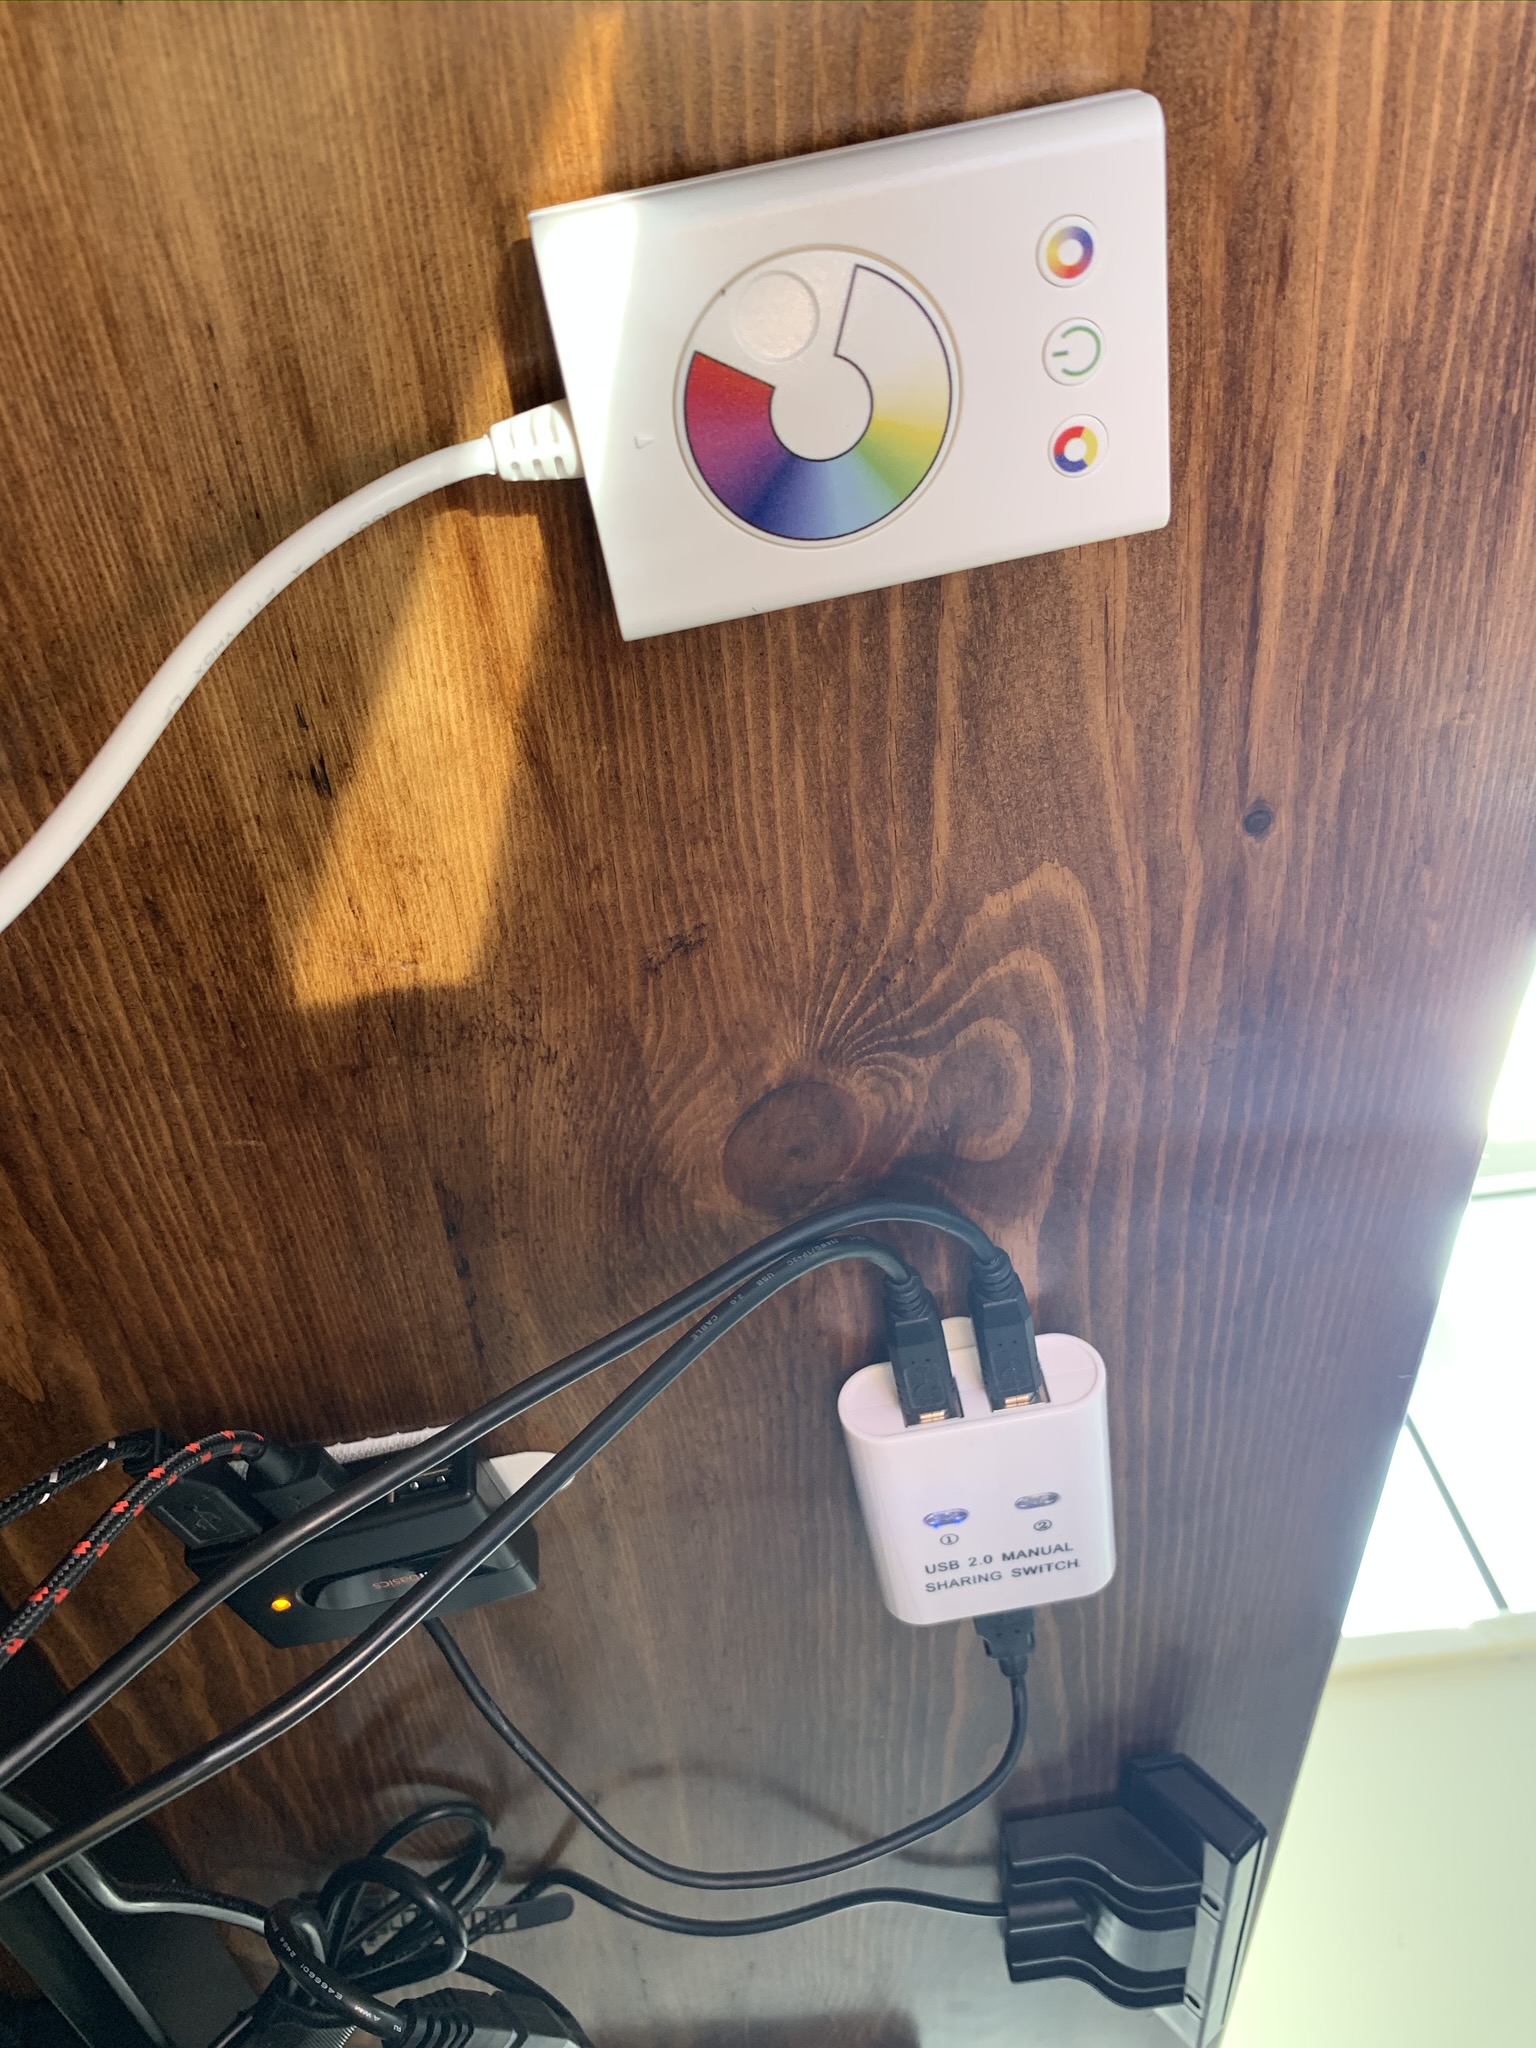
While we’re on the subject of the desk, let’s talk tech. The cabling of my workstation alone was a 3 day affair! In order to maximise desk space, and just keep things tidy, I wanted to take the opportunity to mount my monitors on a monitor arm, and then keep all the rest of the cables as discreet as possible. This was complicated somewhat by the standing desk - you need to make sure that there is enough slack in all of the cables to not be under stress in either position. There was a “full scene” here too with my main monitor. Around 10 years ago, the fabled “Yamakasi Catleap” monitors came onto the market. One of the first to offer 1440p resolution, they used the same panel as the Apple Cinema Display and the top Dell Ultrasharps at the time, but only those which had for whatever reason failed to reach the A level quality check those brands demanded. The monitors could only be imported directly from South Korea to the UK, but even with customs charges were a tiny fraction in cost of their branded cousins. I ordered one immediately and have been using it ever since! The spanner in the works is the monitor stand - whilst the case has VESA mounts, they are blocked by the plastic stand the monitor is supplied with. Bravely (I thought), I opened my toolkit and disassembled the panel from the monitor, unbolted the stand, and put it all back together, attaching it afterwards to the floating monitor mount. The simplest things are never easy!
I also added a lot of complexity by adding the ability to drive my system either from the desktop PC (running Windows), or my Macbook running MacOS, a requirement for my app development work. To this end, the Macbook is cabled into the main monitor, and I’ve attached a USB switch to the bottom of the desk, which allows me to reach over to tap a button to switch which machine the keyboard and mouse input is directed to. Audio from both machines runs to my trusty 20-year old Sony AV Reciever, analog from the MacBook since the removal of the optical out, and digital optical audio from the desktop. In a perfect world I’d be tempted to gain back some desk space with swapping the massive AV reciever for a much smaller stereo amp with a DAC, which would also allow me to have a portrait monitor, but these amps are surprisingly expensive. Likewise, the desktop PC itself, and monitors are approaching 10 years of service, and I think a set of matching 4K thin-bezel monitors would look incredible, but again, far from cost effective, so these upgrades will have to wait!
As a final tech addition, I added a wireless access point, with a cable running to my router downstairs, to boost the signal upstairs for the devices I need for work, also allowing me to avoid buying an enternet adapter for the Macbook (thanks, Apple!) and letting me add a printer into the wireless network.
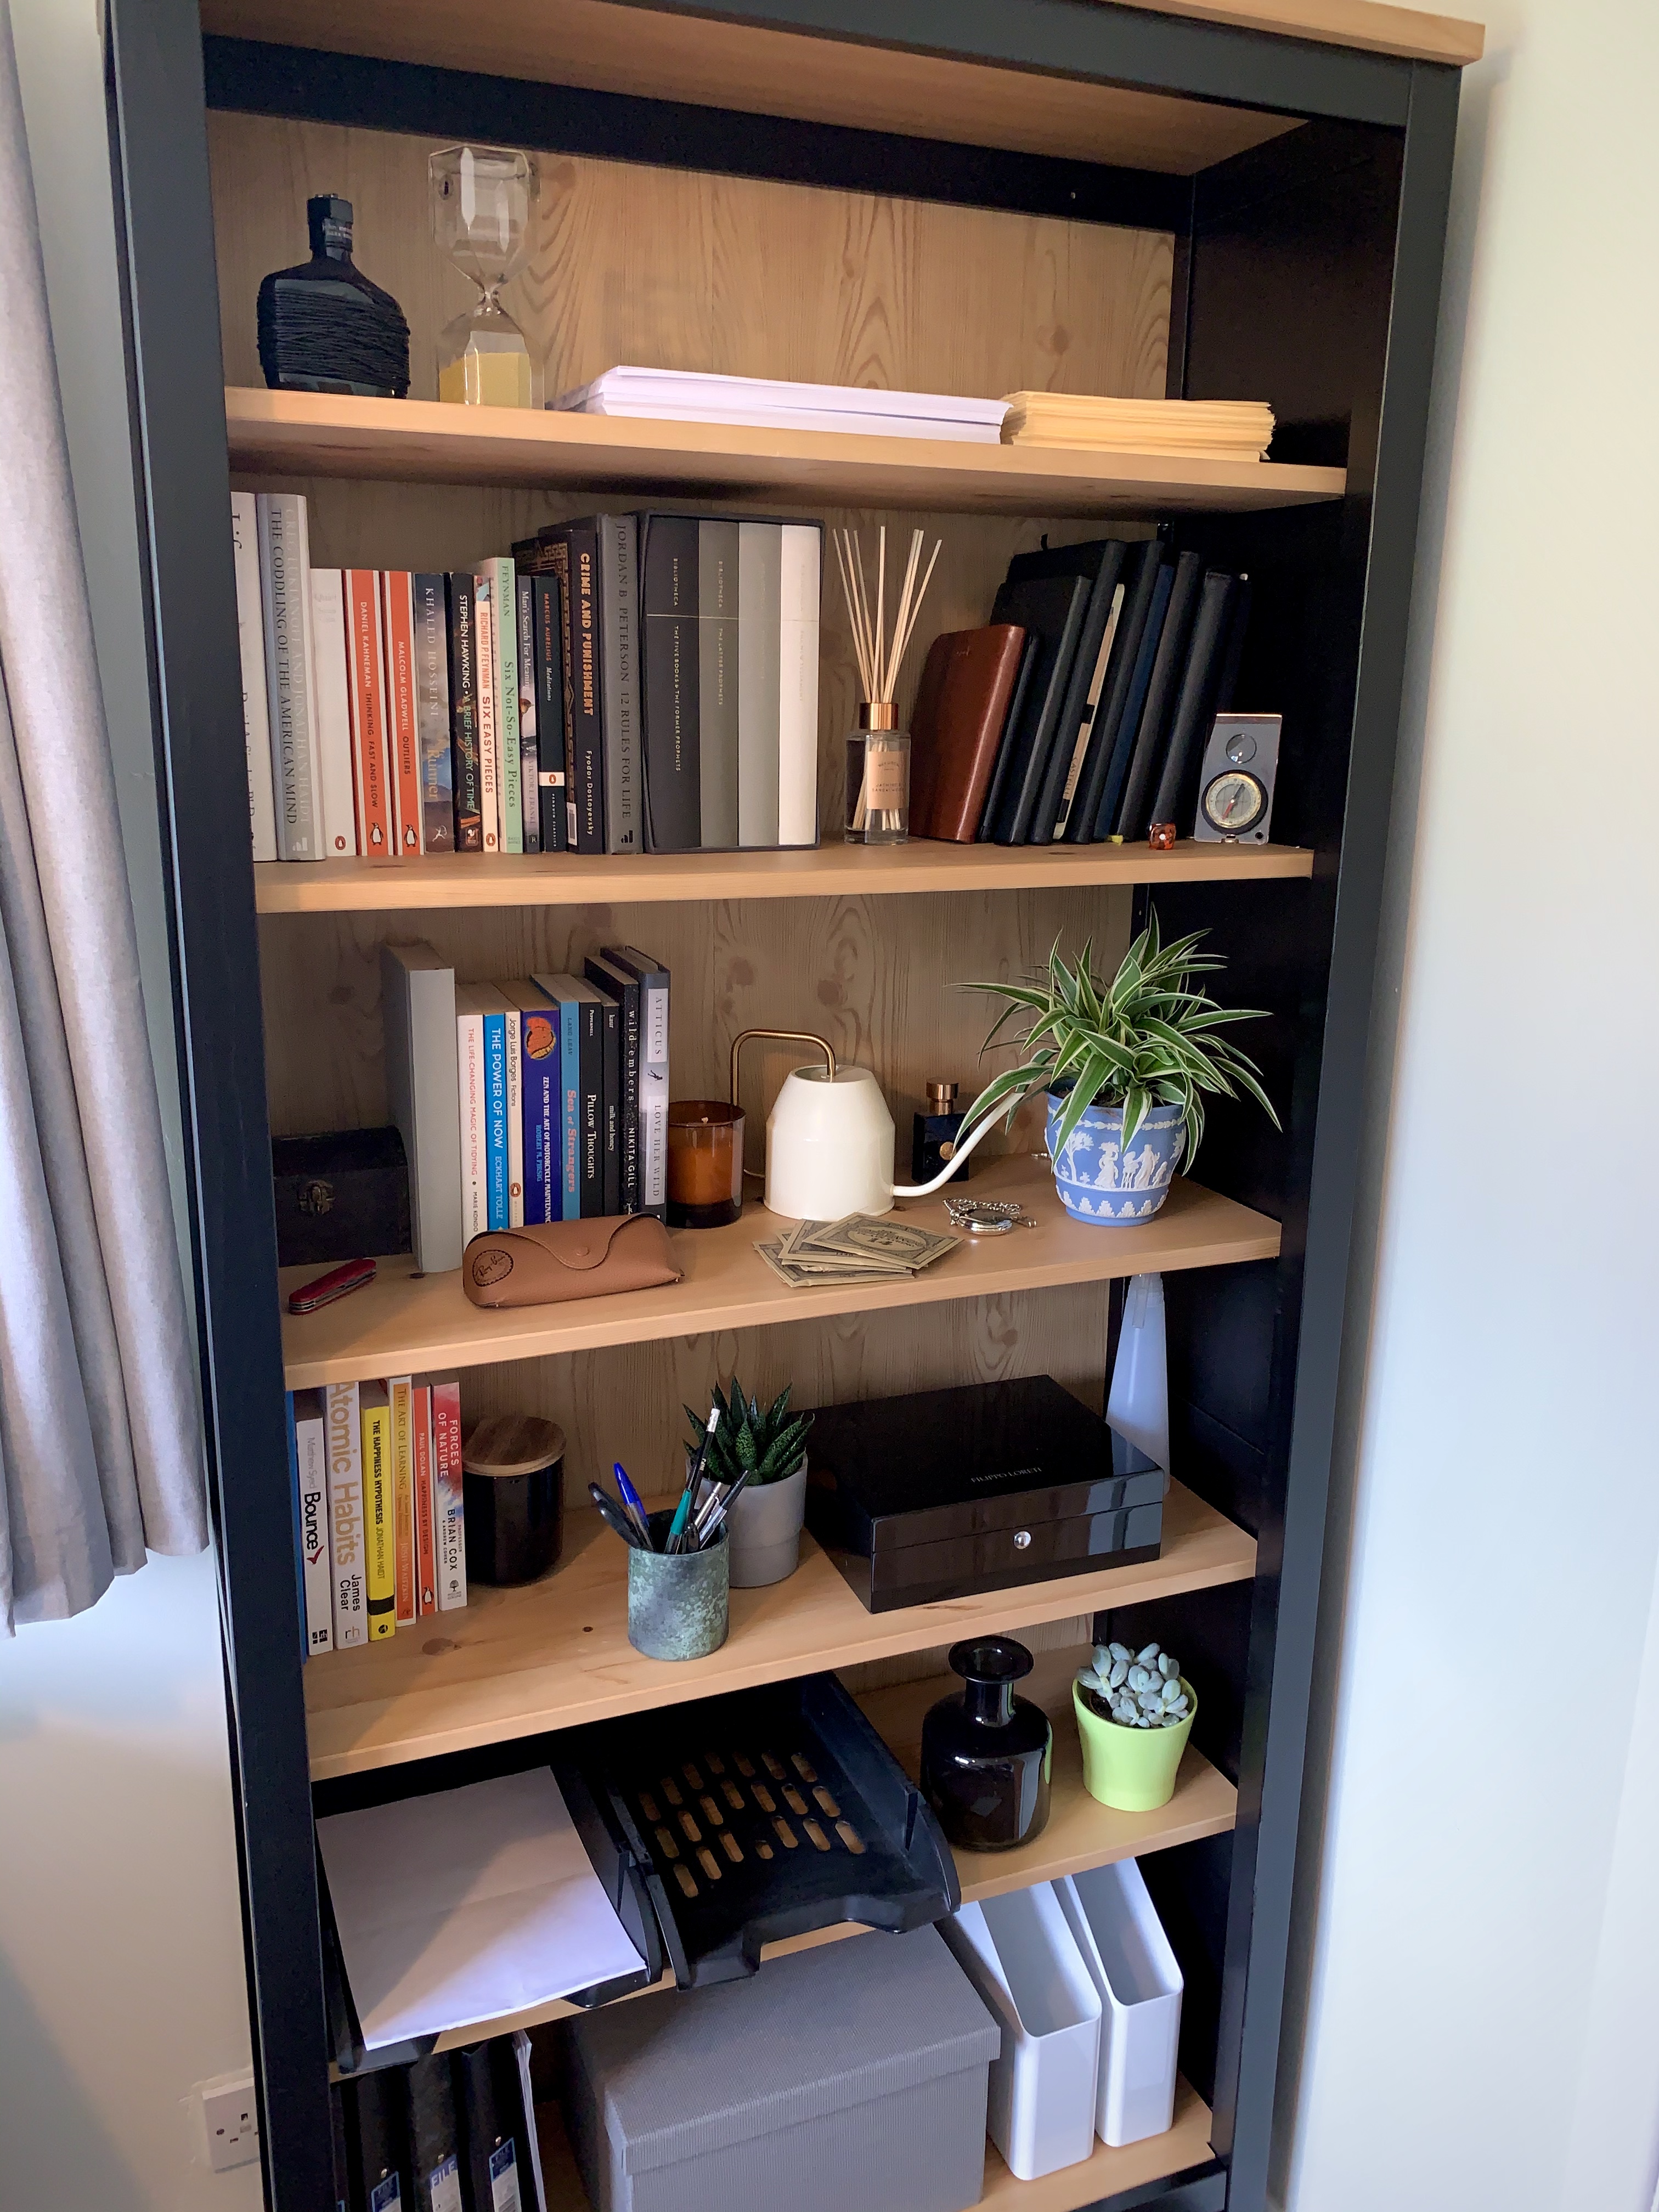
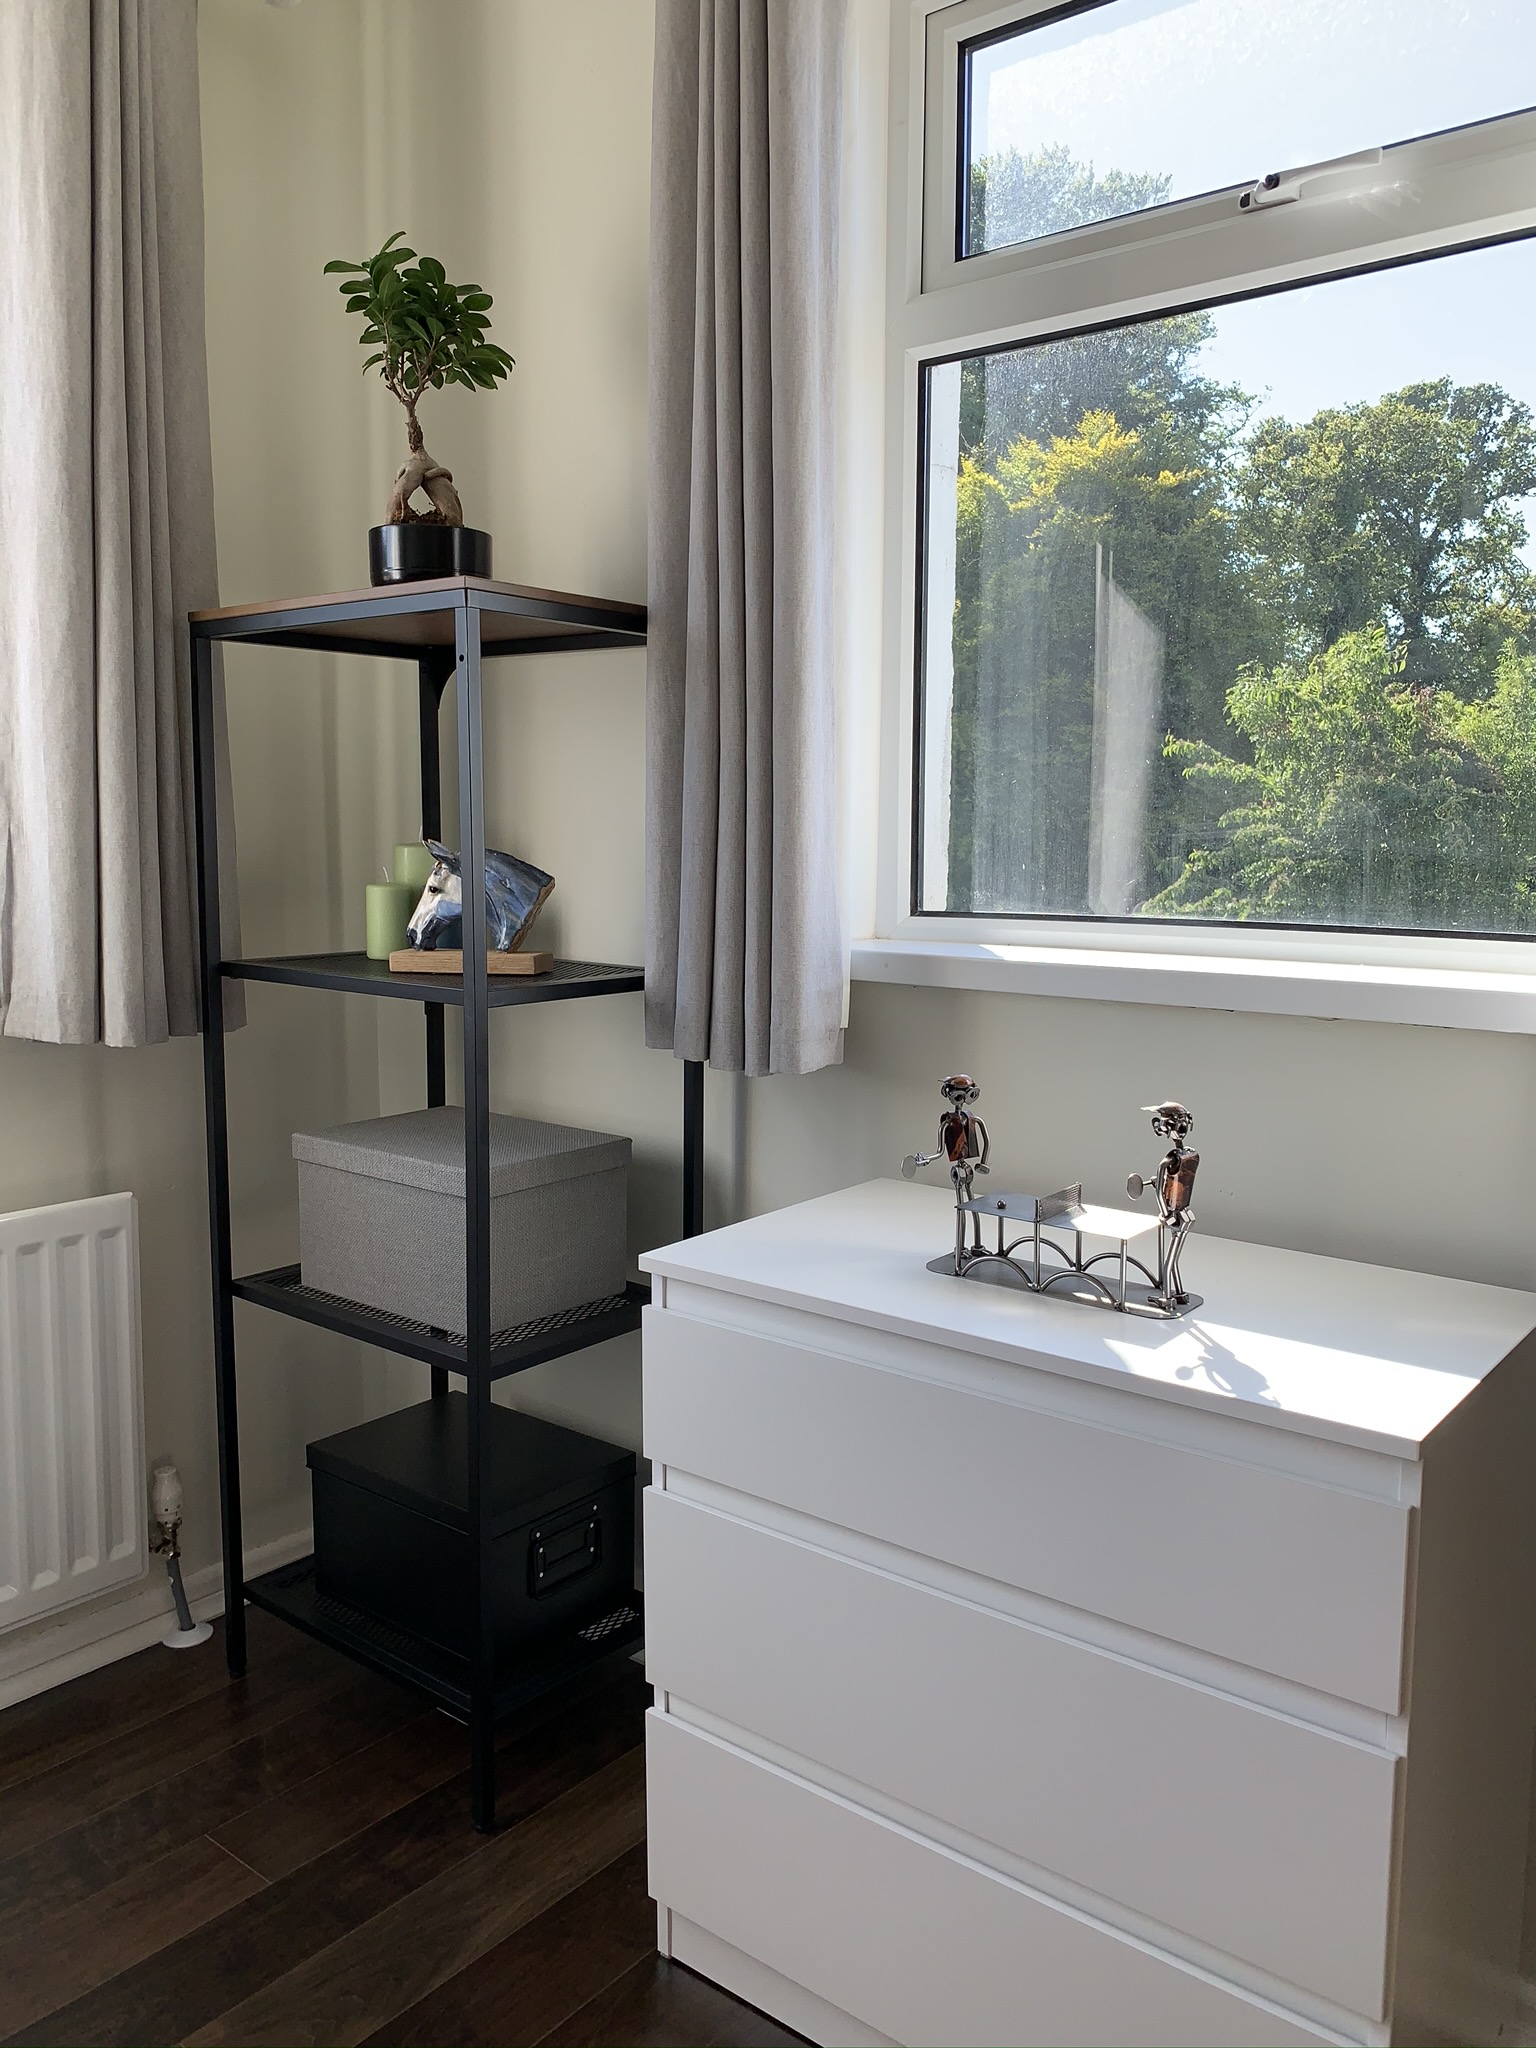
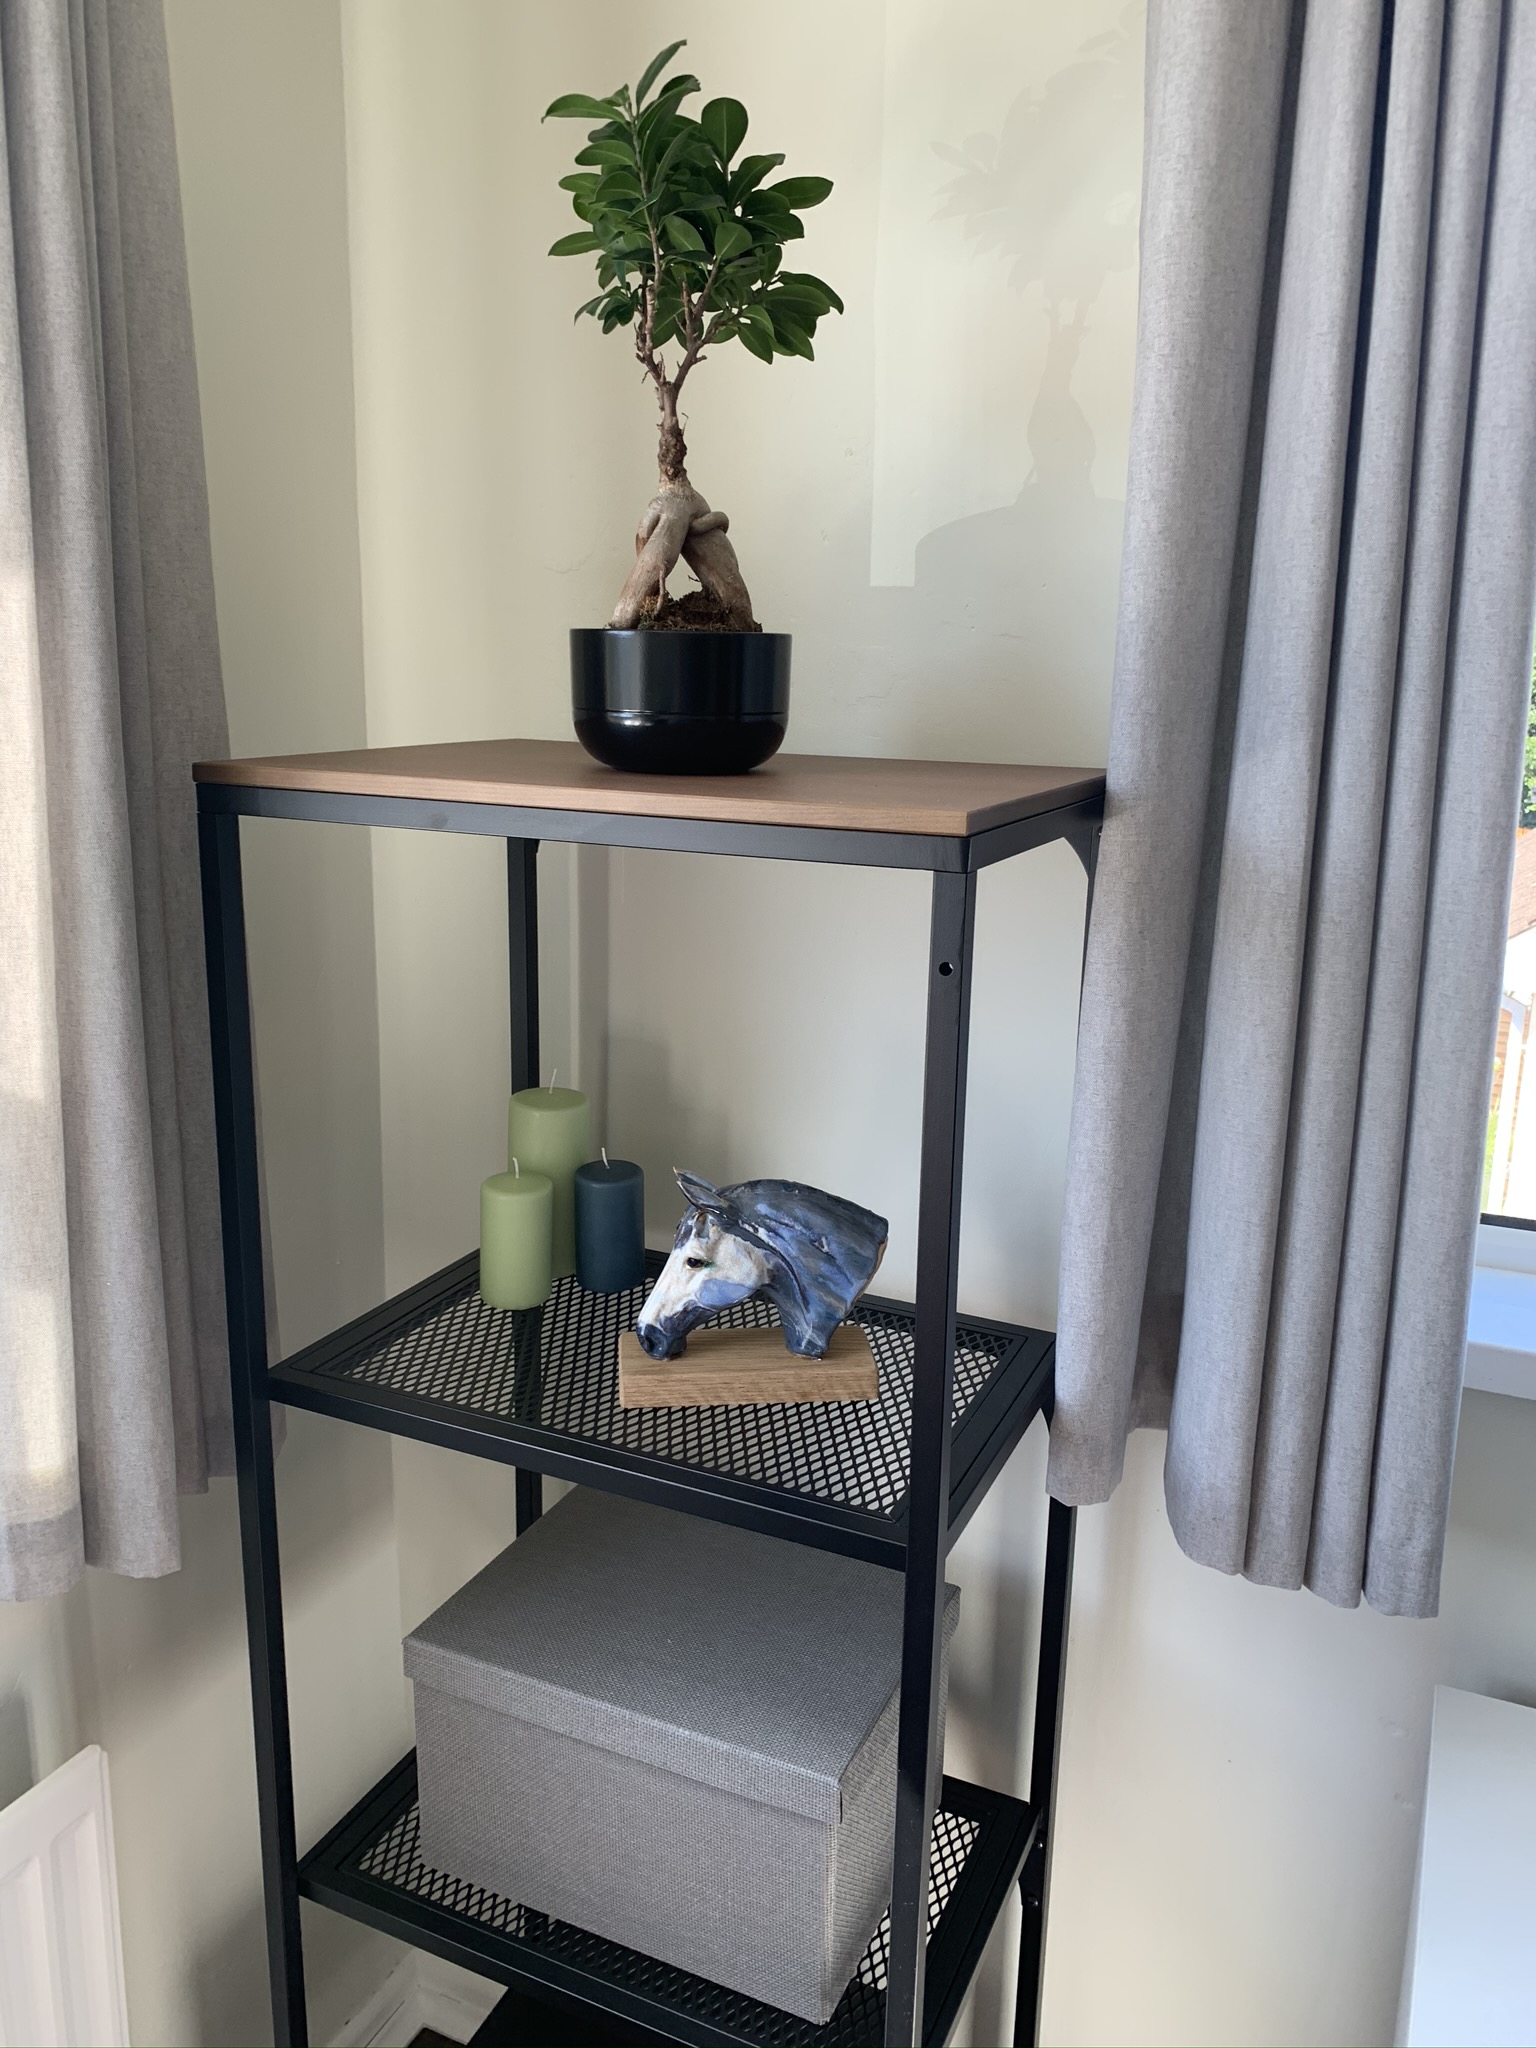
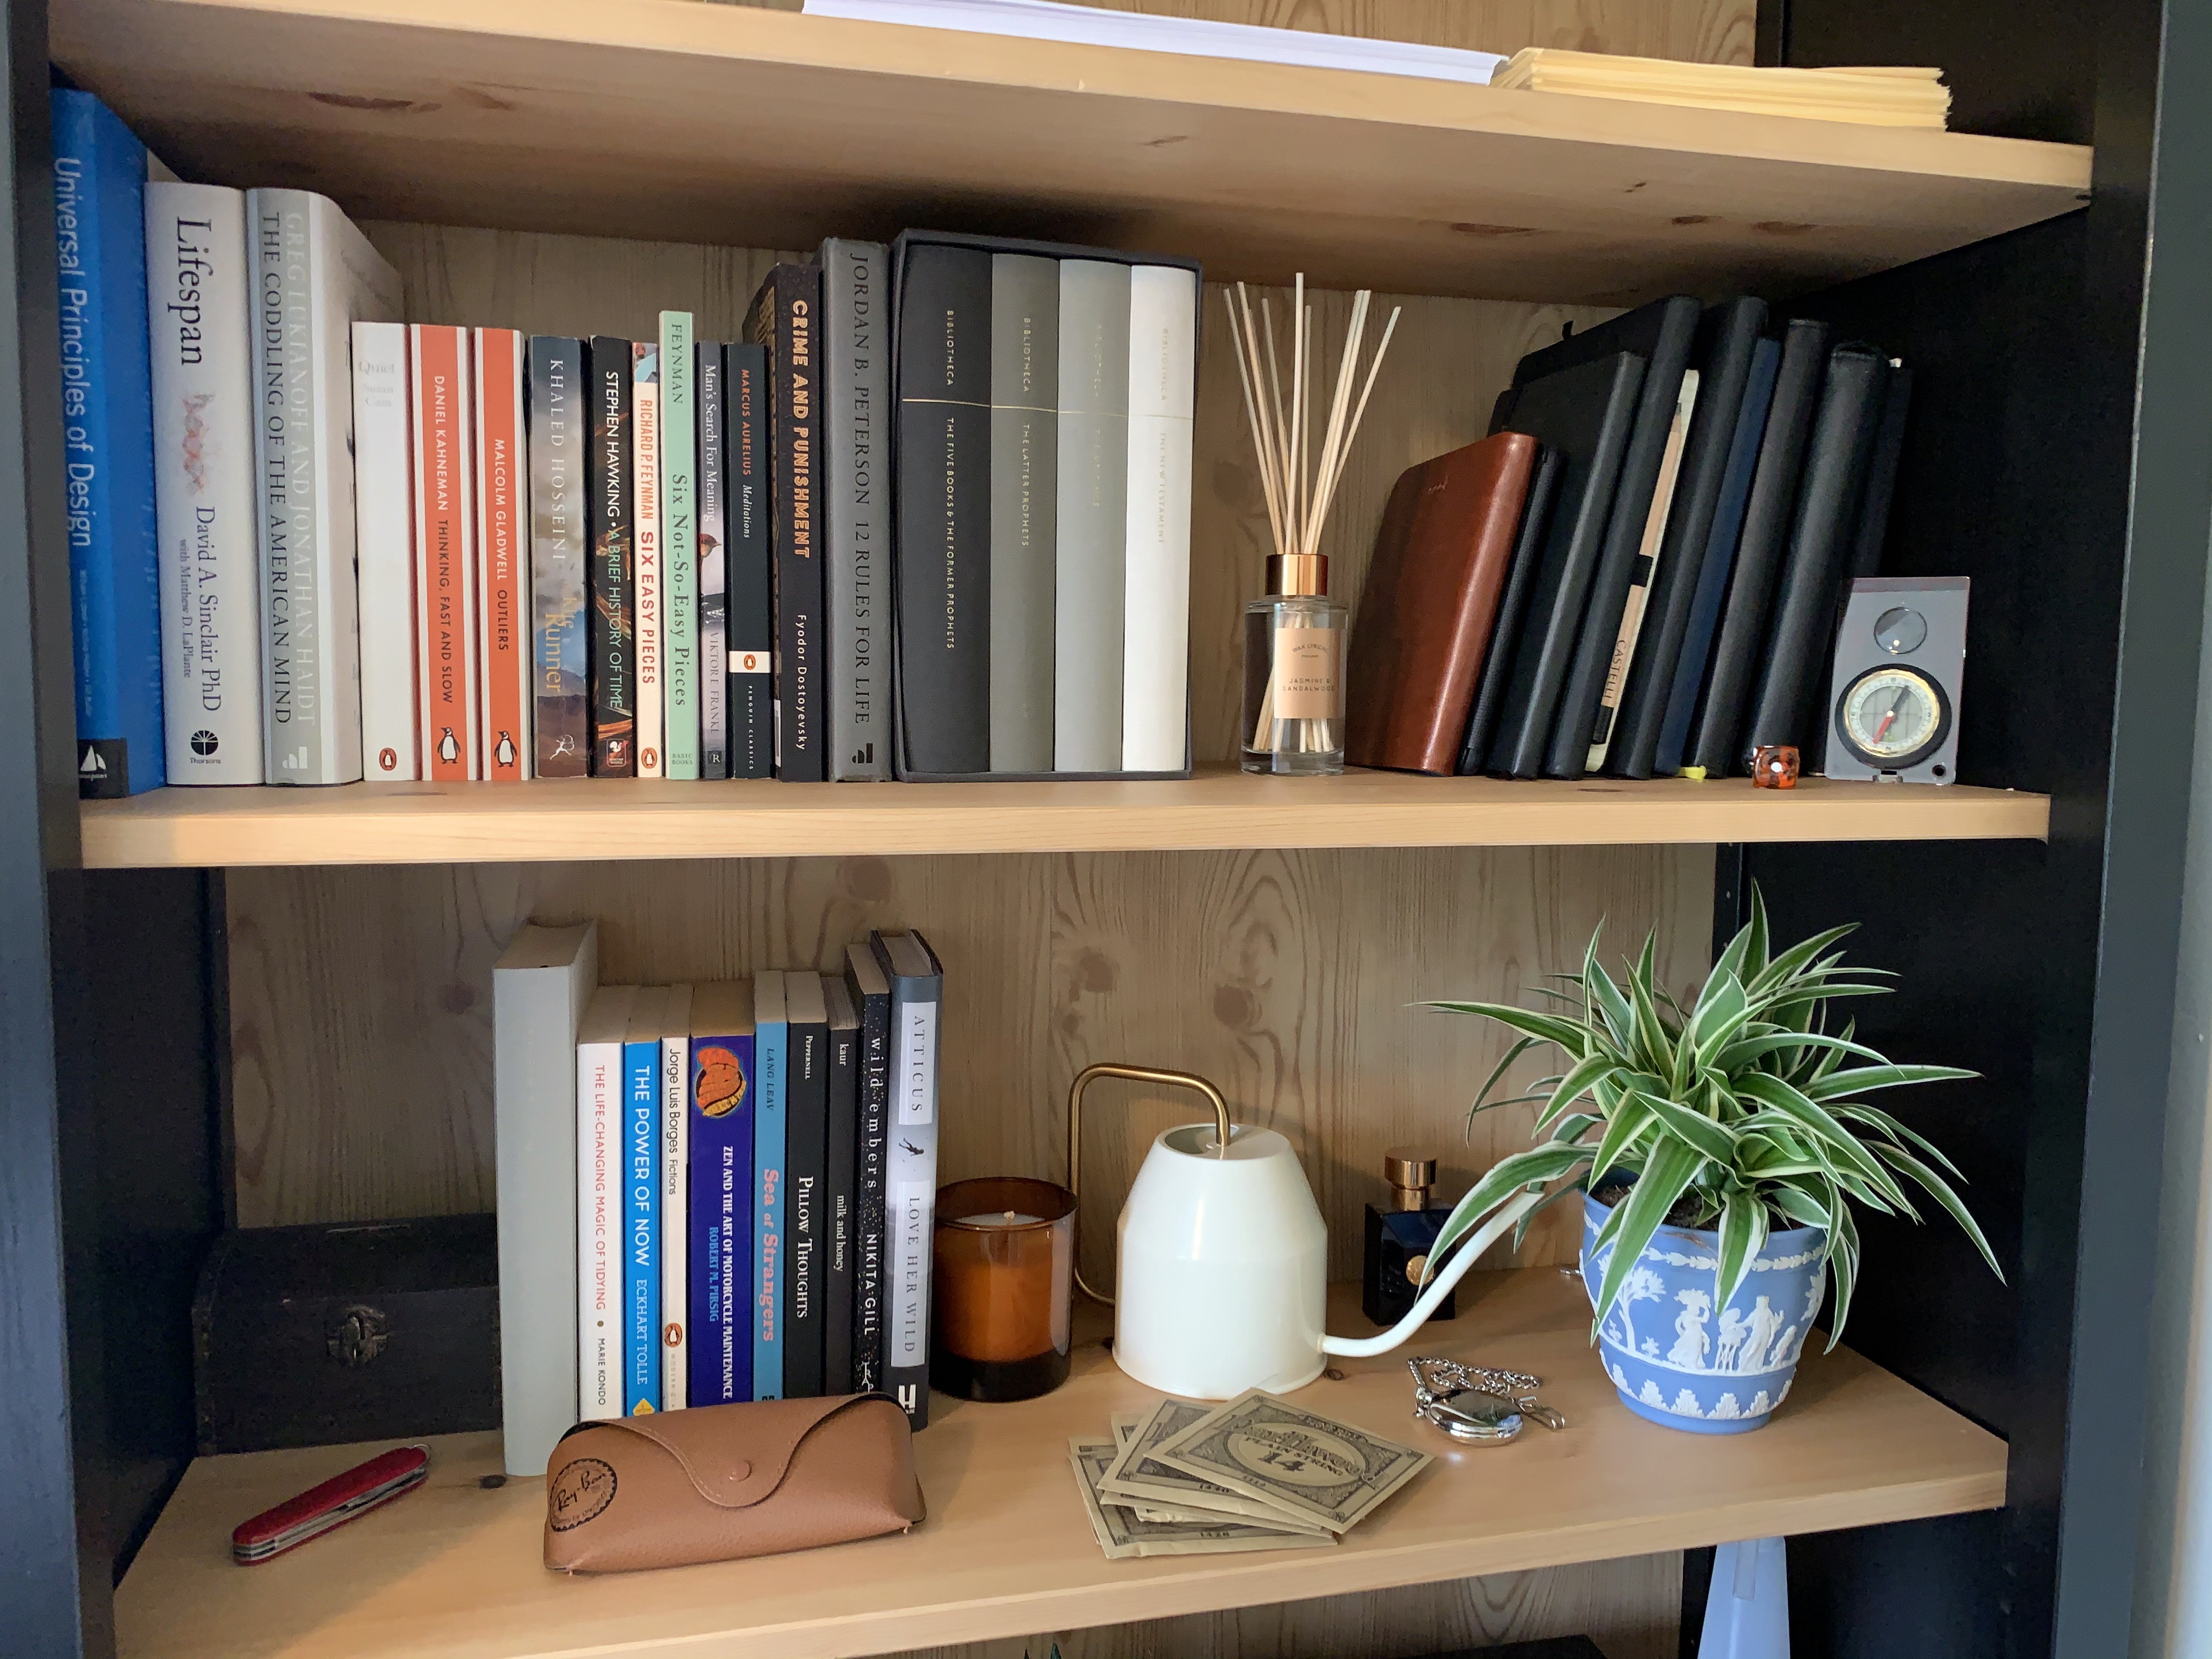
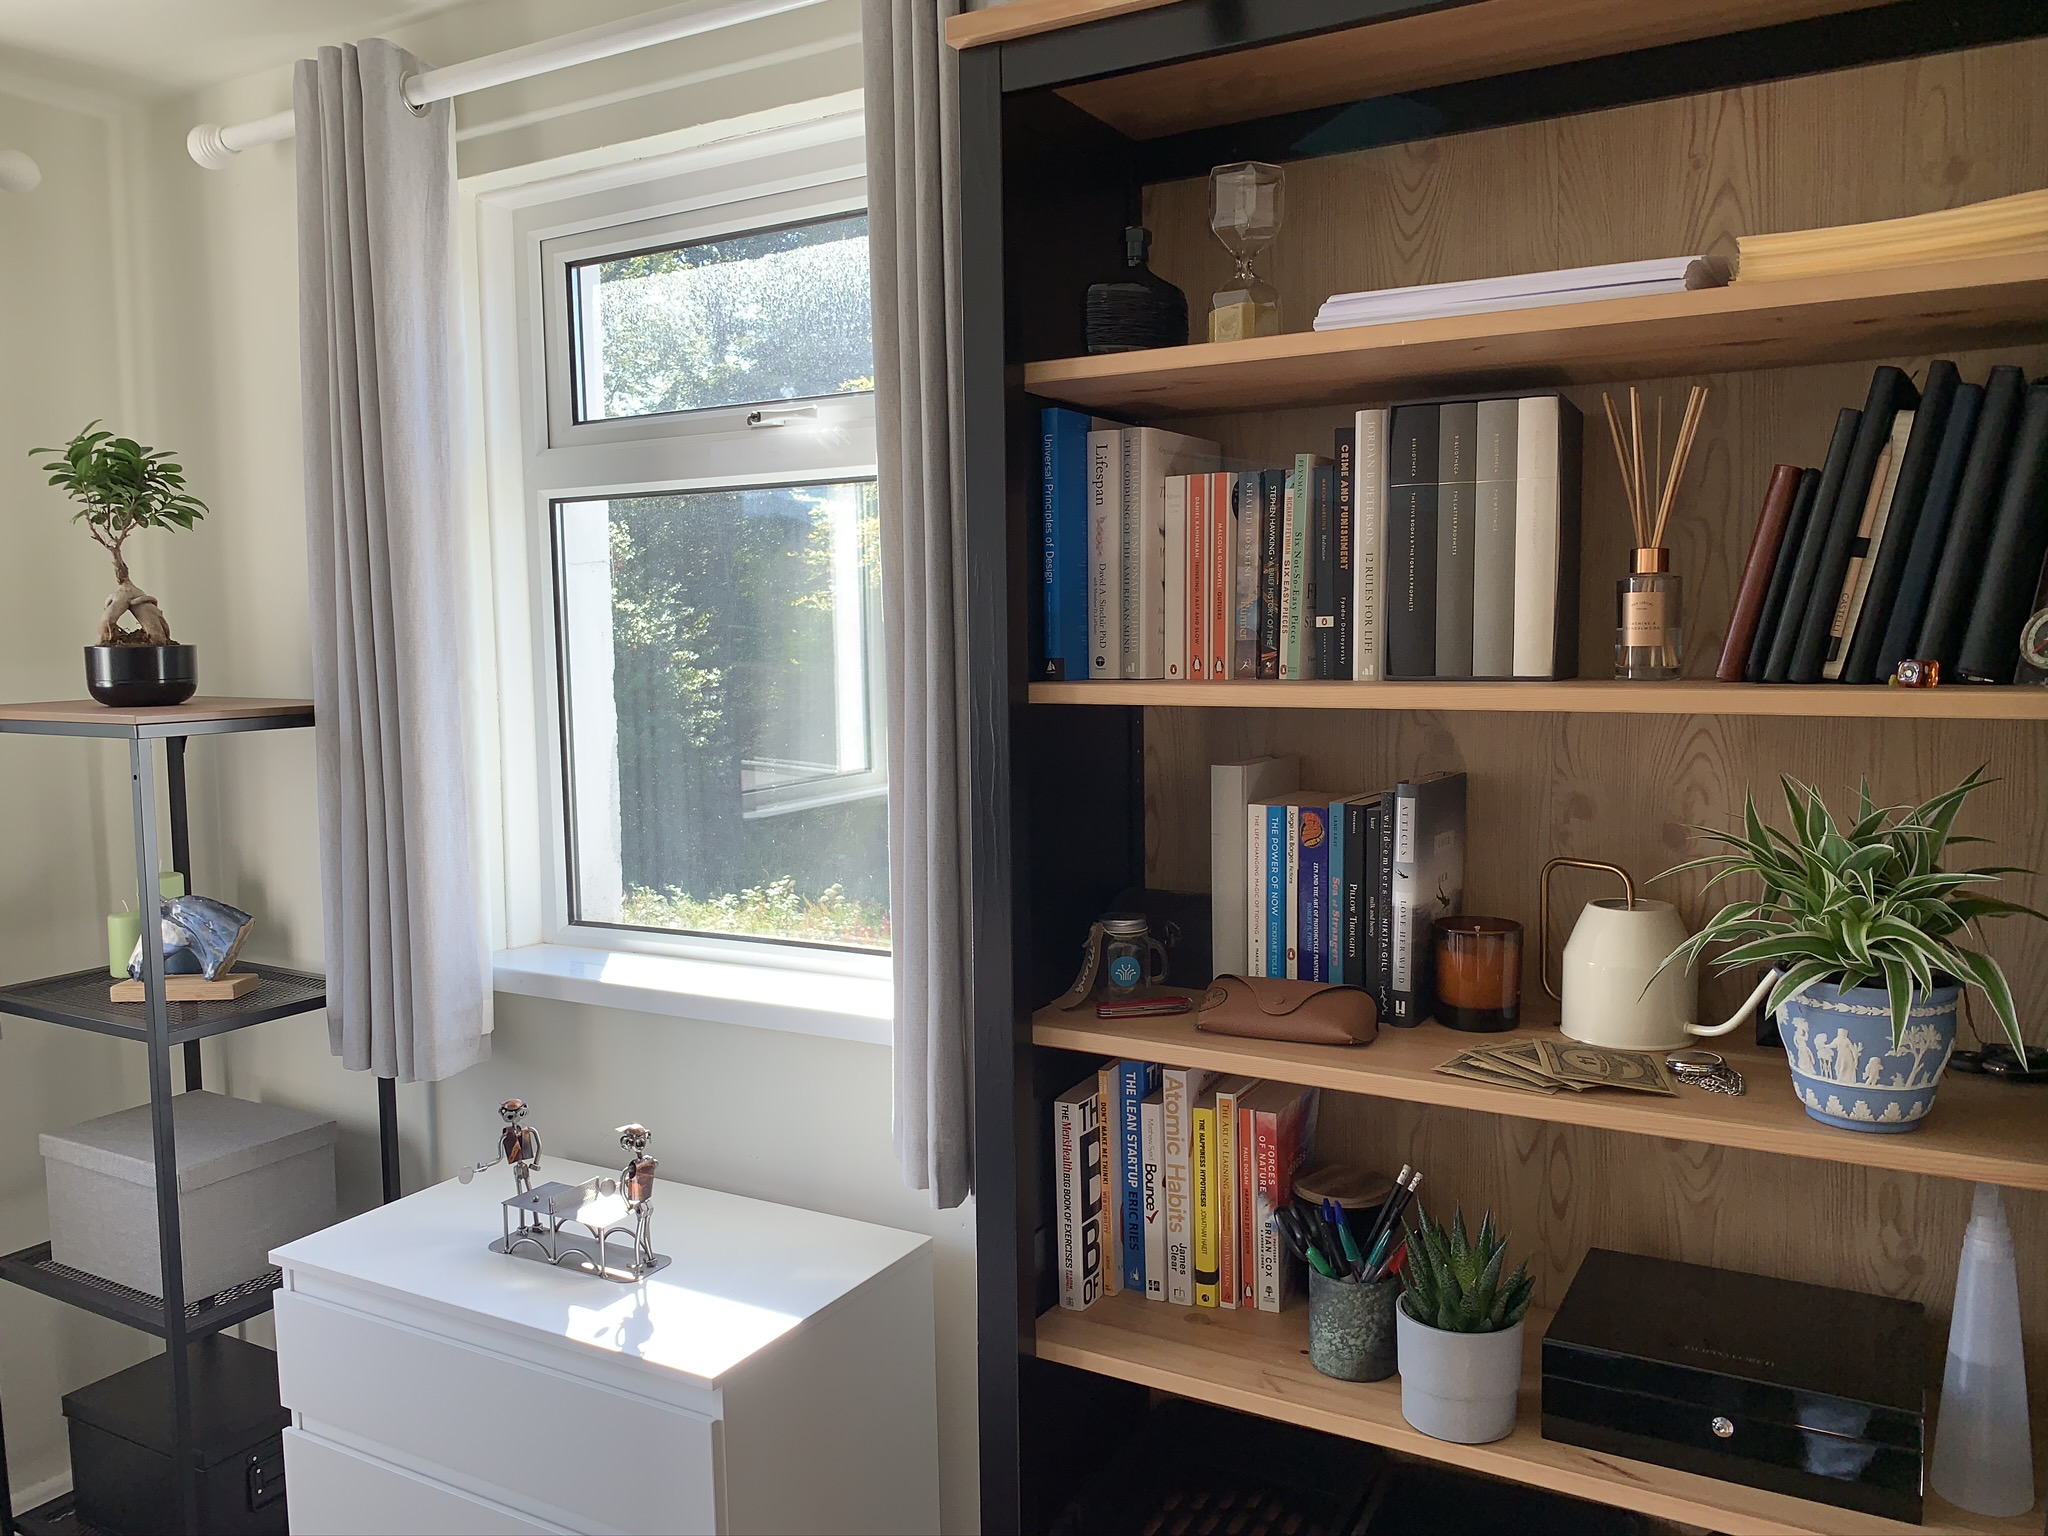
I had a great time hunting for decorative finishing touches, with my travels taking me from the staples of TK Maxx and IKEA to the online Ugmonk and Artfinder, to the local curiosities of On the Square Emporium and The Natural Room Emporium and smaller boutiques like the beautiful Wild Thing, and finally I had to have one wonderful piece from local artist Sharon Regan.
And so the room is done! I hope you’ve enjoyed reading, have some pictures.